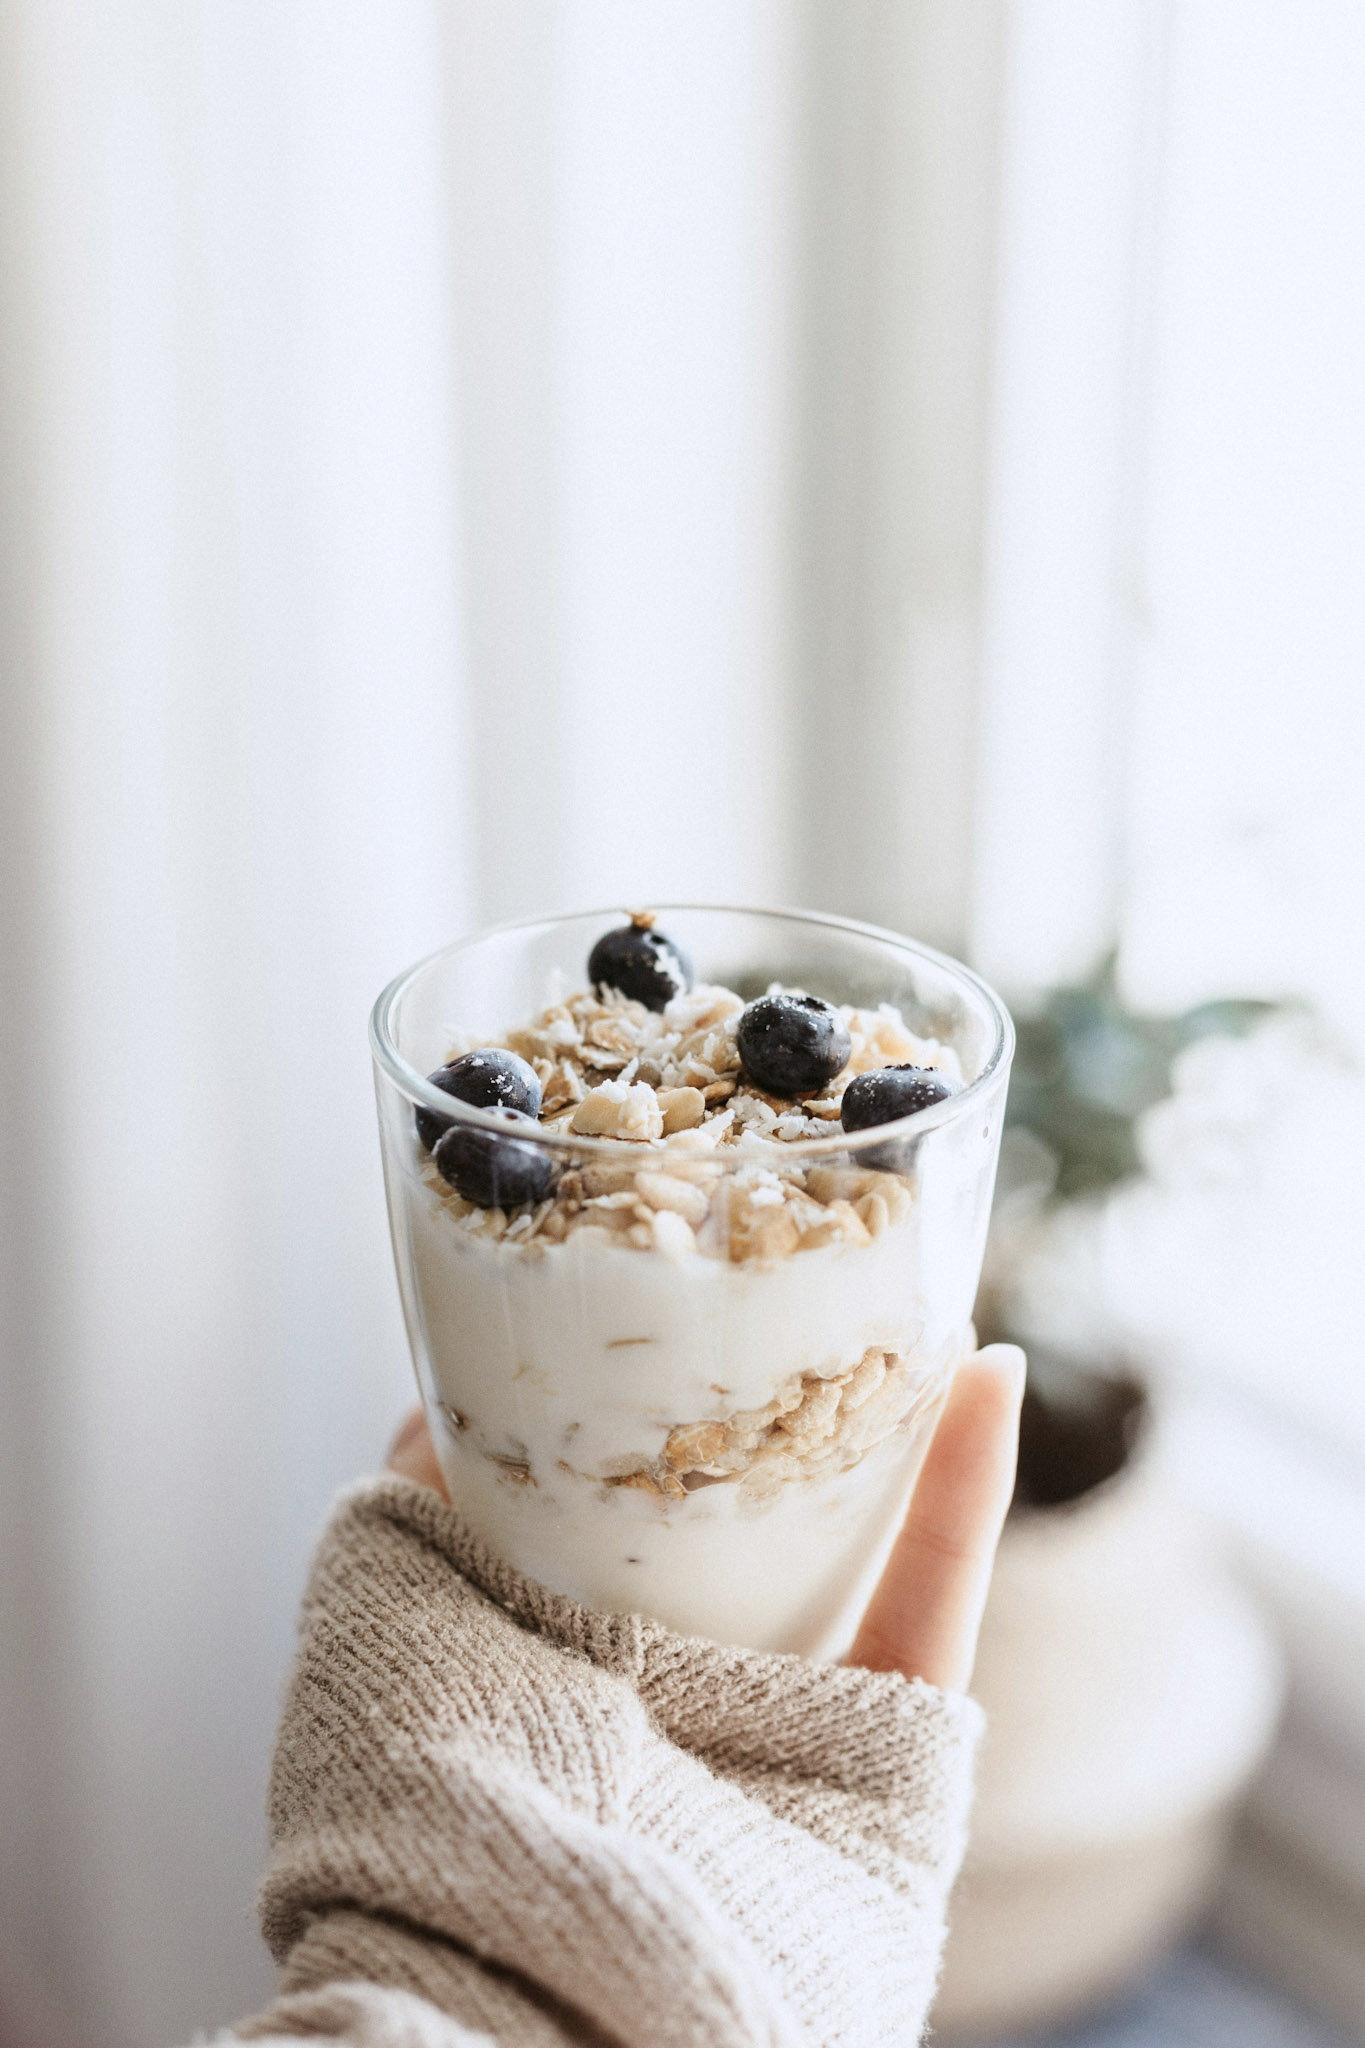
How to Make Yogurt at Home with a Small Milk Pasteurizer Machine

Simplified Steps for Fresh Dairy
Making yogurt at home can be a fulfilling and delicious project that gives you full control over ingredients and flavors. If you’re looking to step up your home yogurt-making game, using a small milk pasteurizer machine can help streamline the process and ensure safety.
Pasteurizing your milk is a crucial step that eliminates harmful bacteria and creates a consistent base for your yogurt.
With a milk pasteurization machine, you can easily heat milk to the right temperature, setting the stage for successful fermentation. This machine can also come in handy for making cheeses, which often require pasteurized milk as a starting point.
Home pasteurization not only helps in making yogurt that’s safe to consume, but also allows you to experiment with different types of milk and starters, leading to personalized and unique flavor profiles.
Key Takeaways
- Pasteurize milk at home for safe yogurt making
- Use a pasteurizer for consistent heating
- Personalize flavors through pasteurization
Preparing the Milk for Yogurt Making
To ensure successful yogurt production at home using a small milk pasteurizer machine, you must properly prepare the milk. This preparation involves selecting the right type of milk, pasteurizing it to eliminate harmful bacteria, and cooling it down before adding the yogurt cultures.
Selecting the Milk
When choosing milk for your homemade yogurt, consider using fresh milk like whole milk for a creamier texture, or skim milk for a lighter version. Raw milk can also be used but will need thorough pasteurization. The type of milk used will impact both the flavor and consistency of the final product.
Pasteurizing the Milk
To pasteurize milk at home, your milk pasteurization machine should heat the milk to at least 161 degrees Fahrenheit (72 degrees Celsius) and maintain that temperature for about 15 seconds. This process of pasteurization kills any harmful bacteria present. Always use a thermometer to confirm that the right temperature is reached to ensure the safety of your yogurt.
- Pour milk into the pasteurizer.
- Heat to the specified temperature.
- Maintain heat for the necessary duration.
Cooling and Adding Cultures
After pasteurization, rapidly cool the milk by placing the pasteurizer in a sink filled with ice water, targeting a temperature of 110 degrees Fahrenheit (43 degrees Celsius). When the milk reaches this temperature, you can add your yogurt cultures or starter. It’s crucial to disperse the cultures evenly to ensure proper fermentation.
- Wait for the milk to reach 110 degrees Fahrenheit.
- Incorporate the yogurt cultures thoroughly.
By following these steps, you are setting a strong foundation for high-quality, homemade yogurt with the aid of a milk pasteurization machine.
Fermentation and Flavoring of Yogurt
When making homemade yogurt, the fermentation process is critical to developing the tart flavor and creamy consistency. Once fermentation is complete, you can infuse your yogurt with personalized flavorings to enjoy a variety of delicious tastes.
Setting Up for Fermentation
You’ll begin the fermentation process by preparing your milk in a small milk pasteurizer machine. Once the milk reaches the right temperature, typically around 110 °F (43 °C), you’ll need to add a starter culture. This is usually a small amount of store-bought yogurt containing live active cultures, but it can also be a freeze-dried starter. Pour the inoculated milk into sterilized jars or the container of your yogurt maker, ensuring you maintain the correct temperature for efficient bacteria activity.
- Heat the milk to just below boiling, ideally around 180 °F (82 °C) to denature the proteins.
- Cool the milk to 110 °F (43 °C) before adding the starter.
- Temper the starter by mixing it with a small portion of the warm milk to avoid shock.
- Transfer the mixture back to the rest of the milk and stir thoroughly.
- Pour the mixed milk into your yogurt maker’s jars or pot.
- Set your machine to ferment the yogurt, usually for about 8 to 12 hours.
Remember, effective temperature control during fermentation is key for achieving the perfect consistency and developing the tart yogurt flavor.
Adding Flavor and Personal Touches
After fermentation, your yogurt will be ready to be flavored. Keeping in mind that adding your flavorings after fermentation ensures the best flavor and consistency, the options for customizing your yogurt are wide-ranging. You can go for natural sweetness with fruit, or add a hint of vanilla or honey. Here’s a simple guideline:
- Sweeteners: Add honey, sugar, or natural sweeteners sparingly to taste.
- Flavorings: Vanilla extract, citrus zest, or cocoa powder for a burst of flavor.
- Fruit: Fold in fresh or preserved fruit for texture and sweetness.
- Texture: For a thicker consistency, strain your homemade yogurt through a cheesecloth.
By starting with unflavored yogurt and adding your customizations after fermentation, you retain the control over the sweetness and flavors of your homemade yogurt. Experimenting with different flavorings can also lead to your very own signature blend.
Are You Ready to Make Yogurt?
Making yogurt at home using a small milk pasteurization machine is a simple process that offers you full control over flavor and ingredients.
When you pasteurize your milk at the right temperature, you ensure safety and set the stage for a successful fermentation.
Once you’ve perfected the process, you’ll have the satisfaction of enjoying homemade yogurt that is tailored to your taste preferences.
Have you considered using a small milk pasteurizer machine?
Let me know, til then—cheers m’deres!

PIN FOR LATER:


Nancy Polanco is a freelance journalist, lifestyle content creator, and editor of Whispered Inspirations. She is a proud Mom to Gabby and Michaela and partner and best friend to Darasak. Having worked as part of a health care team for almost a decade, Nancy is happy to be back to her passion. She is a contributor to the Huffington Post, TODAY’s Parents, and an Oprah Magazine Brand Ambassador.


