4 Things to Do Before You Restore Furniture
Things to Do Before You Restore Furniture
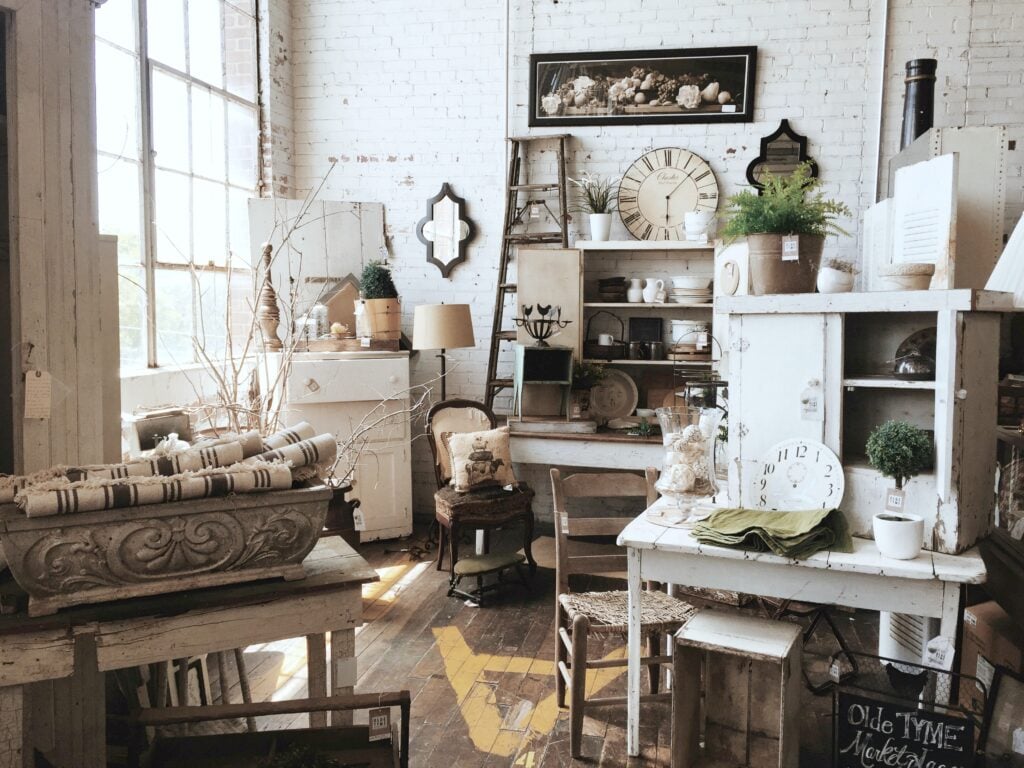
Furniture has the greatest potential to be timeless. Irrespective of the design, there are ways you can get that battle-worn piece of furniture back to its former glory.
Doing so saves you the money you would spend replacing the piece. You’ll also prevent one more piece of furniture from ending up in a landfill.
You can restore your own furniture or buy used furniture from someone else at a rock bottom bargain than spend some cash restoring it.
Before you start repair and restoration work though, think about the following.
1. SHOULD YOU EVEN RESTORE AND REPAIR IT?
What if that old, rusty piece of furniture you picked up at a garage sale is of much greater value than its appearance belies?
Before you pull it apart and end up ruining a masterpiece, inspect it and do some research.
Removing the finish of an antique item could void or dramatically lessen its value.
There are telltale signs that show a piece could be more valuable than the average aged furniture item.
Look for designs, labels, tags or marks that may point to its maker, origin or history. Feel the bottom or underside of the table or chair for blunted interior corners.
Unscrew (partially) any screws and inspect the threads for inconsistent gaps between them.
Check drawers for dovetail joints.
All these are attributes common to antique furniture.
If you have a gut feeling that the piece could be worth a tidy sum, get in touch with a professional antique appraiser.
It may cost you but will be more than worth it if it turns out your suspicions were well-founded.
2. DEVOTE TIME
Wouldn’t it be wonderful if you could wave a magic wand and that dilapidated kitchen shelf instantly transforms into brand new?
Unfortunately, that won’t happen.
It’s going to take work and where work is involved, so is time. If you are going to be doing a furniture restoration or redesign yourself, dedicate some time to it.
It’s unlikely (and not recommended) that you start and finish the work in one day.
Breaking it into multiple days or weeks not only removes the pressure to complete everything in a rush but also gives you time to see things afresh each day.
The more complex the restoration needed, the more time you will need. Removing rust, for instance, can require days of work.
Even when the project appears quite small, brace for twists and turns that weren’t planned.
For example, what may have looked like a minor, superficial crack on your table may, in fact, be a deep-seated one that threatens the very structure of the piece.
It may need extensive repair.
3. DEVELOP A BUDGET
Furniture restoration will cost you. Whether you’ll need to buy a paint sprayer for kitchen cabinets or screws to firm up loose joints, determine how much cash you can reasonably allocate to it.
For some, restoring furniture is a bit of a hobby that they do just for the challenge it presents.
Nevertheless, even in this case, you have to weigh whether the final output is worth the money you intend to sink into it. Could you perhaps get the same furniture brand new at less than the total cost of restoration?
Some projects may be inexpensive and require just a couple of days to complete. Others may be complex with work running into weeks.
Either way, you must decide how much you want to spend from the get-go to avoid getting sucked into a money pit that has no end in sight.
It could very well be that the previous owner never bothered with restoration because it was too expensive.
4. CLEAN FIRST
Before you dive into rigorous sandpaper and painting action, give the furniture a thorough clean.
After years of disuse and neglect, the piece may have accumulated a thick layer of grime and dirt.
You may find that getting rid of this layer of dirt yields a nice, clean finish underneath it.
In which case, the cleaning and buffing may be all you need for the furniture to feel new again.
Get some sponge, warm water and a vegetable oil soap and get scrubbing. For pieces with more detail, use a toothbrush to access every nook and cranny.
You May Also Like:
- 4 Tech Upgrades That Can Save You Money
- Essential Workwear for a Hands-On Job
- The Pros and Cons of Living in Thomas Circle in DC
Use a slender wooden stick to dig out grime from the tightest spots. Just be careful not to apply so much pressure as to dull the finish.
Whether you are a seasoned DIY practitioner or are embarking on furniture restoration for the first time, follow these steps and you’re golden.
I know that over the years, I have restored some gorgeous pieces in my home and I absolutely love them. After all the years, they still bring all that character.
Do you have any tips you do before you restore furniture?
Let me know, til then–cheers m’deres!

PIN FOR LATER:


Nancy Polanco is a freelance journalist, lifestyle content creator, and editor of Whispered Inspirations. She is a proud Mom to Gabby and Michaela and partner and best friend to Darasak. Having worked as part of a health care team for almost a decade, Nancy is happy to be back to her passion. She is a contributor to the Huffington Post, TODAY’s Parents, and an Oprah Magazine Brand Ambassador.