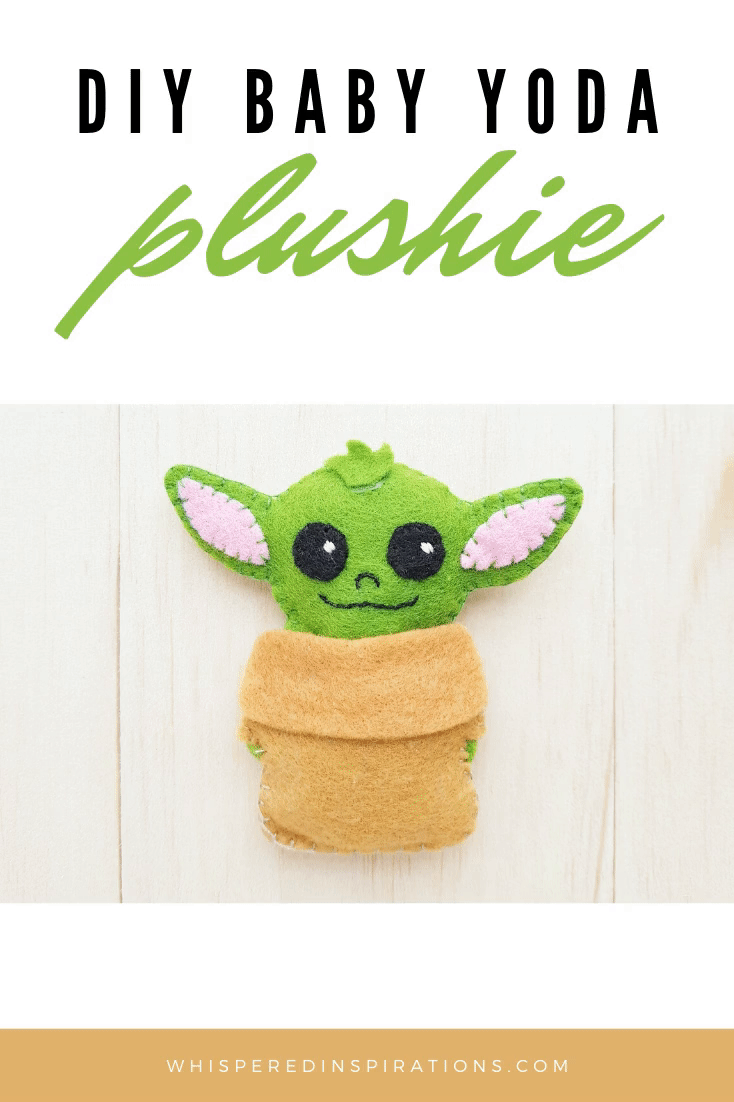
DIY Baby Yoda Plushie Tutorial
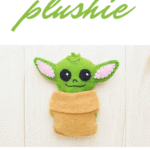
DIY Baby Yoda Plushie
What is just as cute as the real Baby Yoda? A teeny, tiny, Baby Yoda plushie you can make at home.
Just in case you didn’t know, I am OBSESSED with the Child, aka Baby Yoda because he is adorable, he’s sassy and mischievous. I adore him!
If you feel the same, you may like this Baby Yoda Paper Craft and Corner Bookmark and Baby Yoda Bookmark craft as well. They are great crafts for kids and crafts for Star Wars fans too!
Most importantly, read on for the step by step guide to make your very own Baby Yoda plushie.
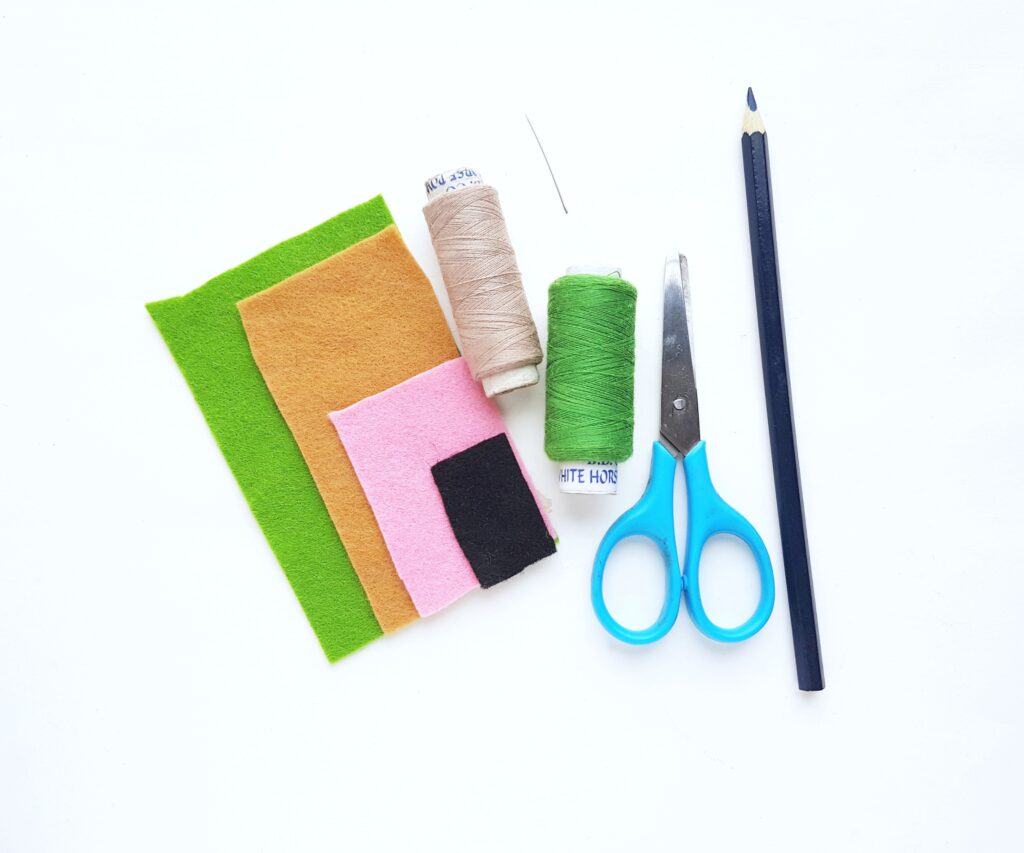
List of Supplies:
- coloured felt fabrics
- pencil
- scissors
- needle and thread
- Baby Yoda TEMPLATE
Step 1:
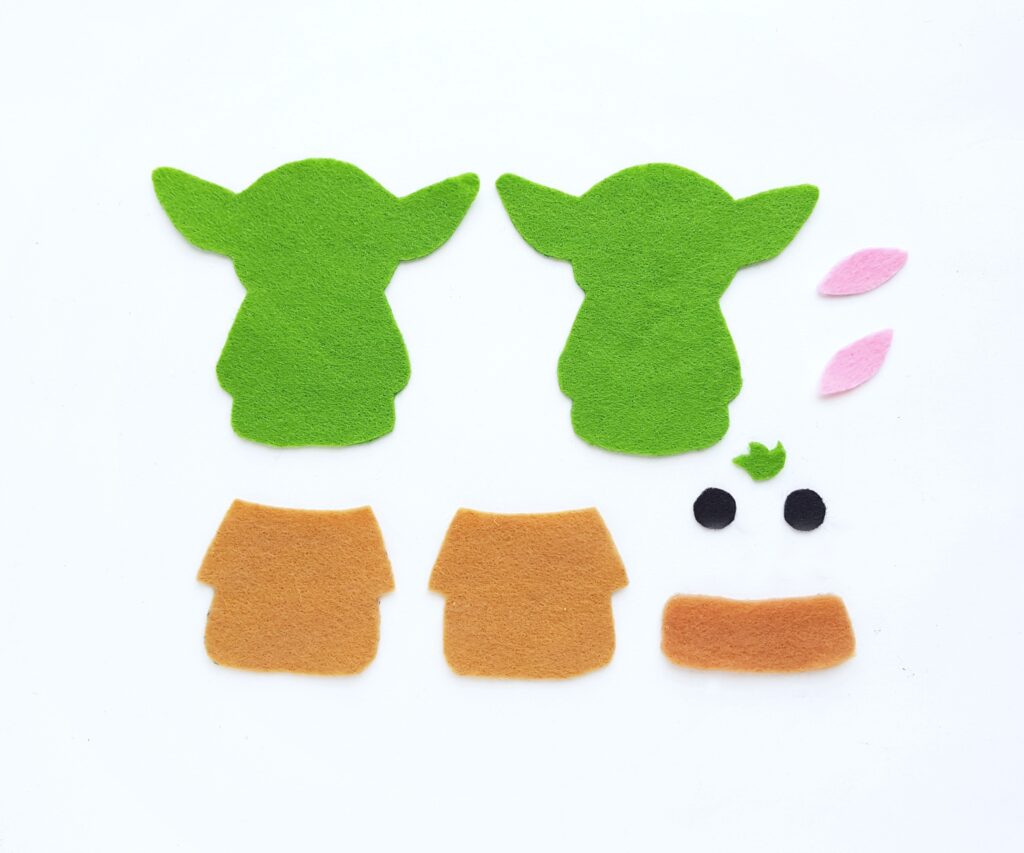
Select green, brown, black and pink coloured felt fabrics for this craft. Trace the 2 body patterns and the small hair pattern from green coloured felt.
Then trace the 2 circles on black felt and the 2 inner ear patterns on pink felt. Finish by tracing the rest of the patterns (clothes) on brown coloured felt. Cut out the traced patterns.
Step 2:
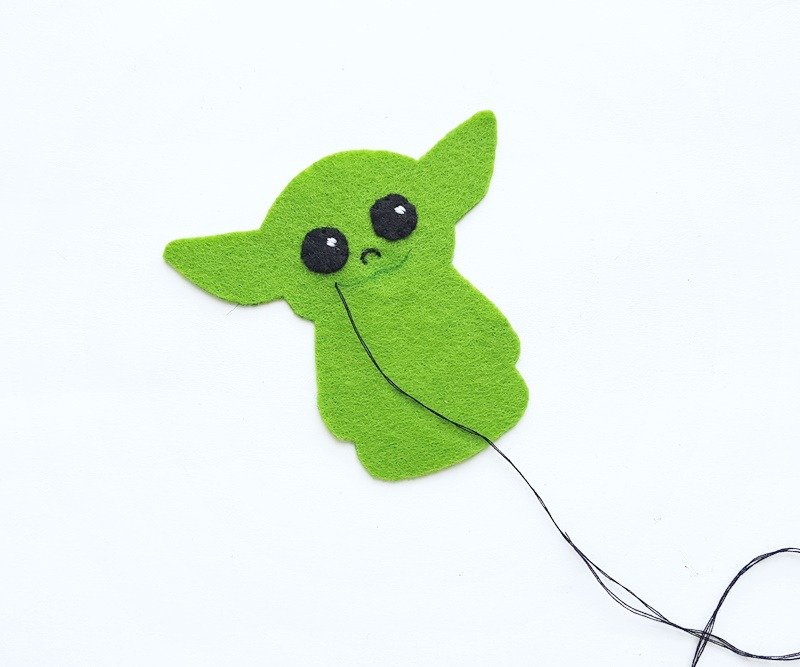
Grab any one of the body cutouts and the 2 black circles. Stitch the black circle on the head part of the body pattern.
I stitched a small spot on each black circle. Also, trace the nose and mouth and stitch the traced lines with black thread.
Step 3:
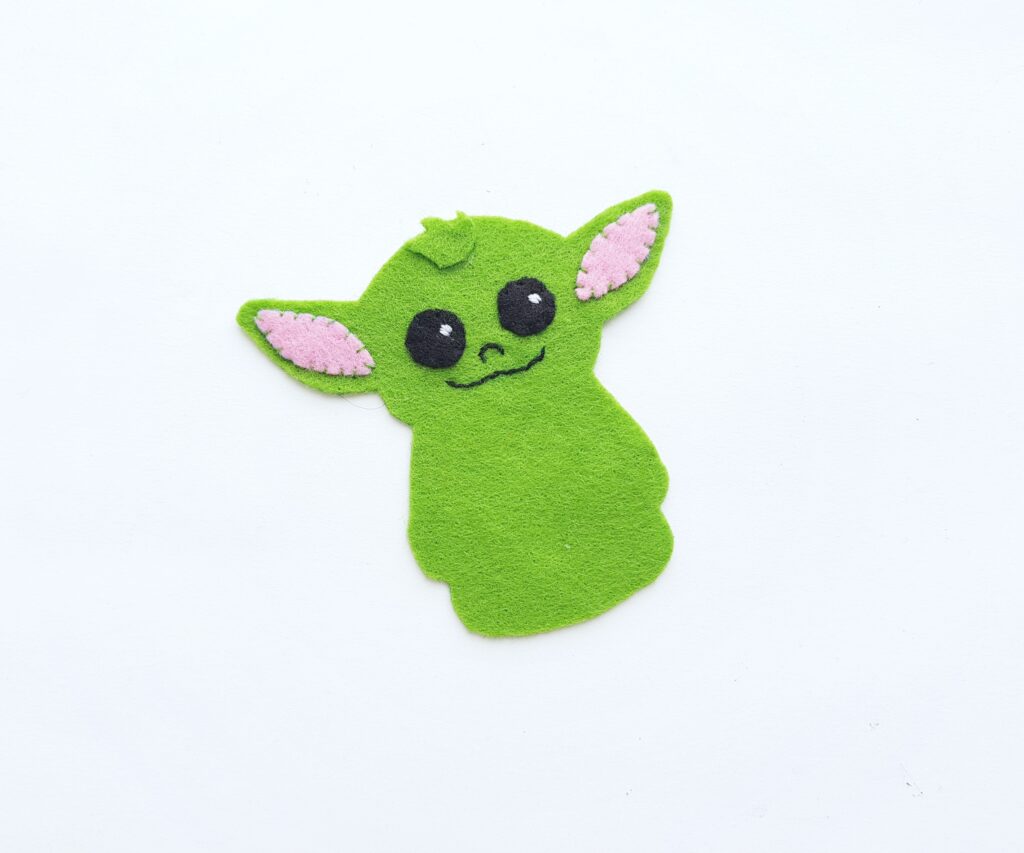
Stitch the inner ear parts cut out from pink felt in the middle of the ear parts of the head. Also, stitch the small hair pattern on the top side of the head.

Step 4:
Grab the other body pattern and place it under the stitched one. Prepare a needle with green thread.
After that, start to stitch the sides of the head parts of both body patterns to attach them together.
Step 5:
Do not stitch the body patterns all around; keep the rest of the part intact. Only stitch the head.
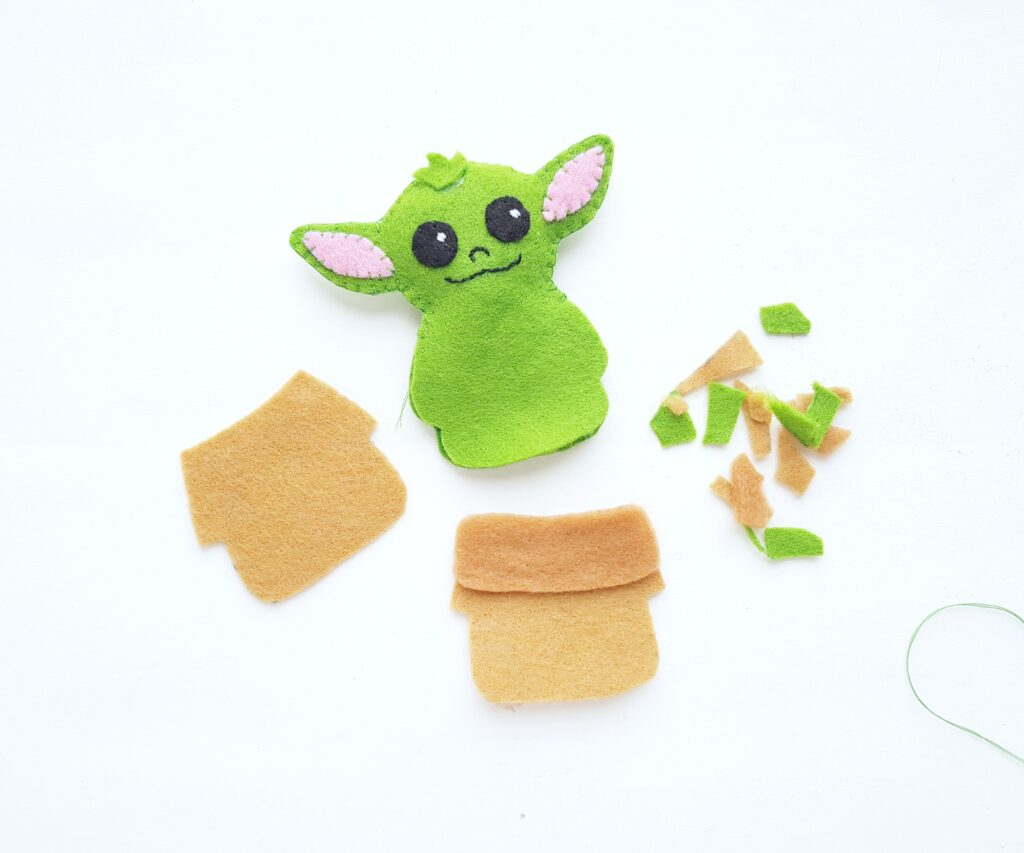
Attach the strip part of the clothe patterns along the top side of either clothes base patterns.
Step 6:
Place the plain clothe cutout on the backside of the felt Yoda and place the other clothing pattern on the front side of the felt Yoda.
Start to stitch around the sides of the clothing pattern to secure the felt Yoda for stuffing.
Step 7:
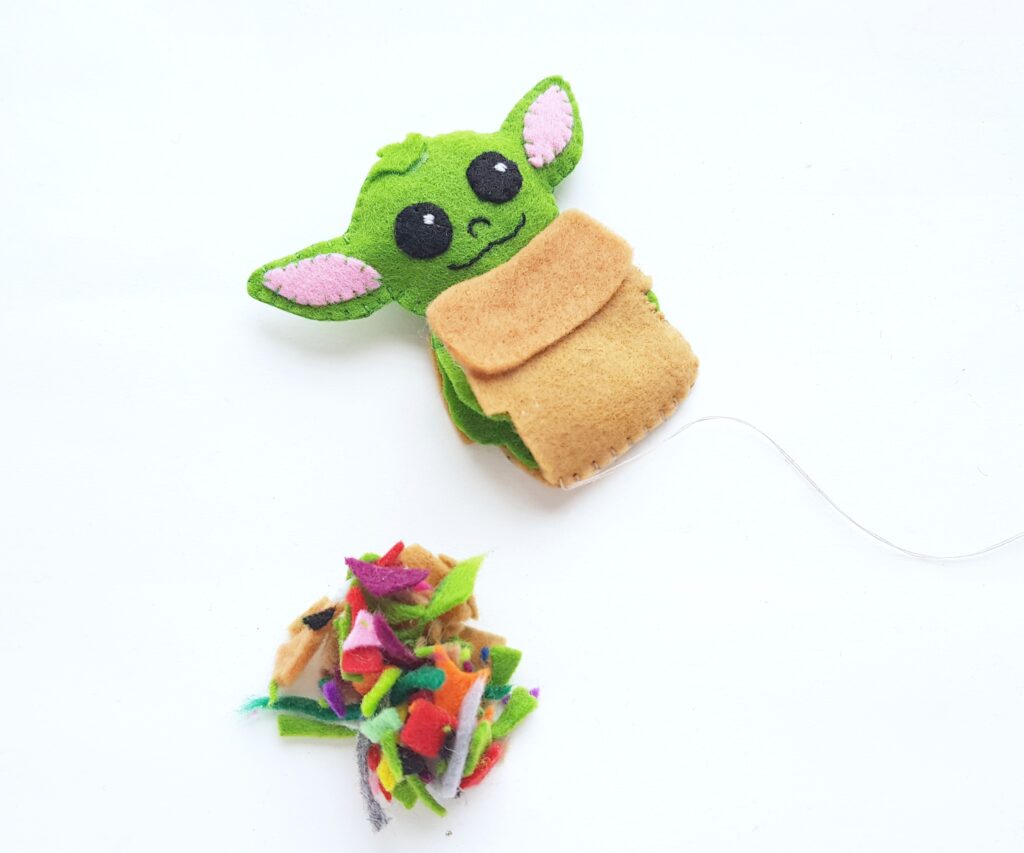
Keep a small opening for stuffing the felt Yoda. I’m using scrap felt pieces for stuffing.
You can cut the scrap felts into small pieces for a nice and even stuffing. Stuff the felt Yoda through the small opening.
Step 8:
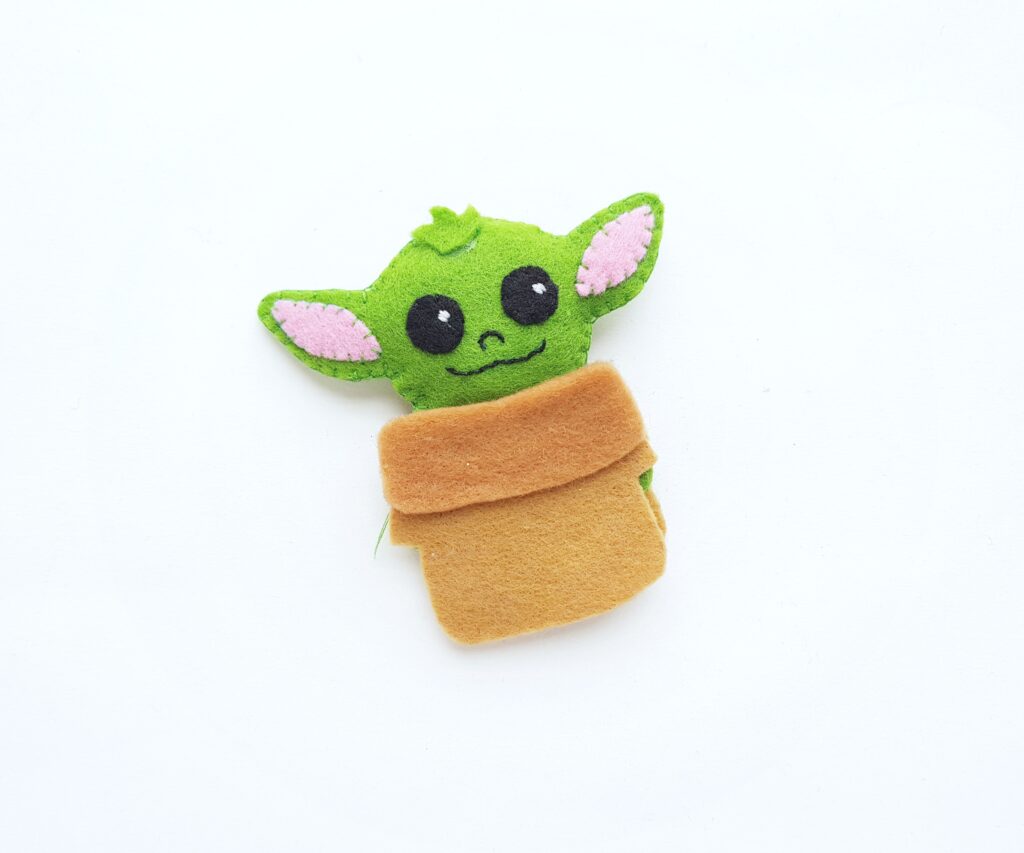
Stitch the open end to secure the stuffing.
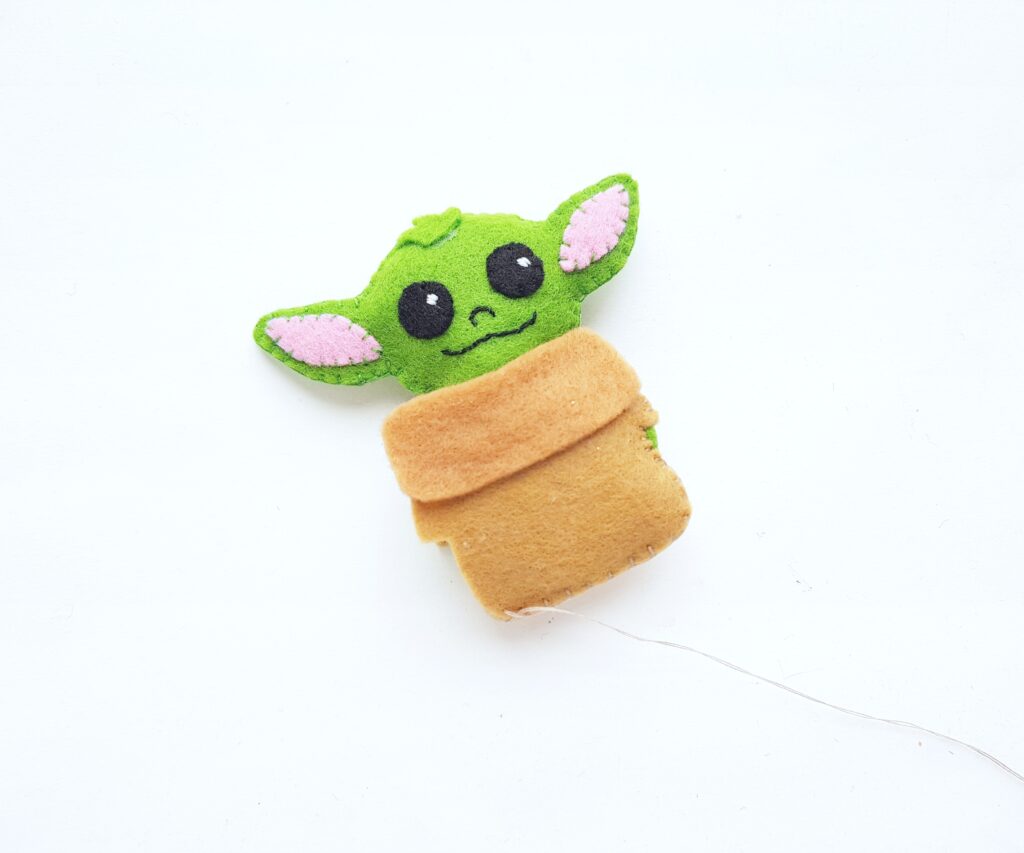
Step 9:
Once you are done stitching the side, tie a knot or 2 and cut off extra thread.
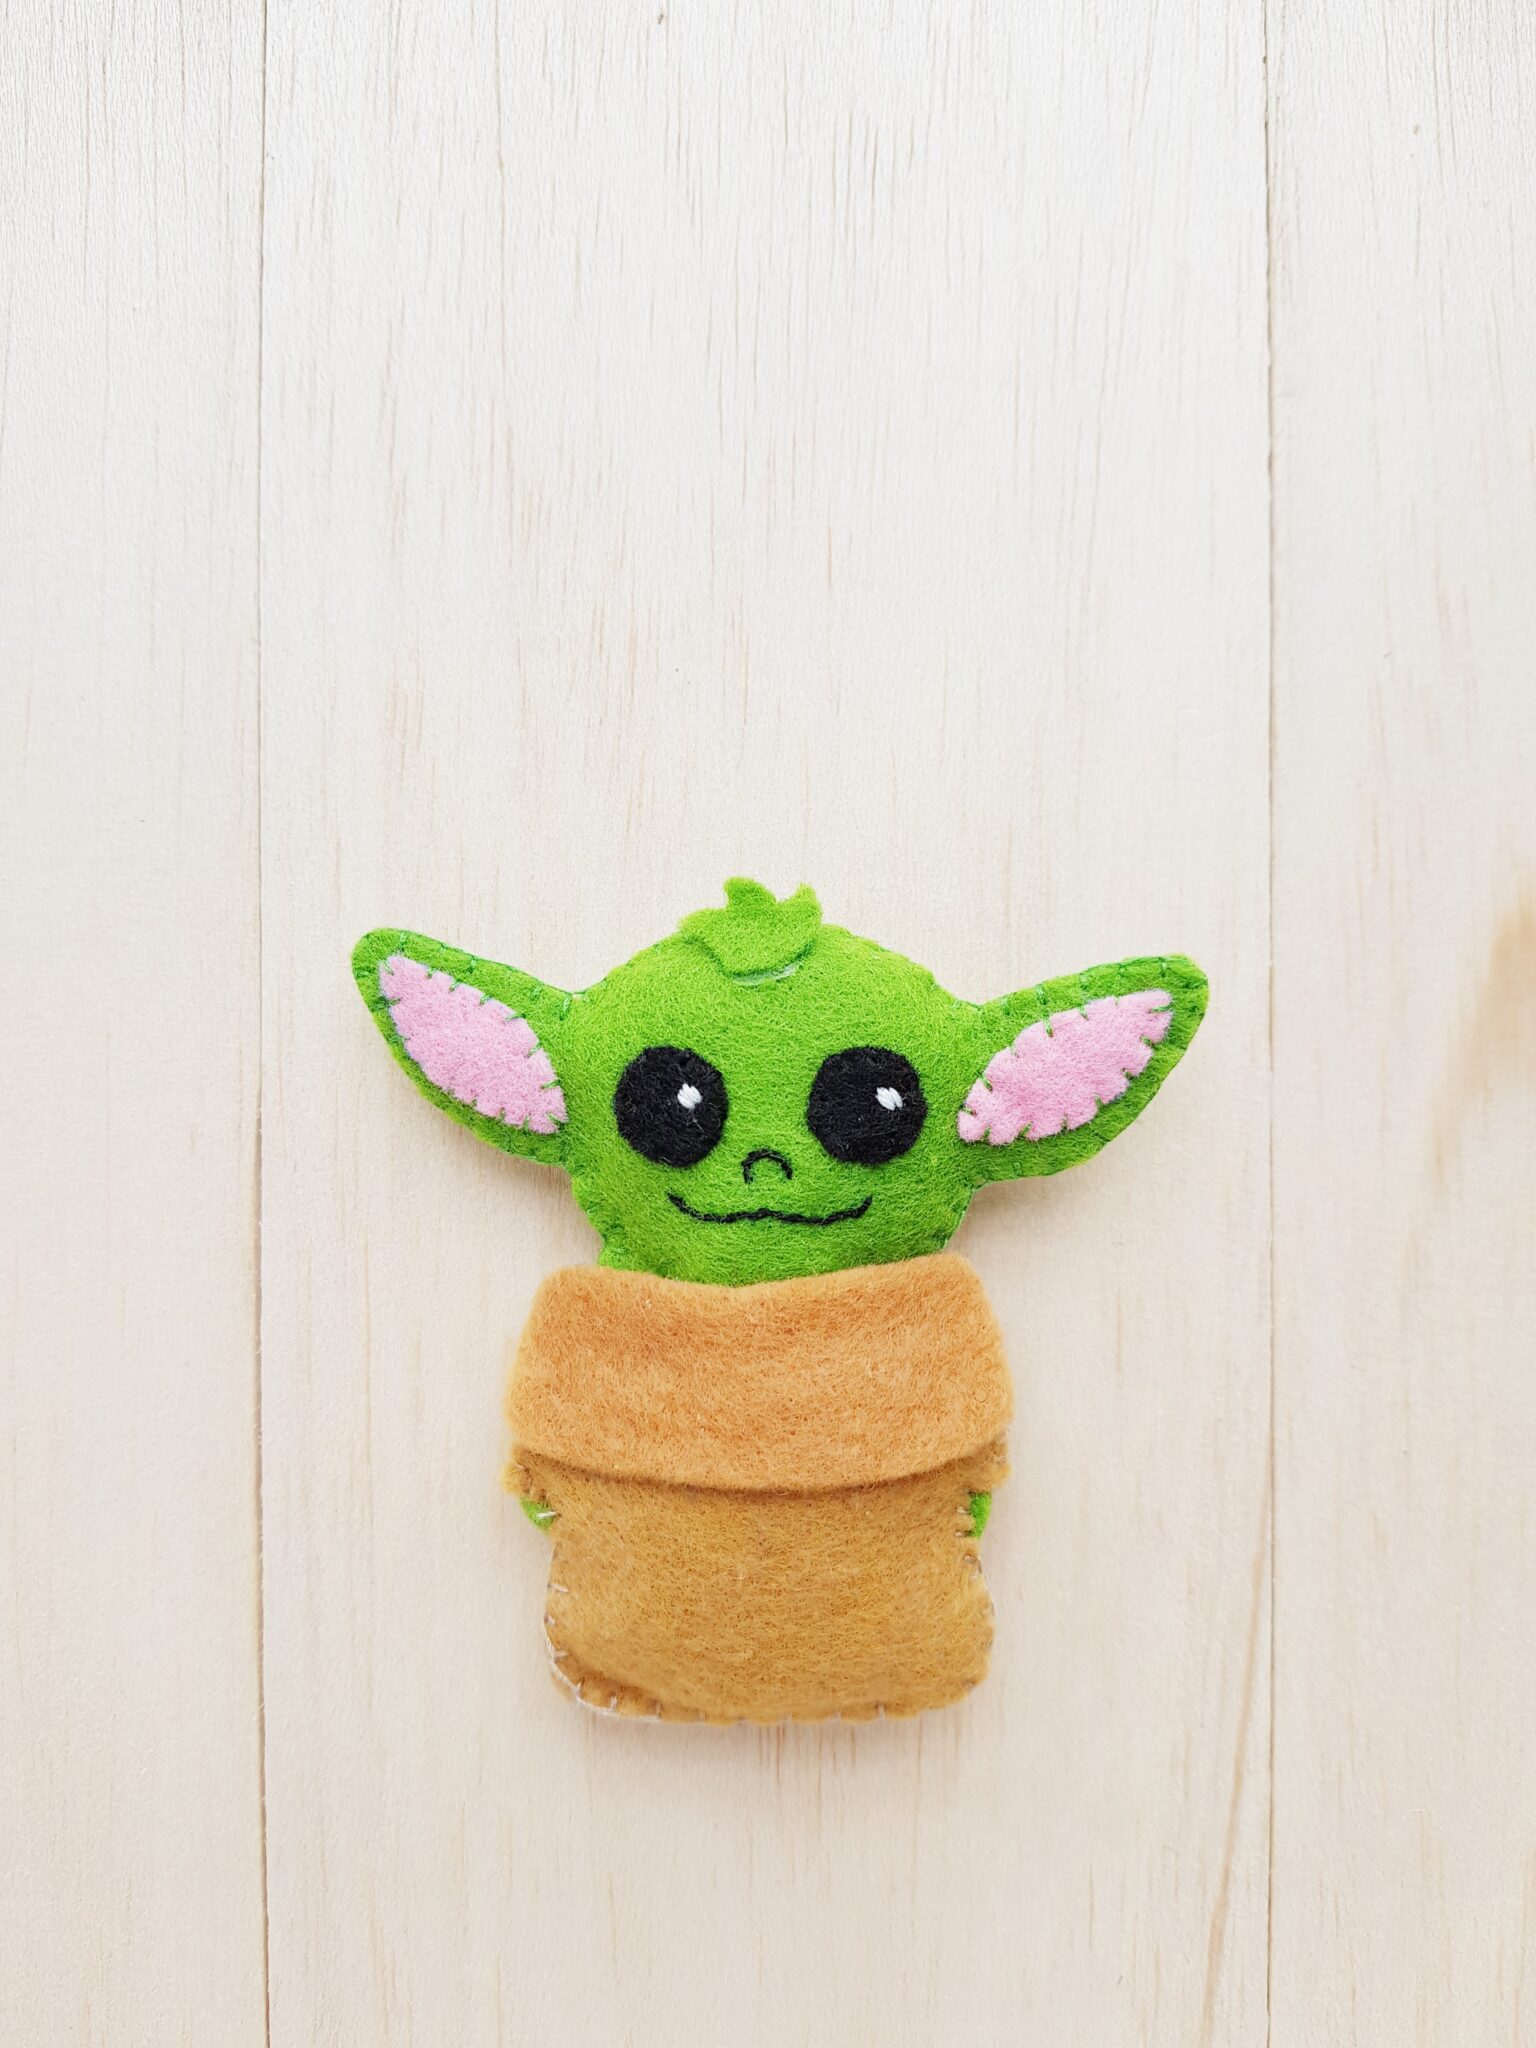
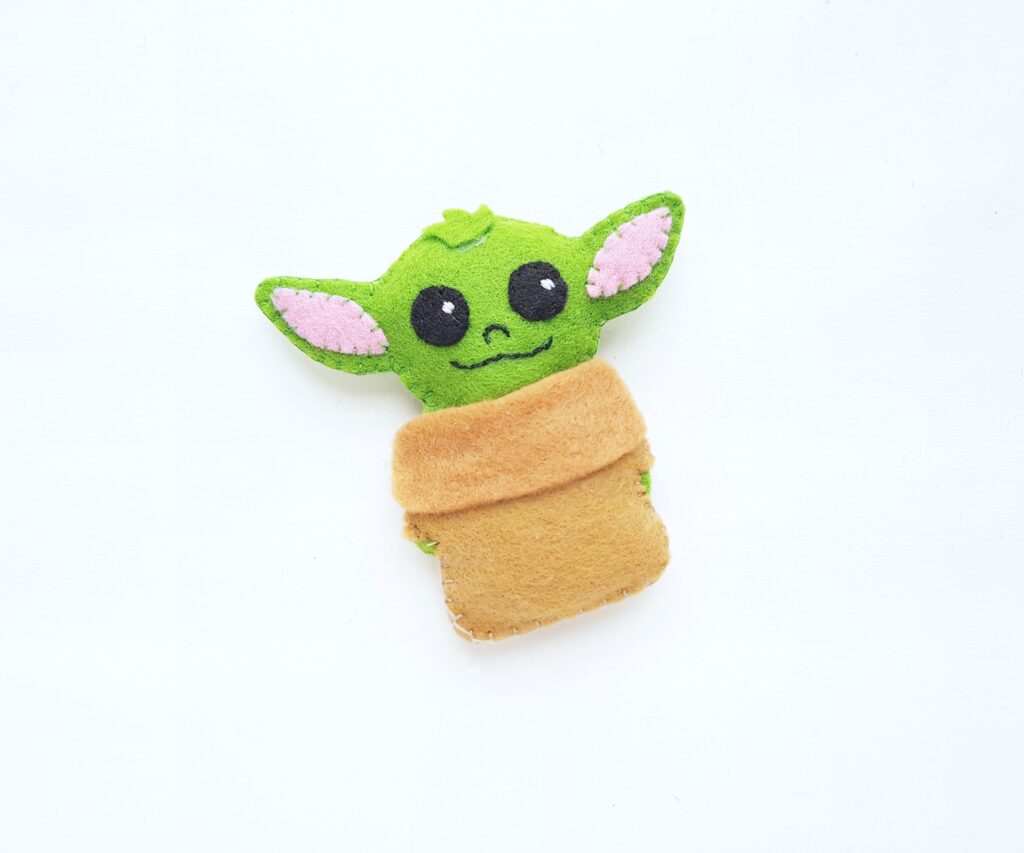
Baby Yoda- Ta-Da!
How adorable is he though? Let’s take a quick moment to admire the cuteness! What I love about DIY plushies is that you can make them your own.
They’ll be unique and have their own personality.
You May Also Like:
- DIY Baby Yoda Paper Craft
- Baby Yoda Paper Bookmark
- Pokemon Paper Notebooks
- DIY Pokemon Pikachu Plushie
Now that we have some extra time on our hands, you may want to check out our crafts section.
Have you made your own DIY Baby Yoda plushie before?
Let me know, til then–cheers m’deres!

PIN FOR LATER:

Nancy Polanco is a freelance journalist, lifestyle content creator, and editor of Whispered Inspirations. She is a proud Mom to Gabby and Michaela and partner and best friend to Darasak. Having worked as part of a health care team for almost a decade, Nancy is happy to be back to her passion. She is a contributor to the Huffington Post, TODAY’s Parents, and an Oprah Magazine Brand Ambassador.

Hello,
The link for the plush template is not correct. It’s for another project. Please fix- thanks
My apologies Peggy, I have updated it. Thanks for letting us know.