DIY Colourful Paper Flowers
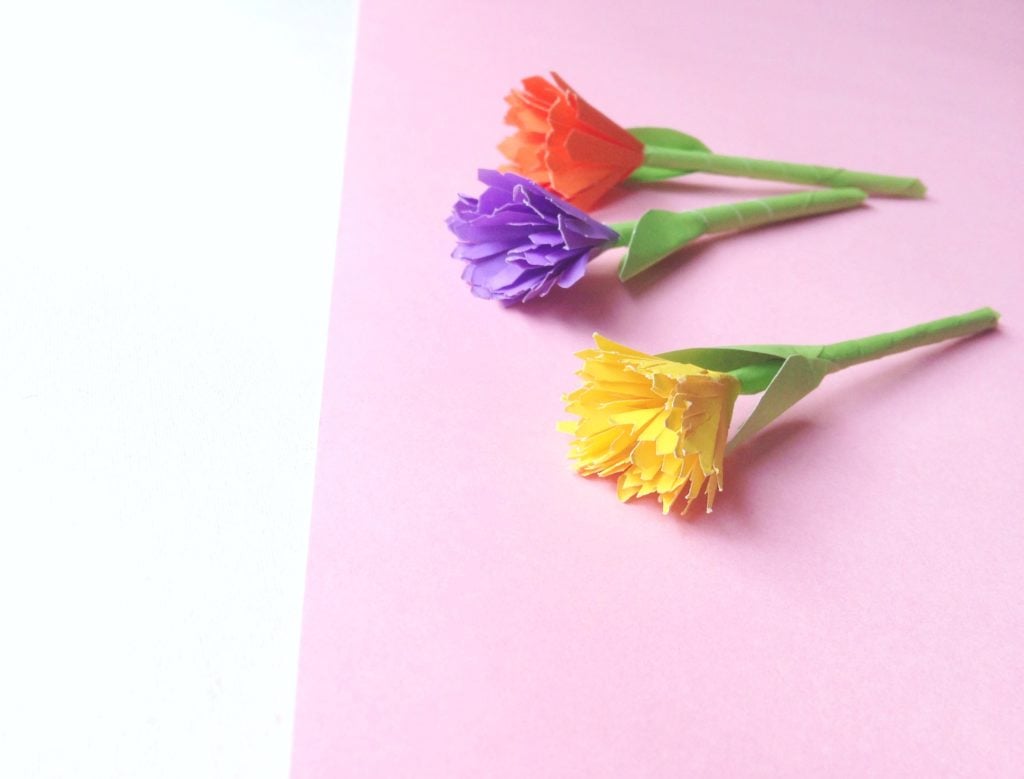
DIY Colourful Paper Flowers
Springtime is officially here and we are all for it. If you are excited as we are about spring’s arrival, celebrate with us by making these beautiful DIY colourful paper flowers!
There are perfect for adult crafts, school crafts, and crafts that are just for fun. If you want a spring-inspired sweet treat, try these Pink Rose Cookies, they are so yummy!
Read on for the step-by-step guide to make your own flower or an entire bouquet!
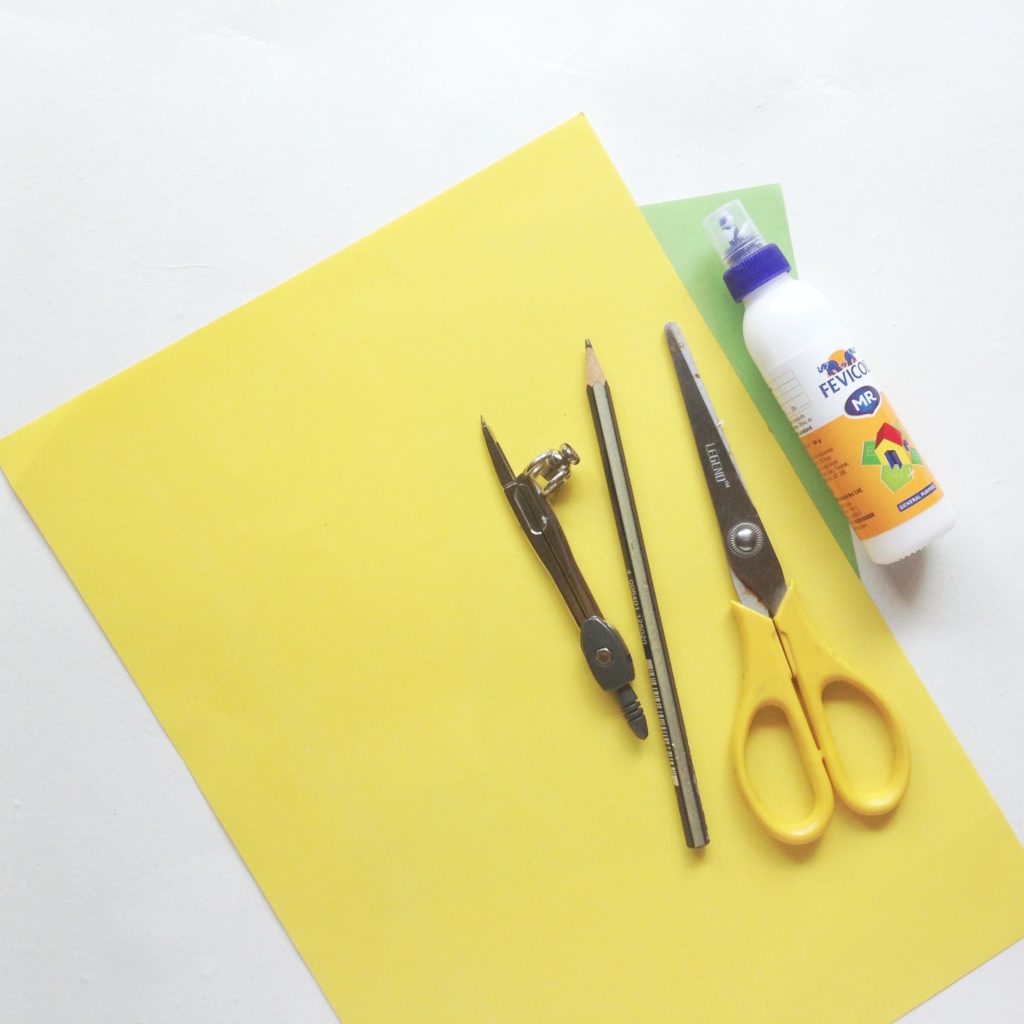
Things You Will Need:
Note: This post contains affiliate links.
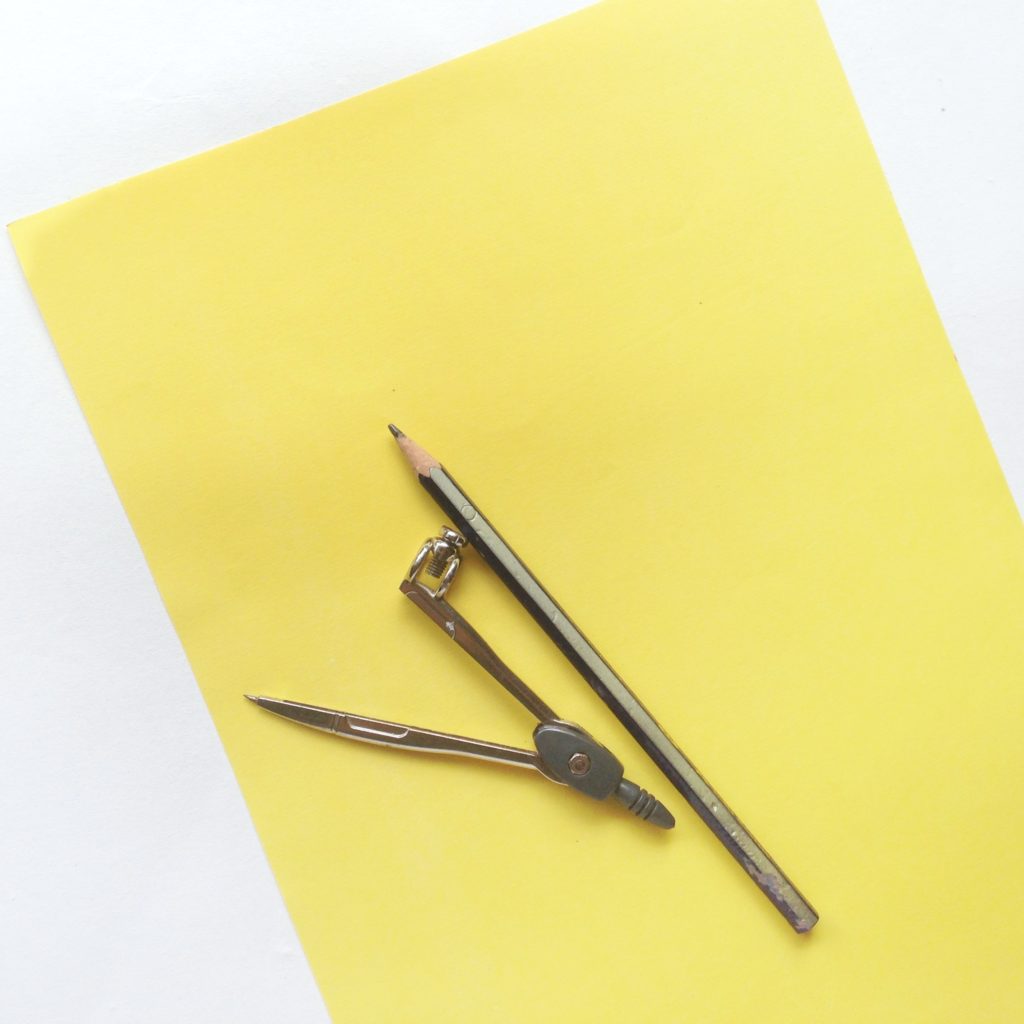
Step 1:
Grab your coloured construction papers and choose the colours you want your flowers to be!
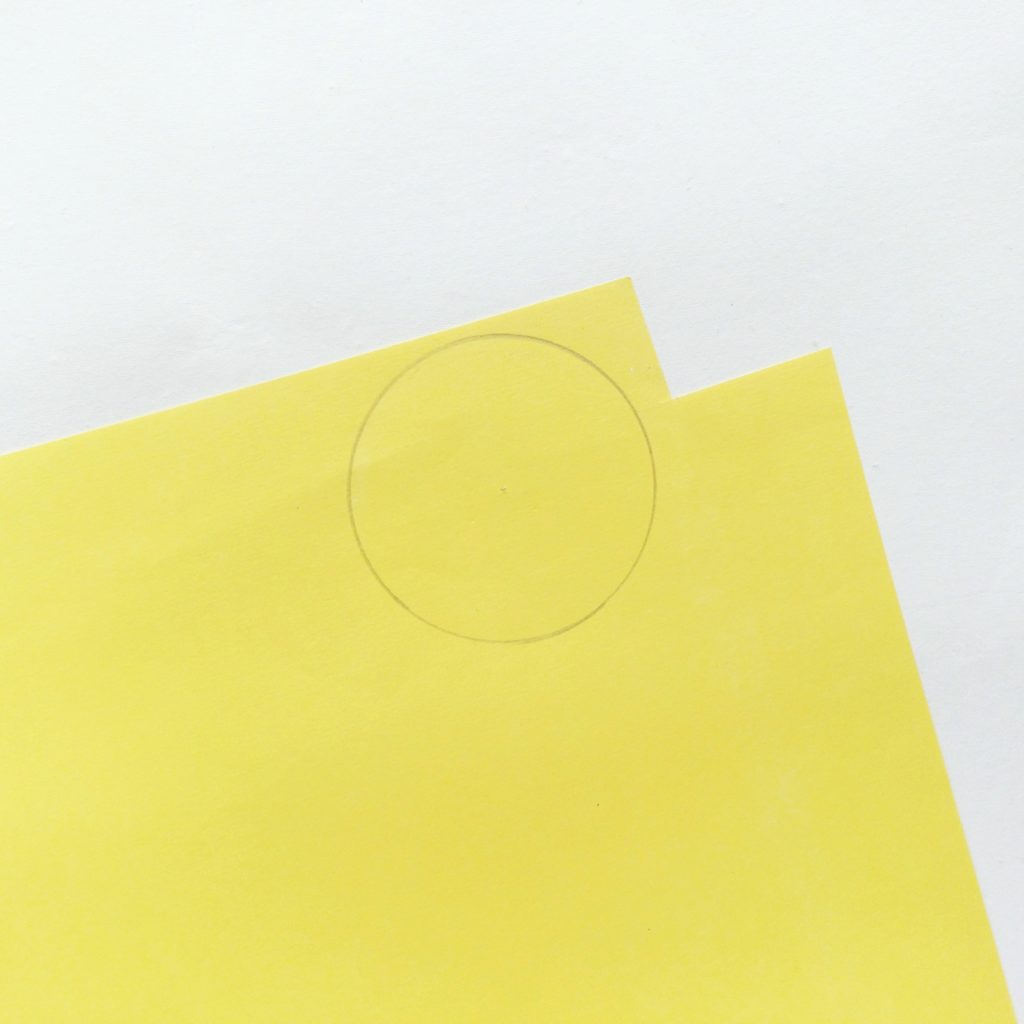
Step 2:
Use the compass to make a perfect circle. Repeat these steps for every colour of flower you make.
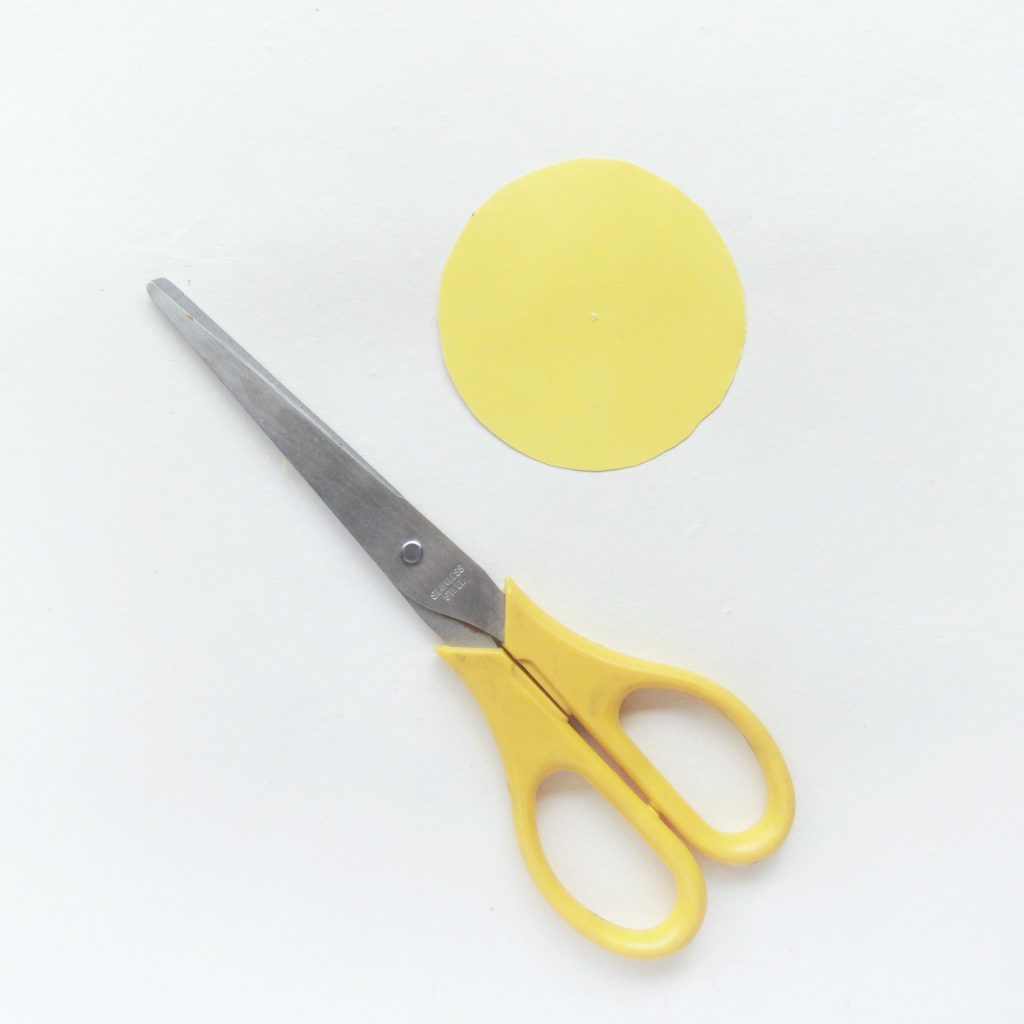
Step 3:
Cut out the circle for every colour.
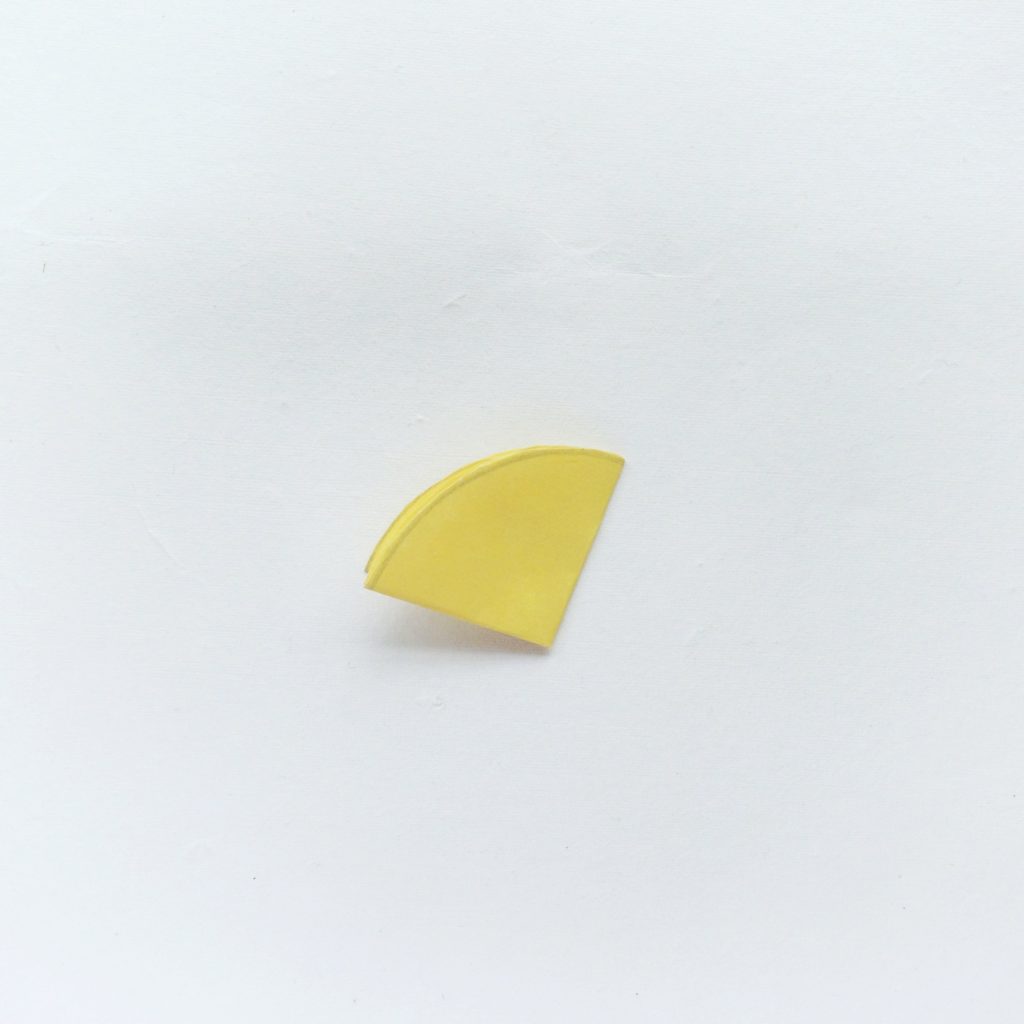
Step 4:
Fold each circle into fours.
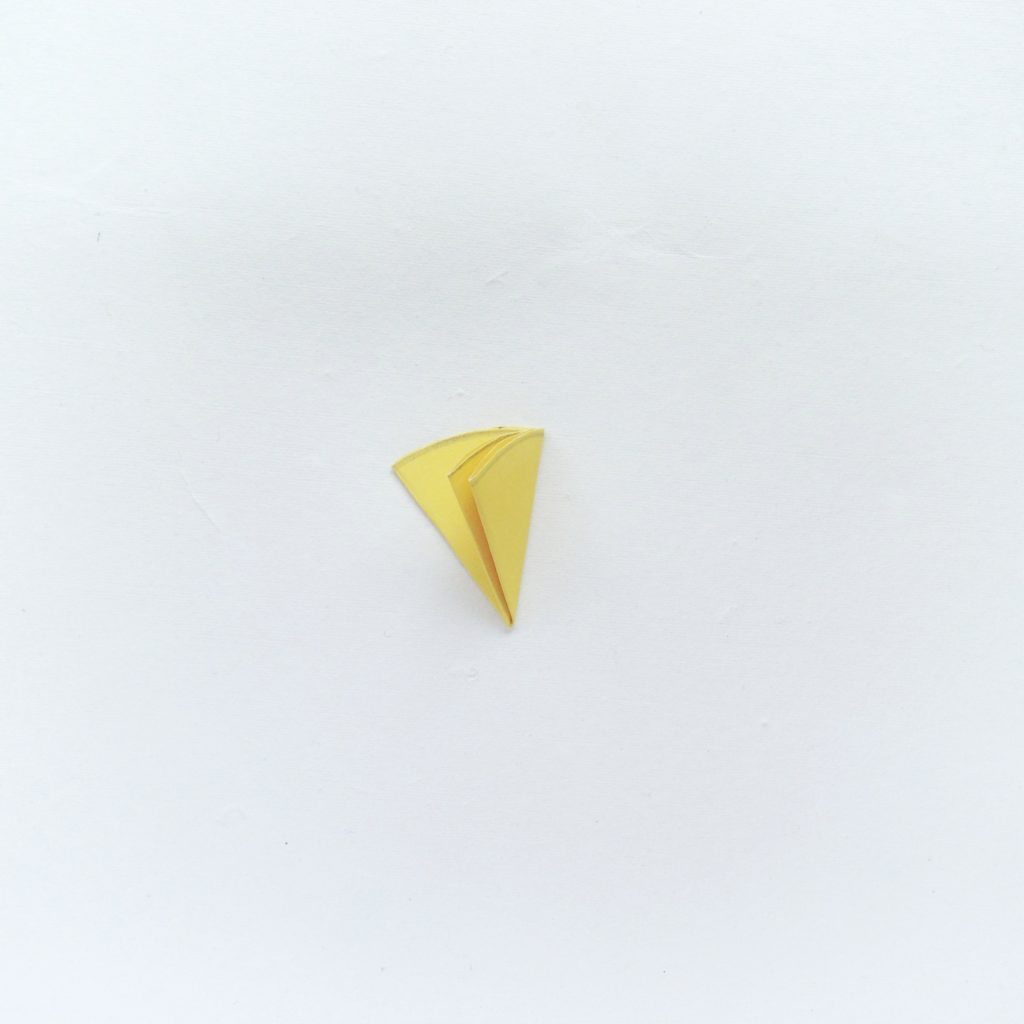
Step 5:
Then fold the folded piece in half.
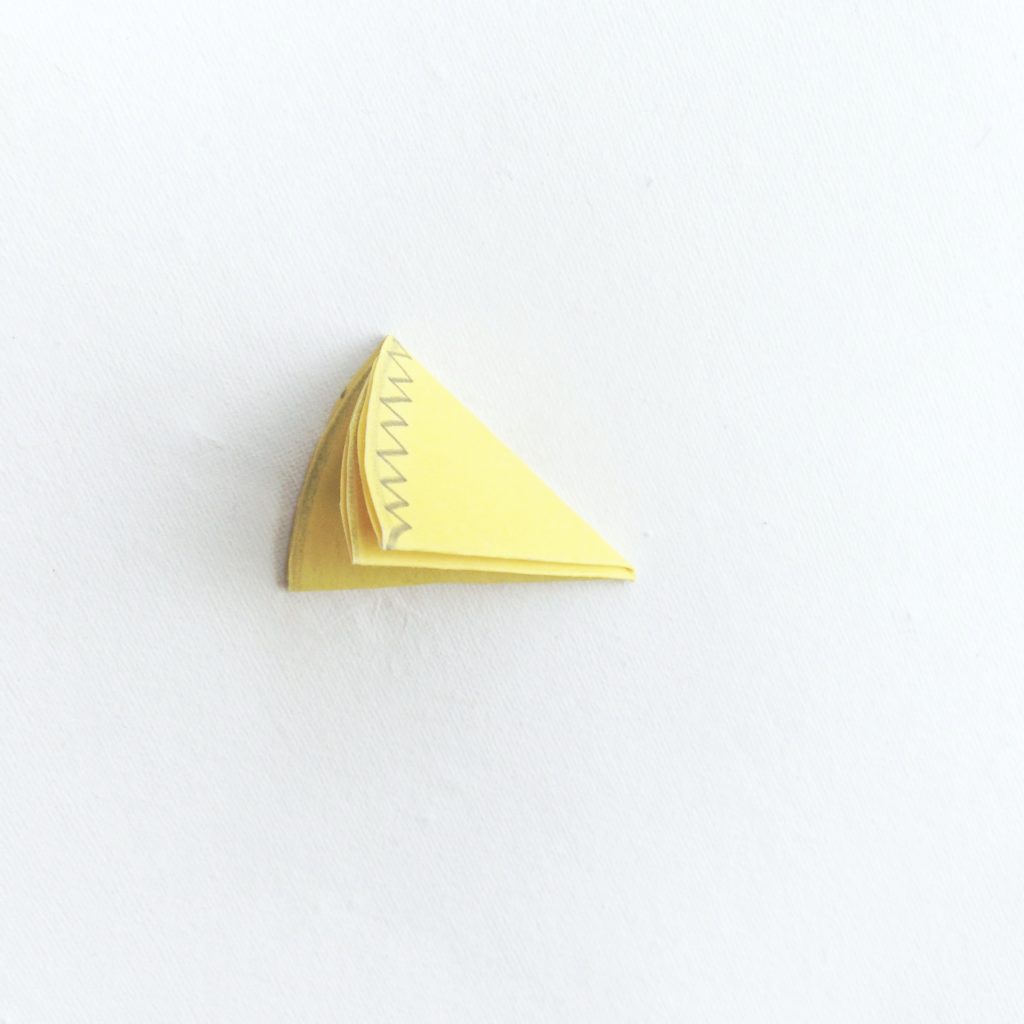
Step 6:
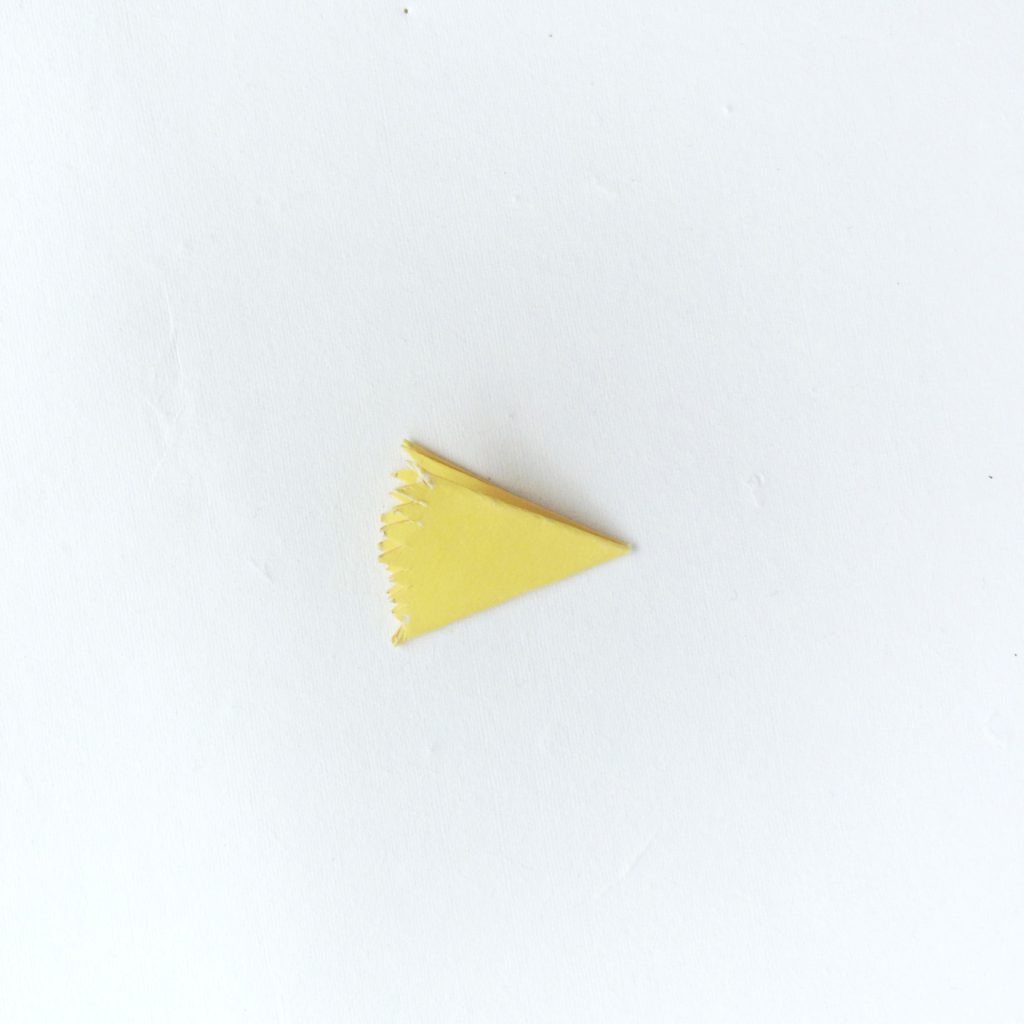
Draw a zigzag shape on the opened side of the piece. Or you can use the template to draw the shape.
Step 7:
Cut along the zigzag mark as best as you can, this will make the shape of the flower.
Step 8:
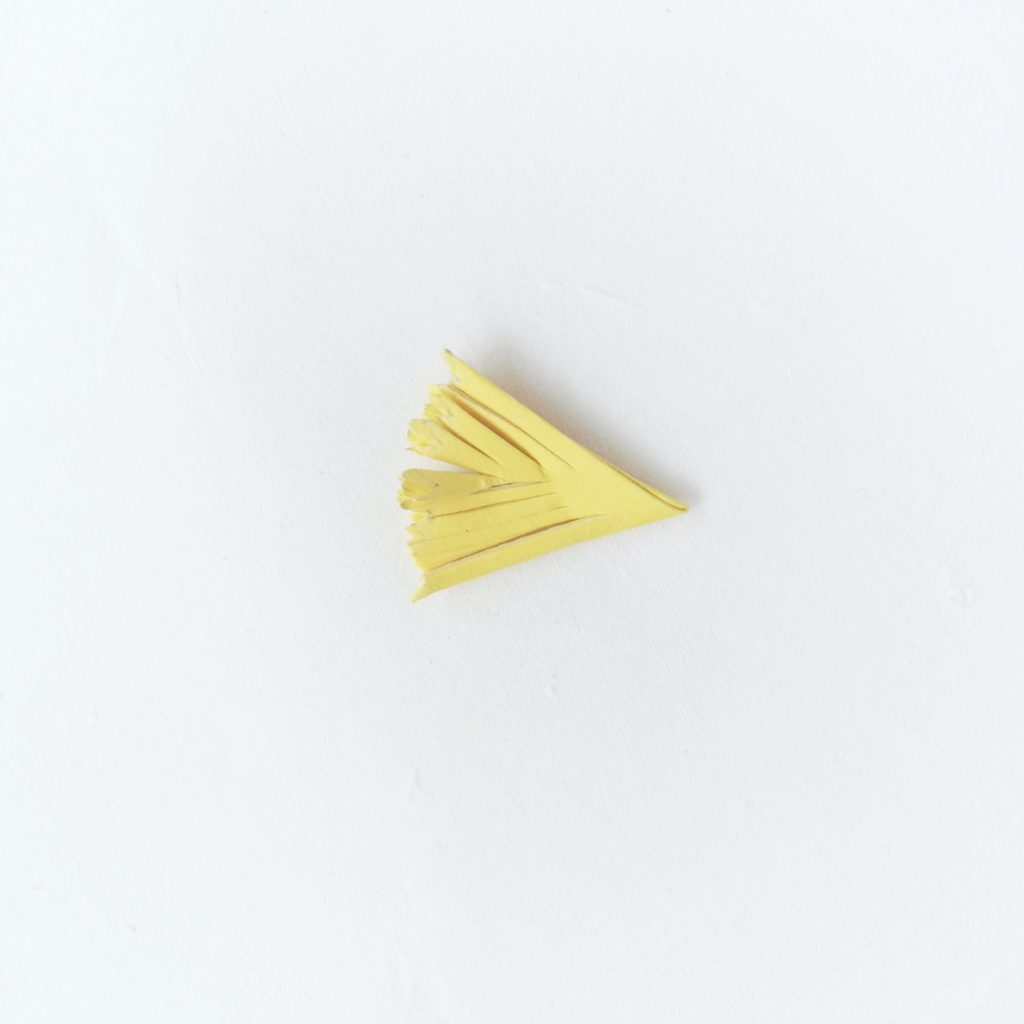
Make some vertical cuts on the piece from the opened top side. Don’t cut all the way through.
Step 9:
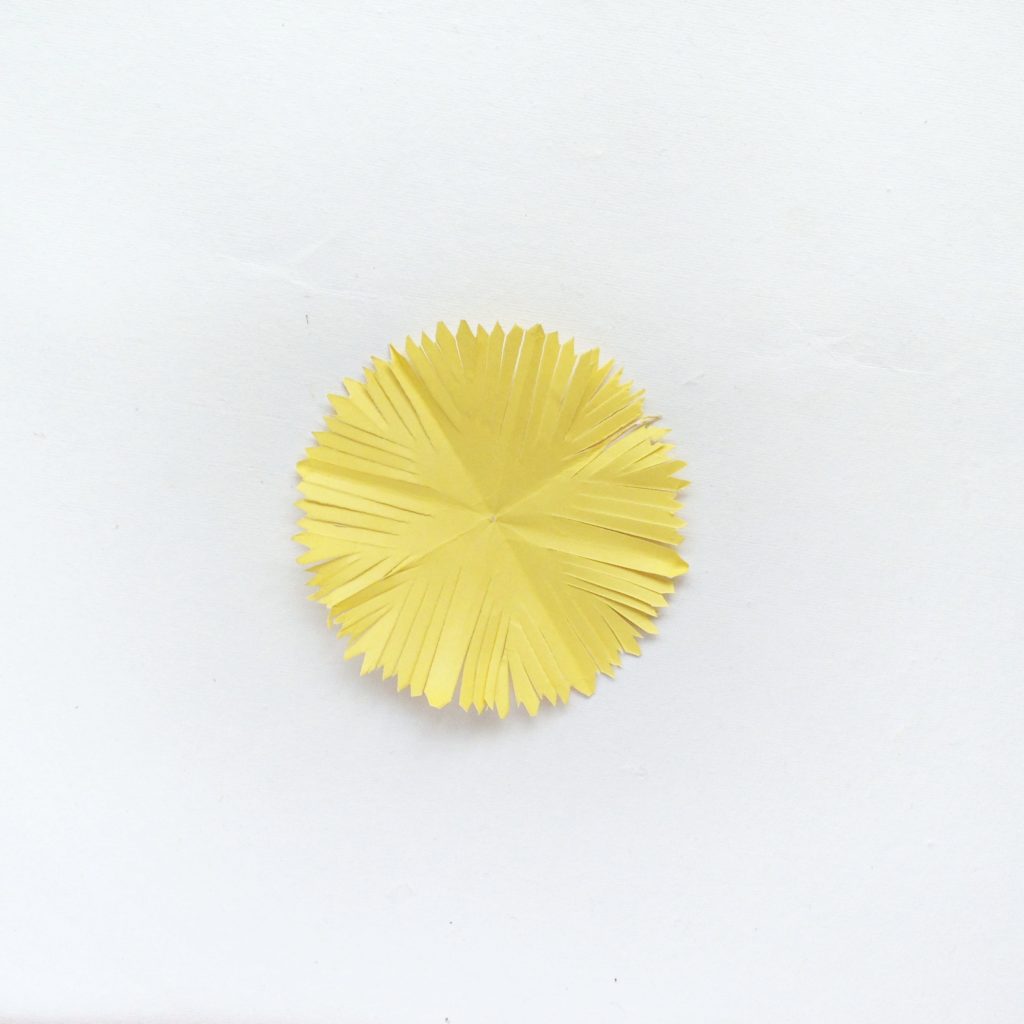
Open up the fold to reveal a beautiful circle revealing a myriad of thin petals.
Step 10:
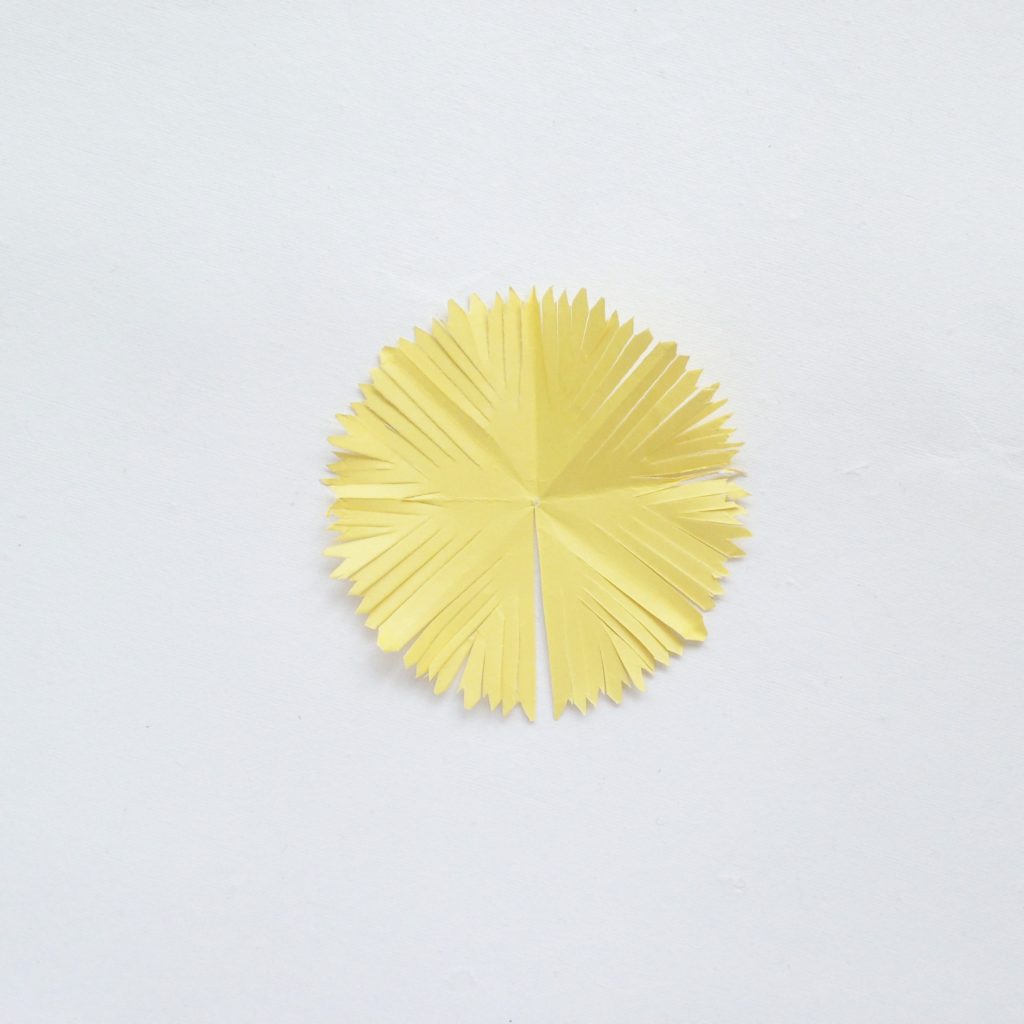
Make a cut on the circle piece. Don’t cut all the way through, just until there is a space in the bottom center.
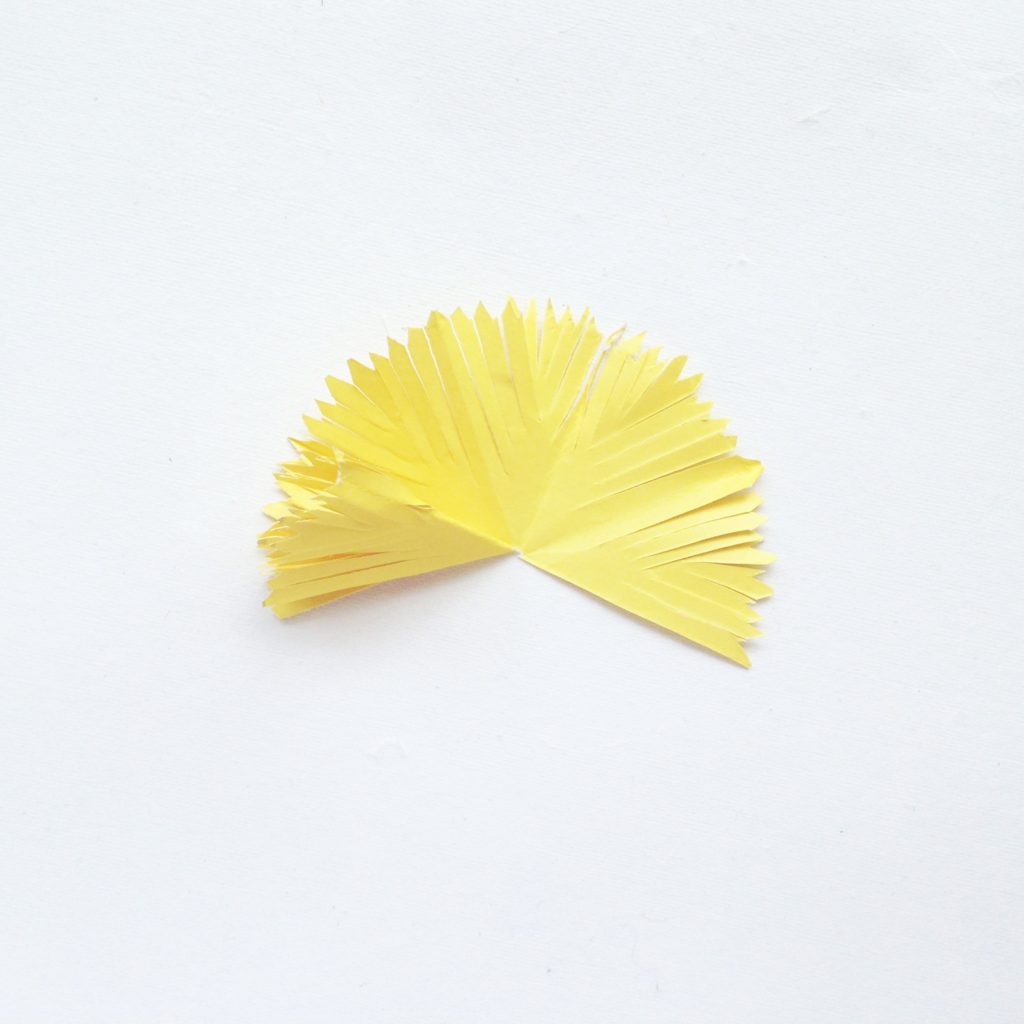
Step 11:
Start rolling the paper up from the cut area.
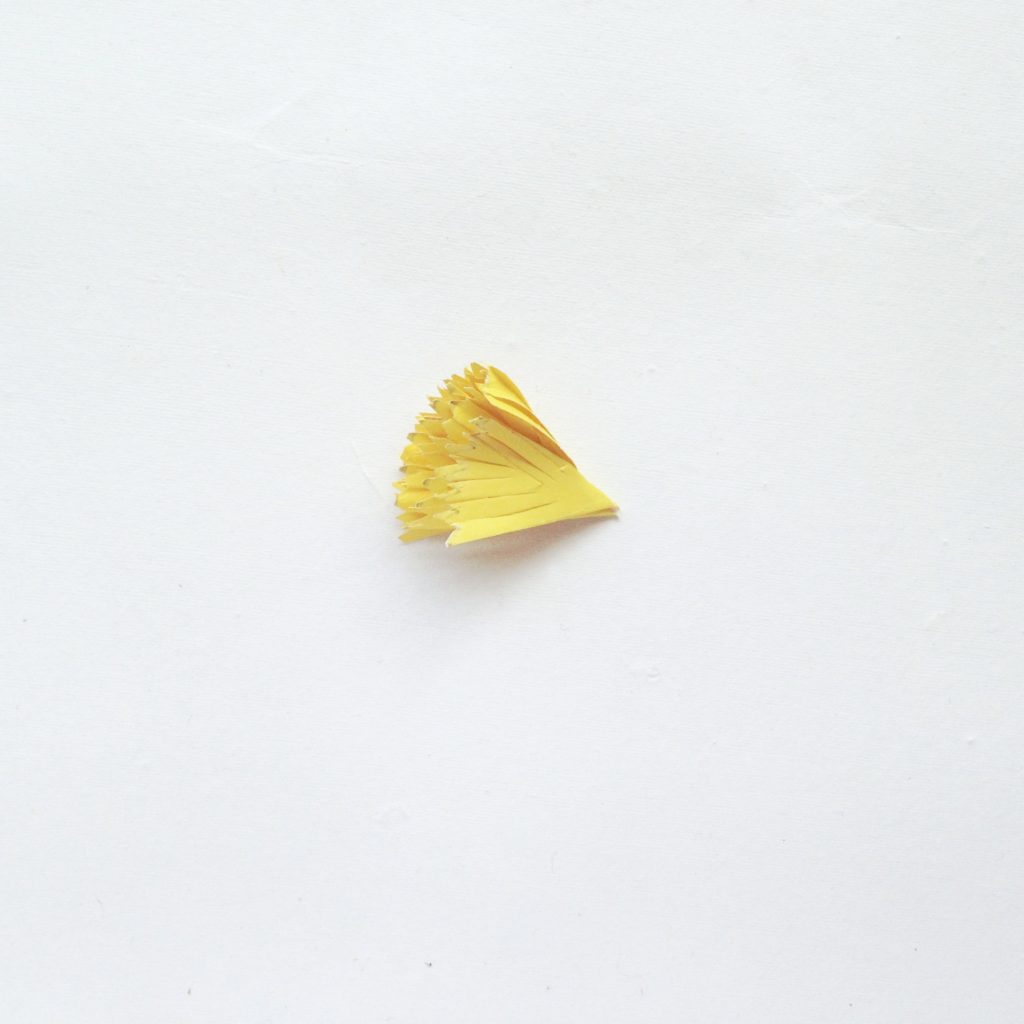
Step 12:
After rolling it all the way you’ll get a cone, glue the end to secure it.
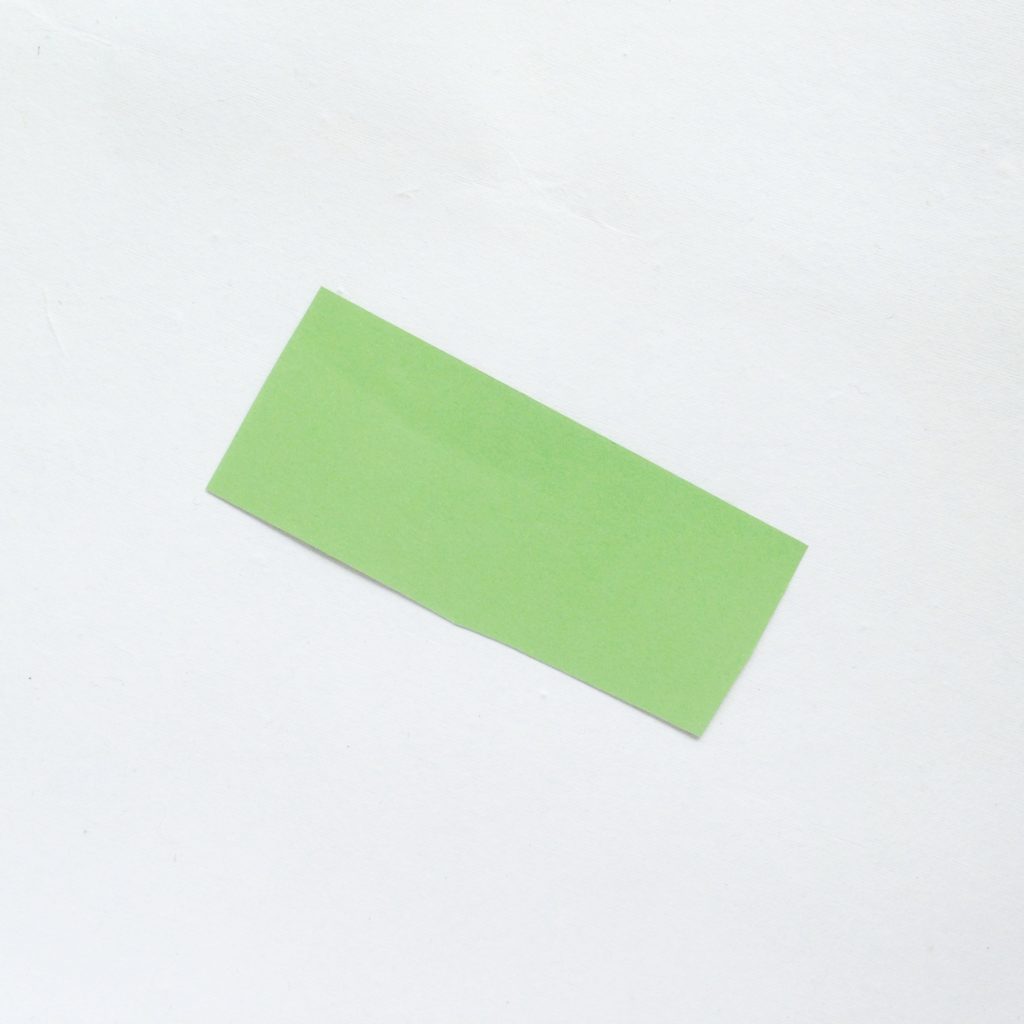
Step 13:
Cut out a green piece of paper out of construction paper to make a stem. Make it the length that you want!
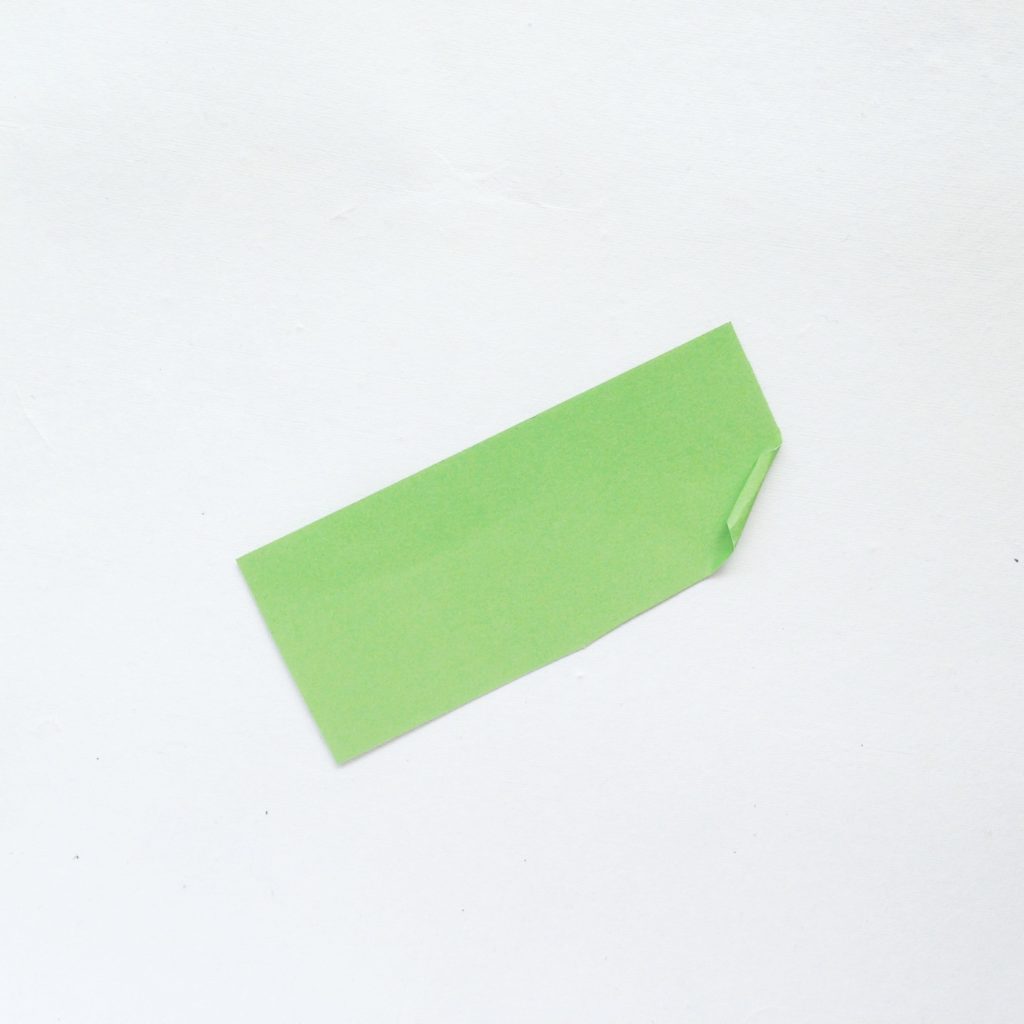
Step 14:
Roll the paper diagonally starting from any corner.
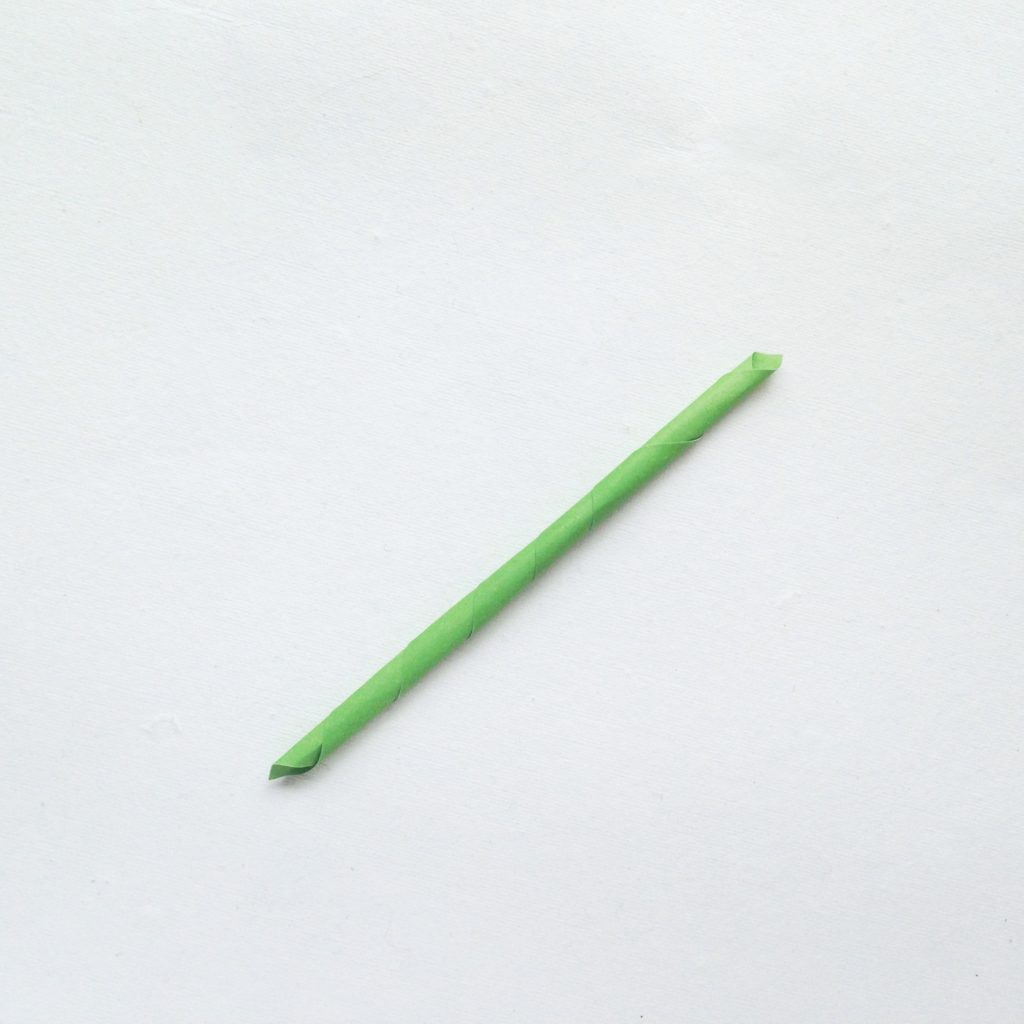
Step 15:
After rolling it all the way you’ll get a stick shape, glue it and secure it.
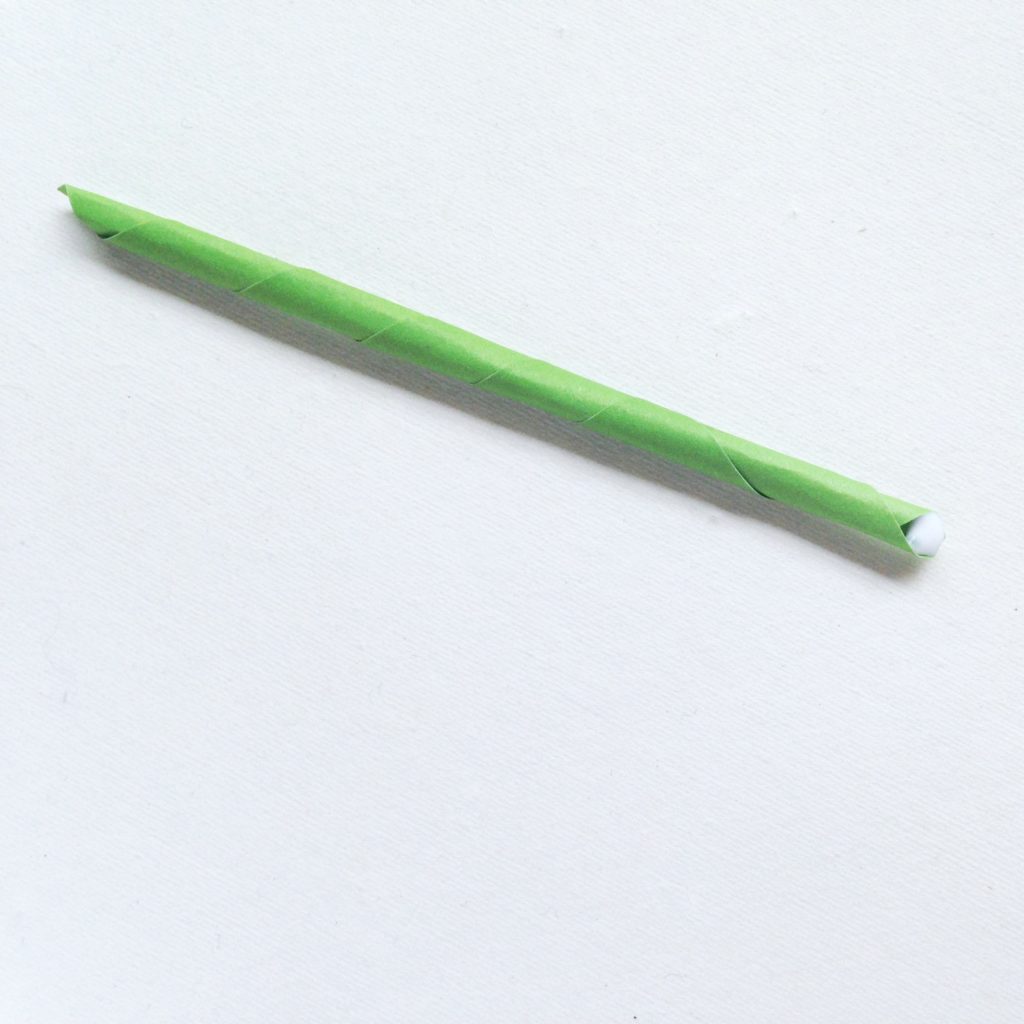
Step 16:
Apply glue on the top of the stick.
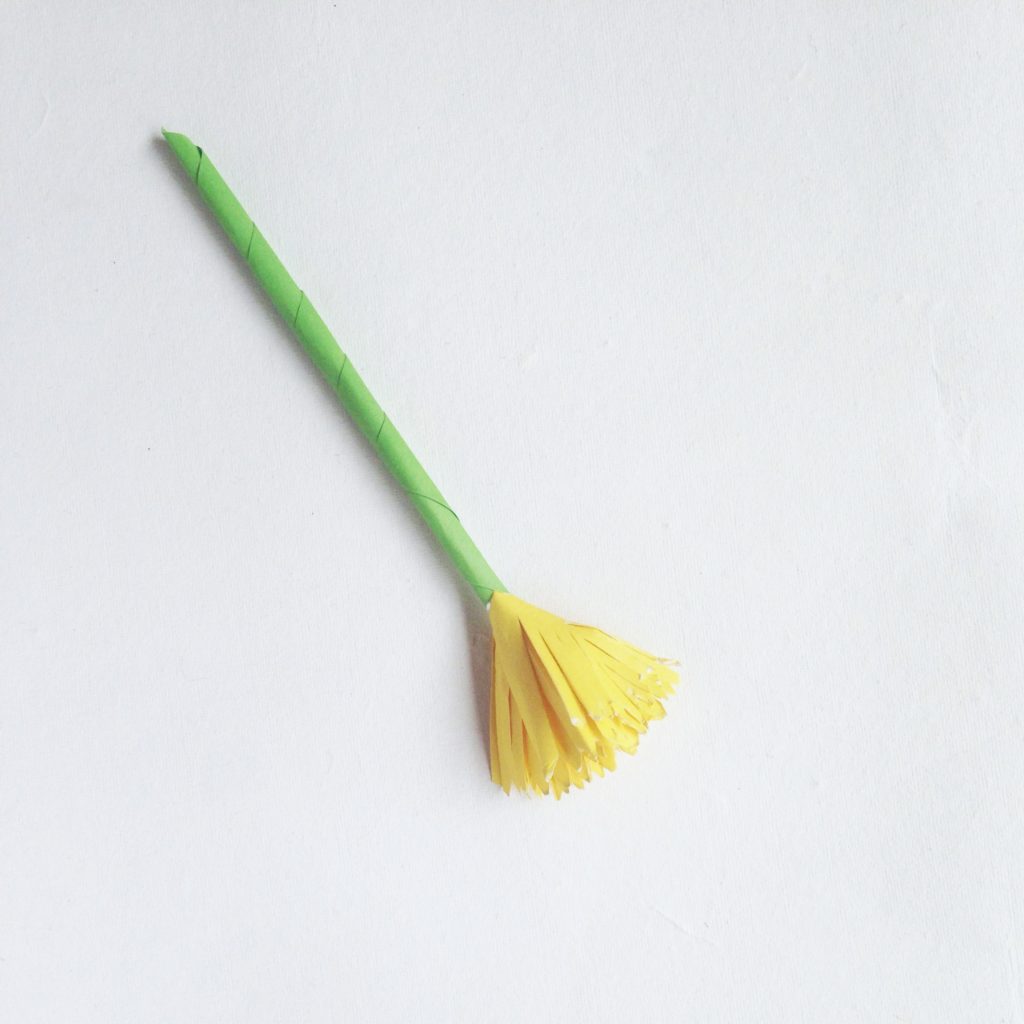
Step 17:
Then glue the flowers bottom on the glue area, and let it dry.
Step 18:
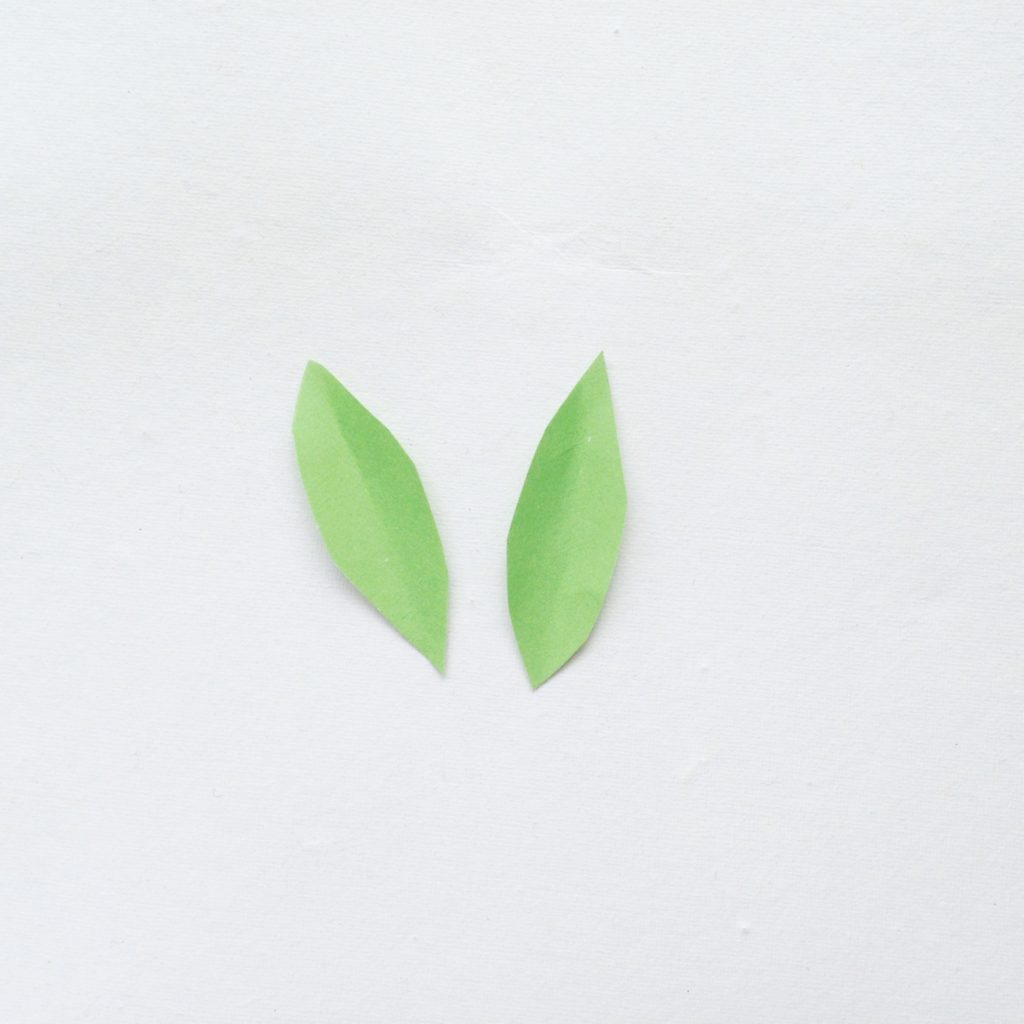
Cut out two leaves shapes from the TEMPLATE.
Step 19:
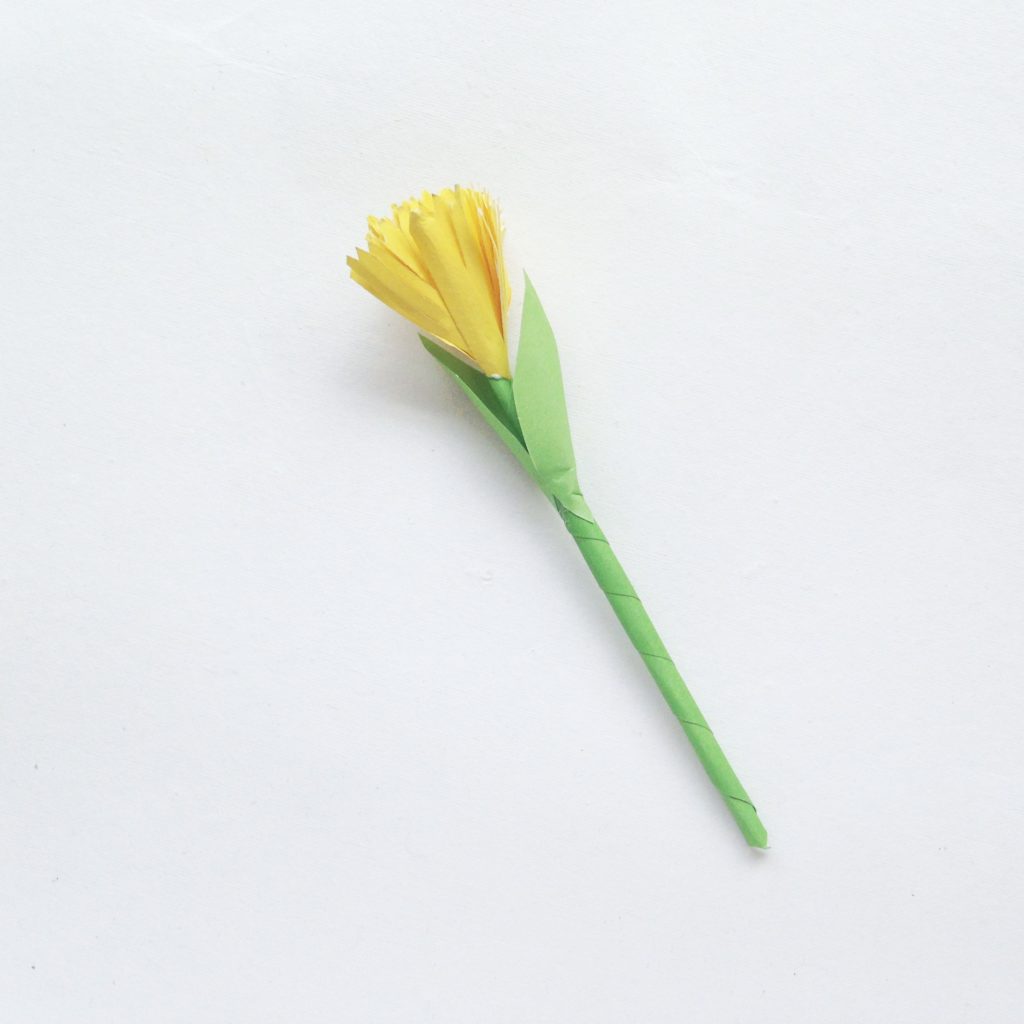
Glue the leaves on the stick and you’re done!
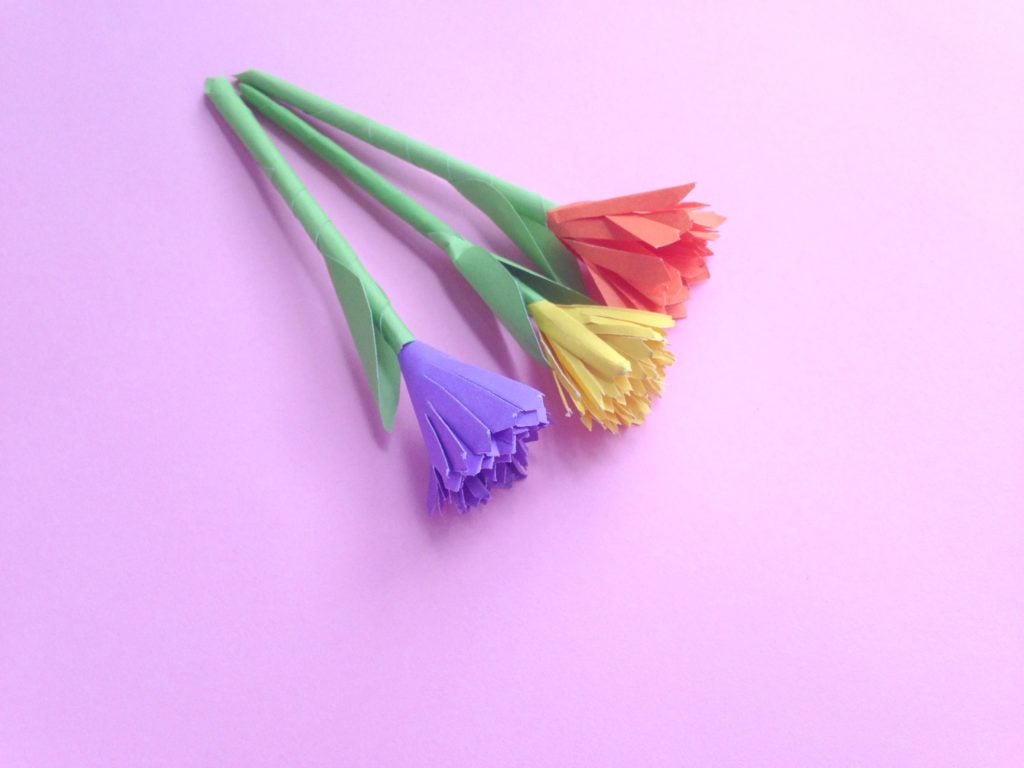
April Showers, Bring May Flowers!
There you have it! Now you have beautiful flowers for any occasion. I don’t know about you but, I’m ready for the spring weather. Winter was long enough and I’m ready for warmer weather, blue skies, and beautiful flowers.
You May Also Like:
- Step-by-Step Paper Monsters Craft for Kids
- Dr. Seuss & Truffula Tree Paper Craft
- Dr. Seuss & Thing 1 and Thing 2 Craft
- Essentials That Need to Be in Your Craft Kit
This craft is a perfect way to welcome spring!
Are you ready for spring?
Let me know, til then–cheers m’deres!

PIN FOR LATER:

Nancy Polanco is a freelance journalist, lifestyle content creator, and editor of Whispered Inspirations. She is a proud Mom to Gabby and Michaela and partner and best friend to Darasak. Having worked as part of a health care team for almost a decade, Nancy is happy to be back to her passion. She is a contributor to the Huffington Post, TODAY’s Parents, and an Oprah Magazine Brand Ambassador.


This is such a cute craft idea! I bet our kids would love to make these.
Yes, so easy.