How To Make a TOMS Clutch Purse: Repurpose Your TOMS Shoes Flags with Style! #DIY
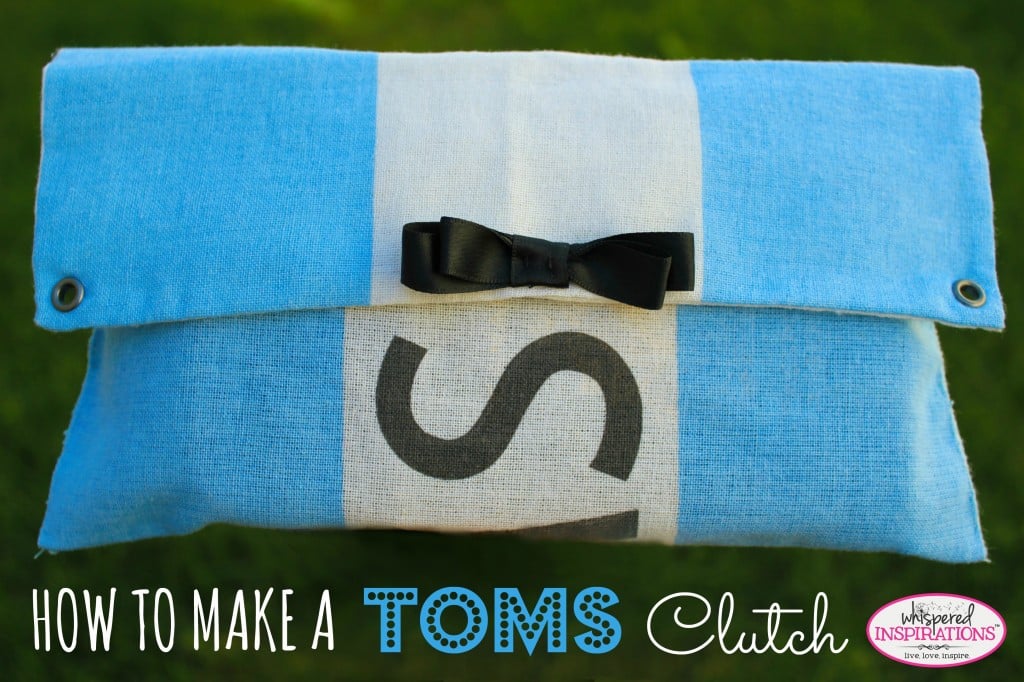
How To Make a TOMS Clutch Purse.
It is really quite simple.
And this is coming from someone who doesn’t sew frequently and isn’t much of a crafty person. The only thing I have going for me is my love for the planet and my obsession with TOMS. That and I have quite a few flags that I have lying around just waiting to repurposed.
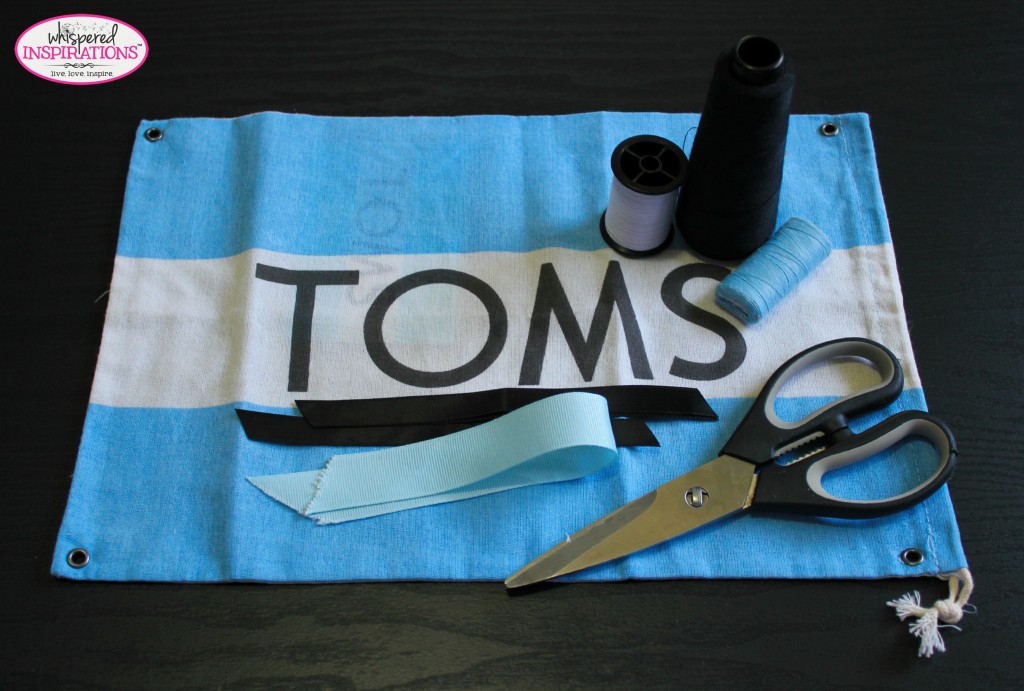
Things You Will Need:
- TOMS flag.
- Pair of Scissors.
- Black, Blue or White thread.
- 2 lengths of Ribbon in the color of your choice.
- 1 needle.
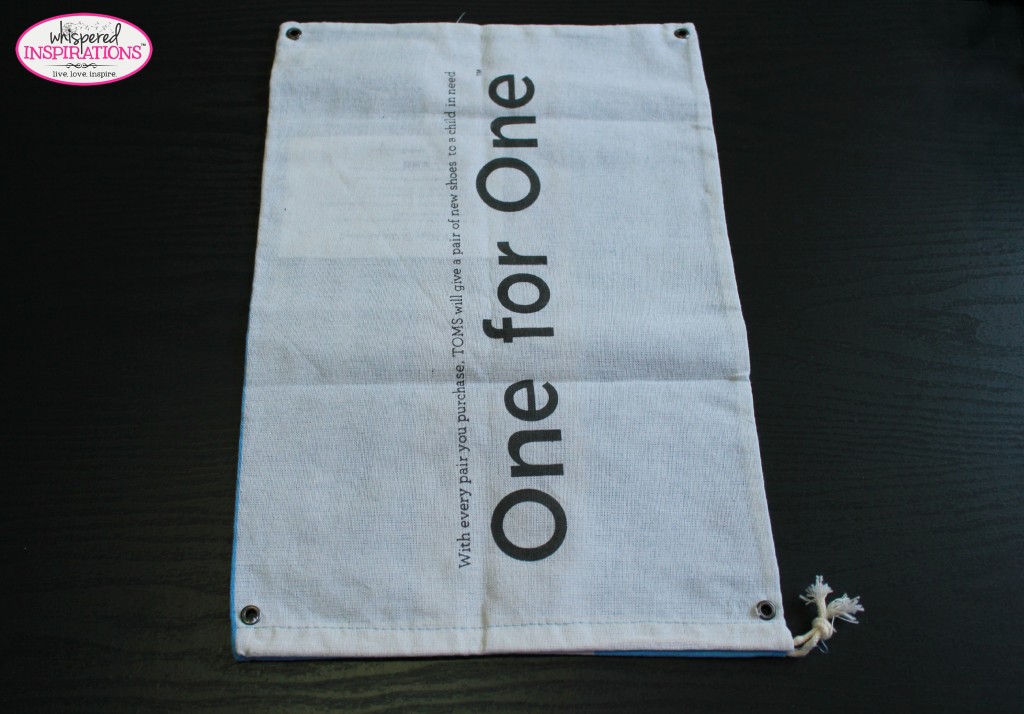
Get Your Flag Ready!
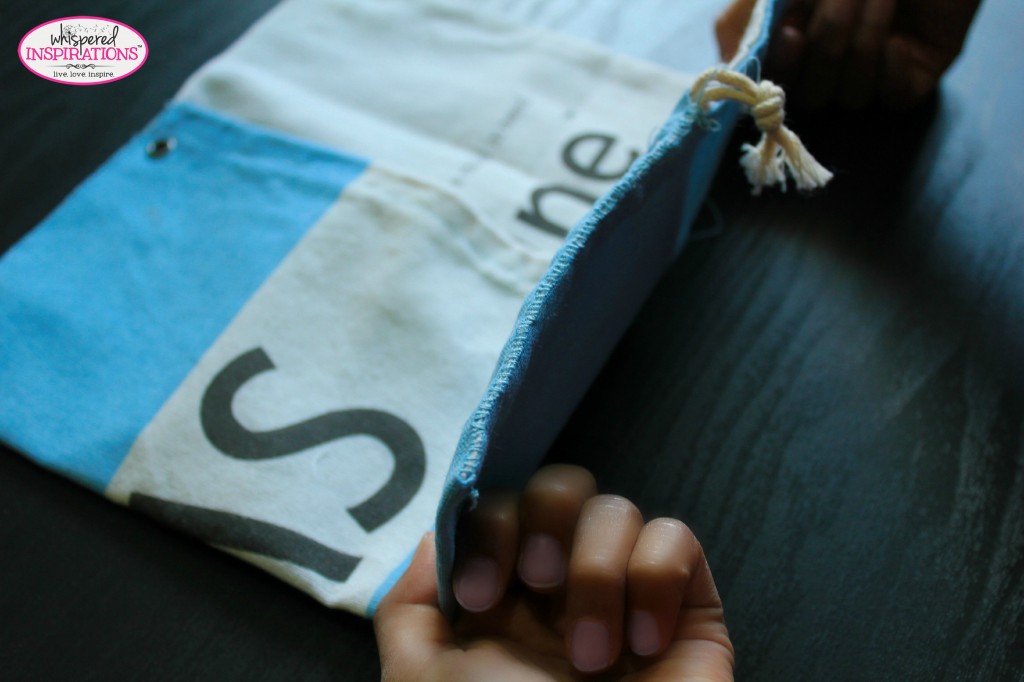
If you so desire, you can iron out your flag to get the wrinkles out. Place the flag with the opening facing downwards. This will facilitate a second and inner pocket for your TOMS clutch.
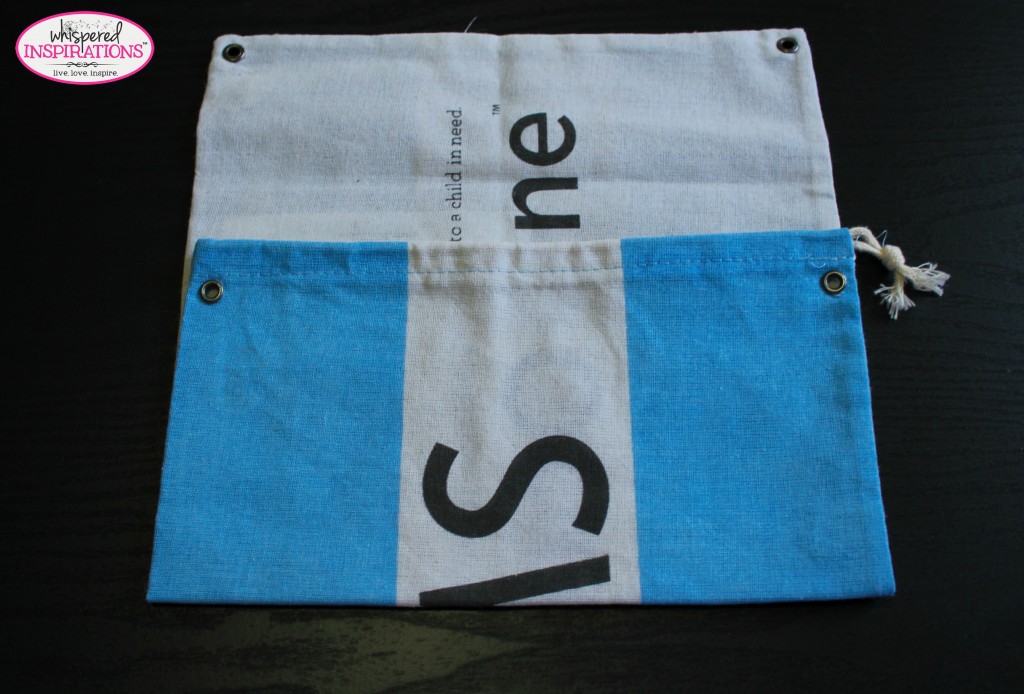
Fold It Up.
Fold the bottom of the flag up about 3/4 of the length of the actual flag. That way, it will make for a deeper pocket and the flap will be comfortable. String your needle thread in either light blue or white, whichever you prefer. I chose to use the light blue thread, as it blended better with the flag. Since my stitch work isn’t the greatest, it made for a good choice.
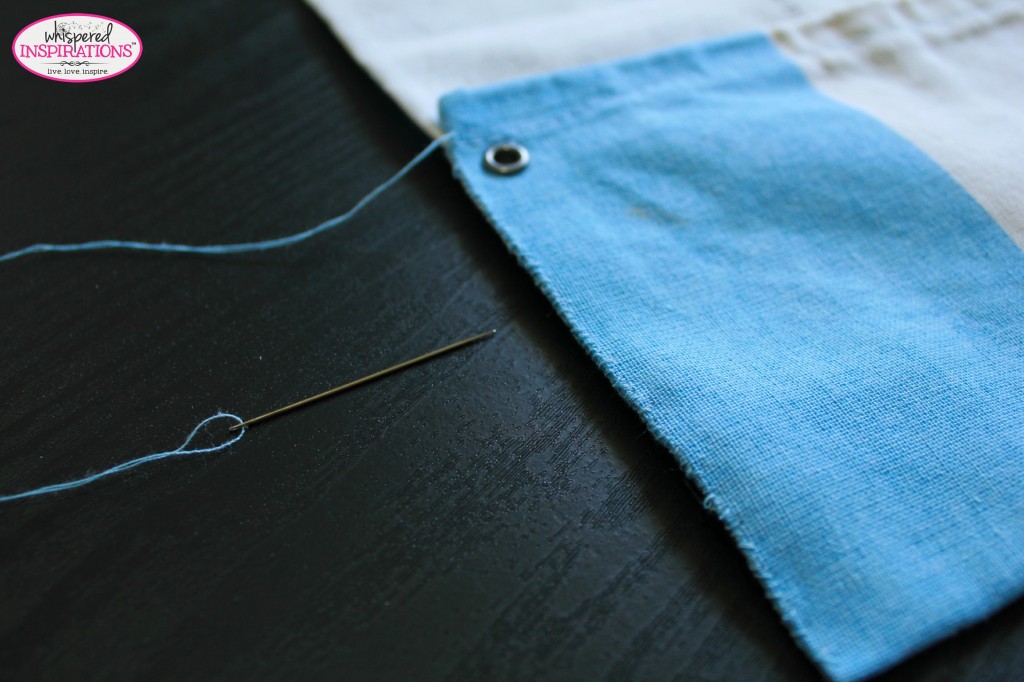
Stitch It Up.
Now this is the important part and if you’re a sewing novice like me, don’t fret! I chose to use an overcast stitch that gives it a nice, clean and aesthetic look and also reinforced the sides of the clutch so that it can hold the inner contents. If you have a machine, it is even more simple as you can just make two stitch lines and you are done in seconds! But, if you are doing it manually like me, you can use the overcast, zig zag or buttonhole stitch. If you prefer, you can do a simple stitch all the way along the sides and then do the overcast stitch to reinforce the sides.
Make a Bow.
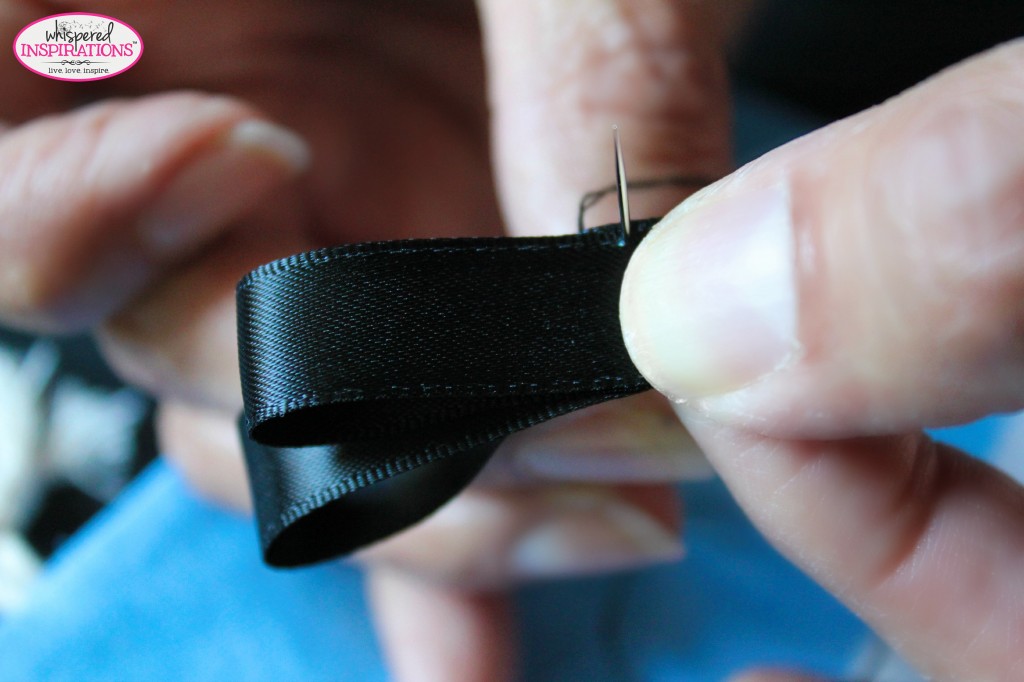
You can take two even or two pieces of ribbon of different lengths for your bow. You can also opt to add anything to your flap besides a bow. But, to keep it simple, I chose to make a bow. Take each piece of ribbon and over lap it into a loop–so that both ends of the ribbons touch each other. Do this for both pieces of ribbons and place them on top of each other. Apply two stitches in the center of the ribbons. Doing this, you should have stitched together the ends and secured both ribbons together.
Pinch Them.
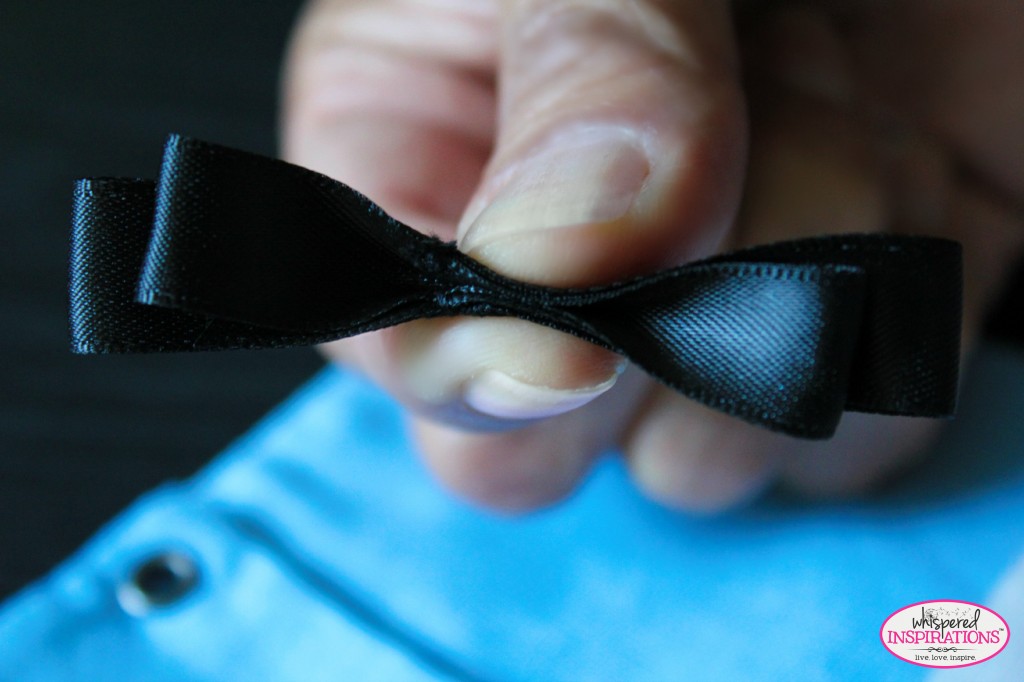
After the ribbon is attached, pinch at the center and apply two more stitches to sew the pinch into place. You’re almost done!

Finish It!
Wrap a piece of ribbon around the pinched area of the bow. Loop it and overlap it and then place one stitch right the top and center of the bow. You will be left with a little tail of the ribbon. Cut the ribbon as close to the back as you can, tuck it in and no worries about how it will look, this will be on the back and not visible. Pull the flap down and attach the bow in the center of it. I’m sure for those of you who are much better at sewing, you can come up with more elaborate bows or you can always buy a ready-made one. This is a simple and quick option!
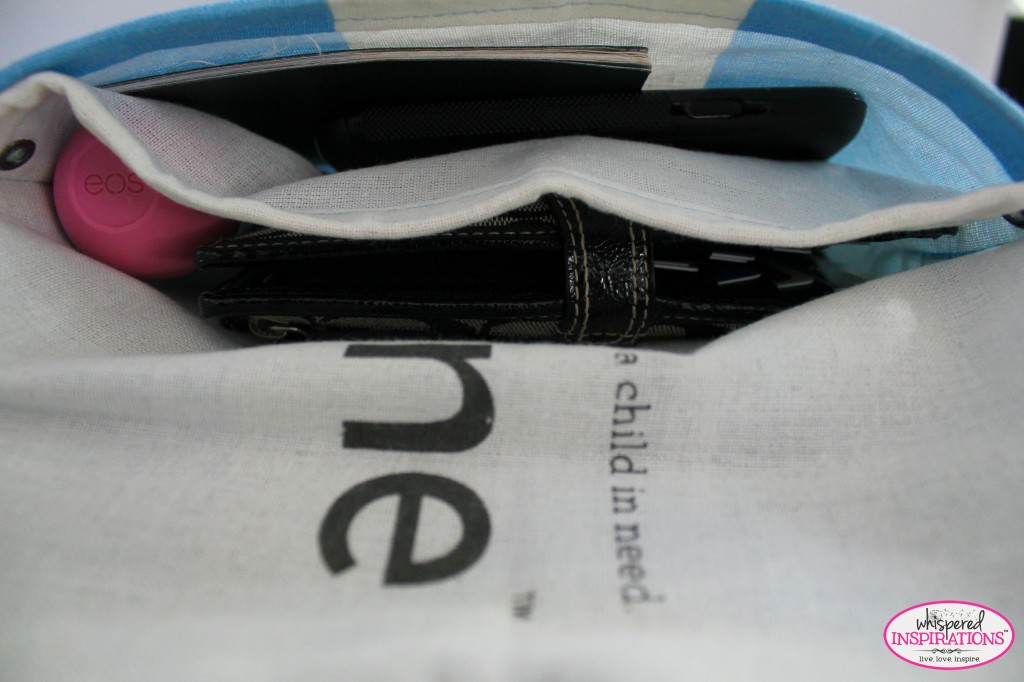
Fill It!
I wanted to make a clutch for days that I only really need my wallet, phone and lip balm and didn’t want to lug around my purse. I used this for a quick day trip and packed it with my wallet, phone, passport and lip balm and it worked well. I used the inner pocket for my passport and phone. If you want a more secure closing for the flap, add velcro and it will hold really well!

Rock It!
And you’re good to go.
I love how mine turned out and the possibilities are really endless when it comes to decorating it. Not to mention it is TOMS and that you are reusing something that otherwise wouldn’t be used to make something much more useful!
Remember, you can be a novice like me and still sew it up!
Do you love TOMS like me?
Let me know, til then–cheers m’deres!
![]()

Nancy Polanco is a freelance journalist, lifestyle content creator, and editor of Whispered Inspirations. She is a proud Mom to Gabby and Michaela and partner and best friend to Darasak. Having worked as part of a health care team for almost a decade, Nancy is happy to be back to her passion. She is a contributor to the Huffington Post, TODAY’s Parents, and an Oprah Magazine Brand Ambassador.

This is adorable!!! And I love that you are repurposing the flag. So much better than (gasp) trashing it or having tons lying around the house!!!
How fun and cute!
That's super cute, and such a great idea!
My recent post Protecting Your Lips with Carmex
Oh my gosh, this is amazing! I'm pinning it right now.
Amazing photos. Thanks for the step-by-step instructions. I'm not crafty either, but I feel like I can accomplish this.
What a cute idea!!
I love this! Super cute, and super easy project! Thanks for sharing.
This is such a great recycling idea! Great job!
Such a cute idea
what a great idea,thats real cute
My daughter followed your pattern and it came out super nice
Awesome!
I think this is FANTASTIC! I definitely want to try this sometime!!
So simple!
Ha,got my daughter making purses out of everything now she wants to try duct tape
My granddaughter got tired of making these purses….thank goodness !