Easy Step-by-Step Felt Unicorn Christmas Ornament
Easy Step-by-Step Felt Unicorn Christmas Ornament
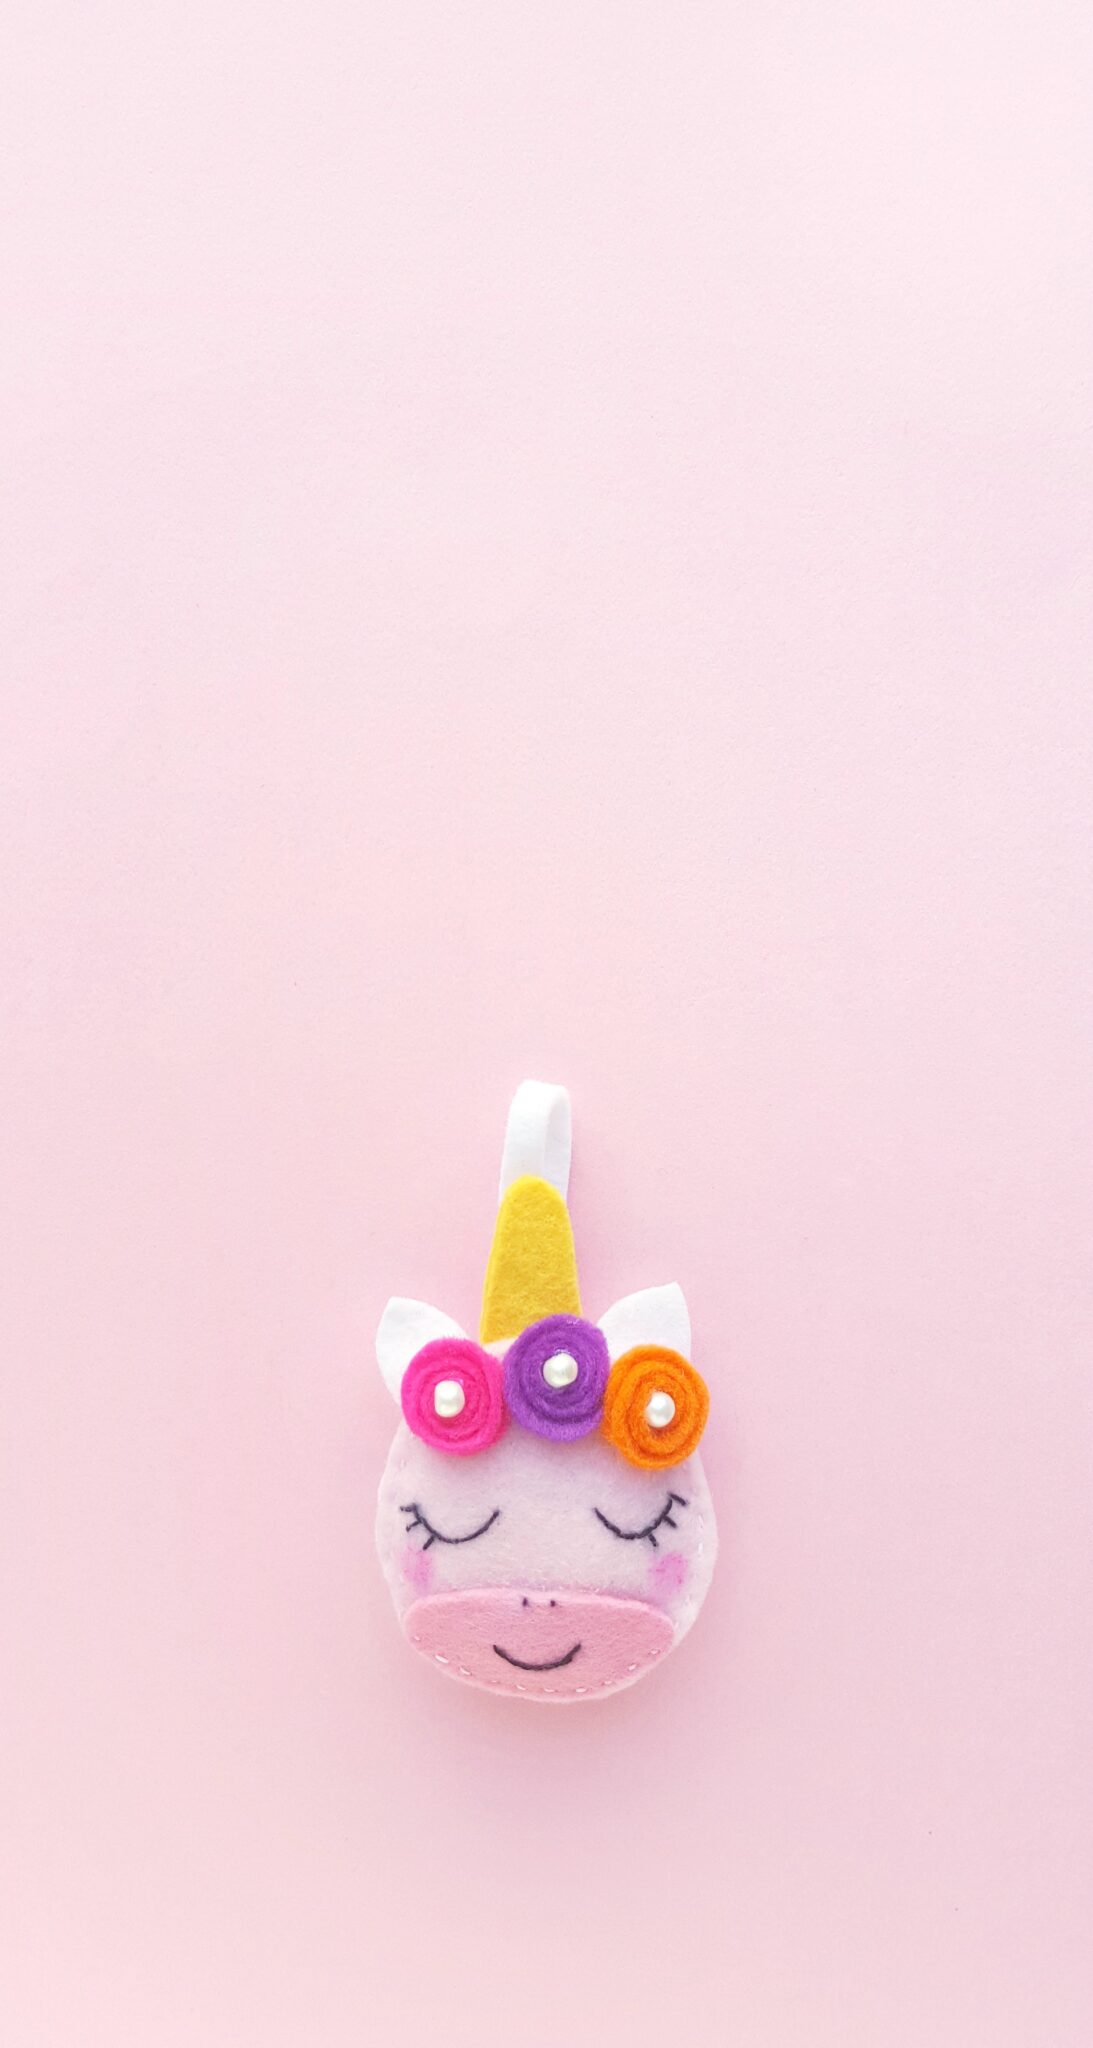
I don’t know about you, but, the unicorn craze has hit us, and it’s hit us hard. My youngest is obsessed with unicorns and I have to admit, even us older girls love them.
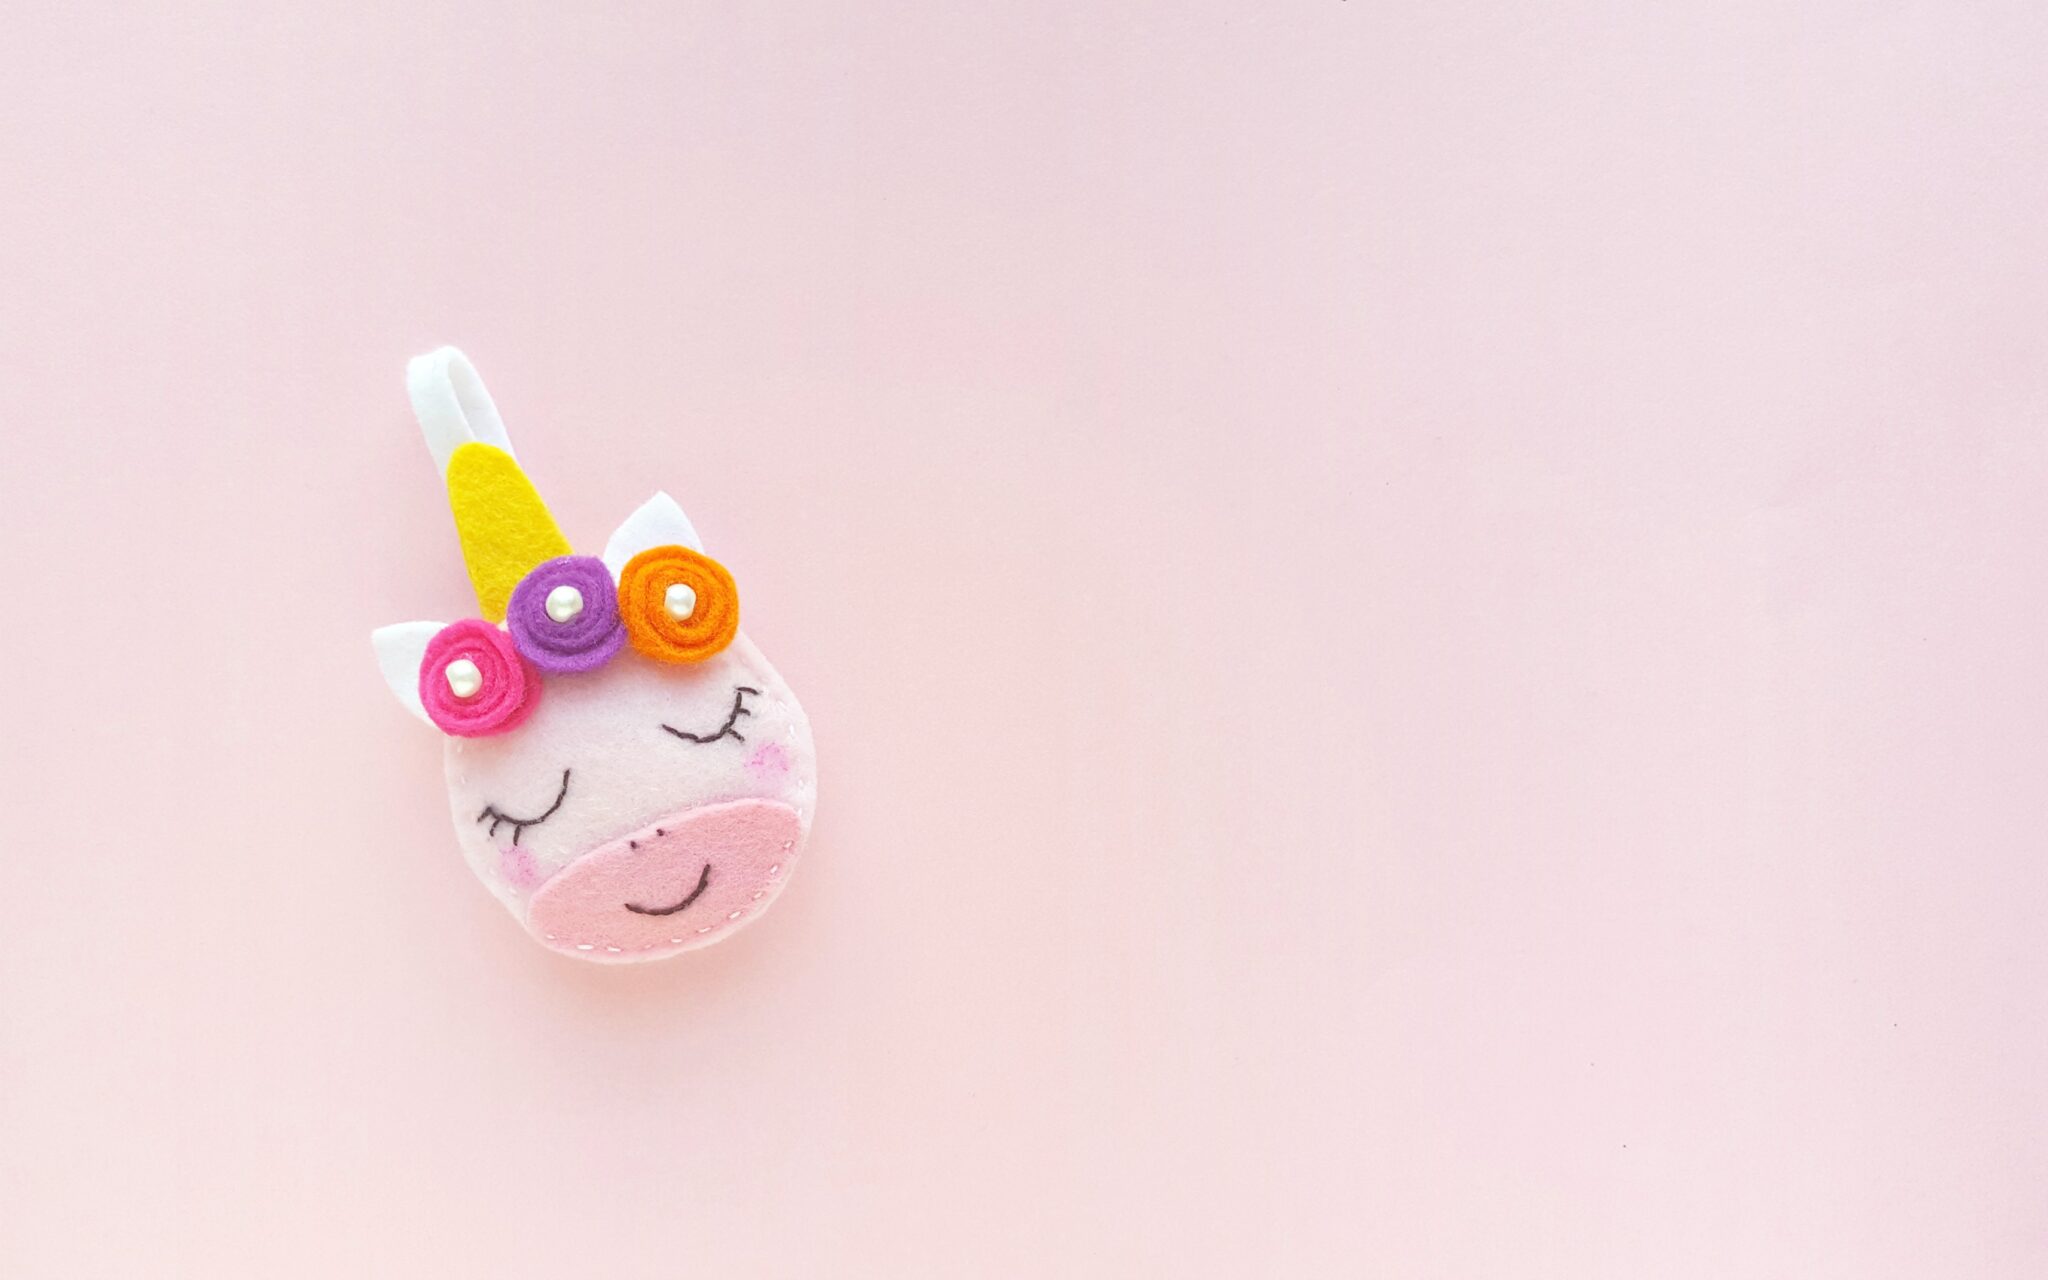
So, we decided to combine our love for the holiday season and unicorns and make a super adorable and easy felt unicorn ornament.
That way, you can have unicorn magic on your tree this year!
If you’re excited and gearing up for the holidays, keep an eye out for more Holiday-themed crafts and recipes.
For example, if you like this craft, you’ll love our Felt Gingerbread Man Christmas Ornament, super adorable Santa S’mores Christmas Ornament and Angel Christmas Ornament.
You’ll love my Buddy the ELF cupcakes, Santa Belt Chocolate Covered Oreos, and Christmas Blondies.
For now, read on for the step-by-step guide to make these totes adorbs Unicorn ornaments.
List of Supplies:
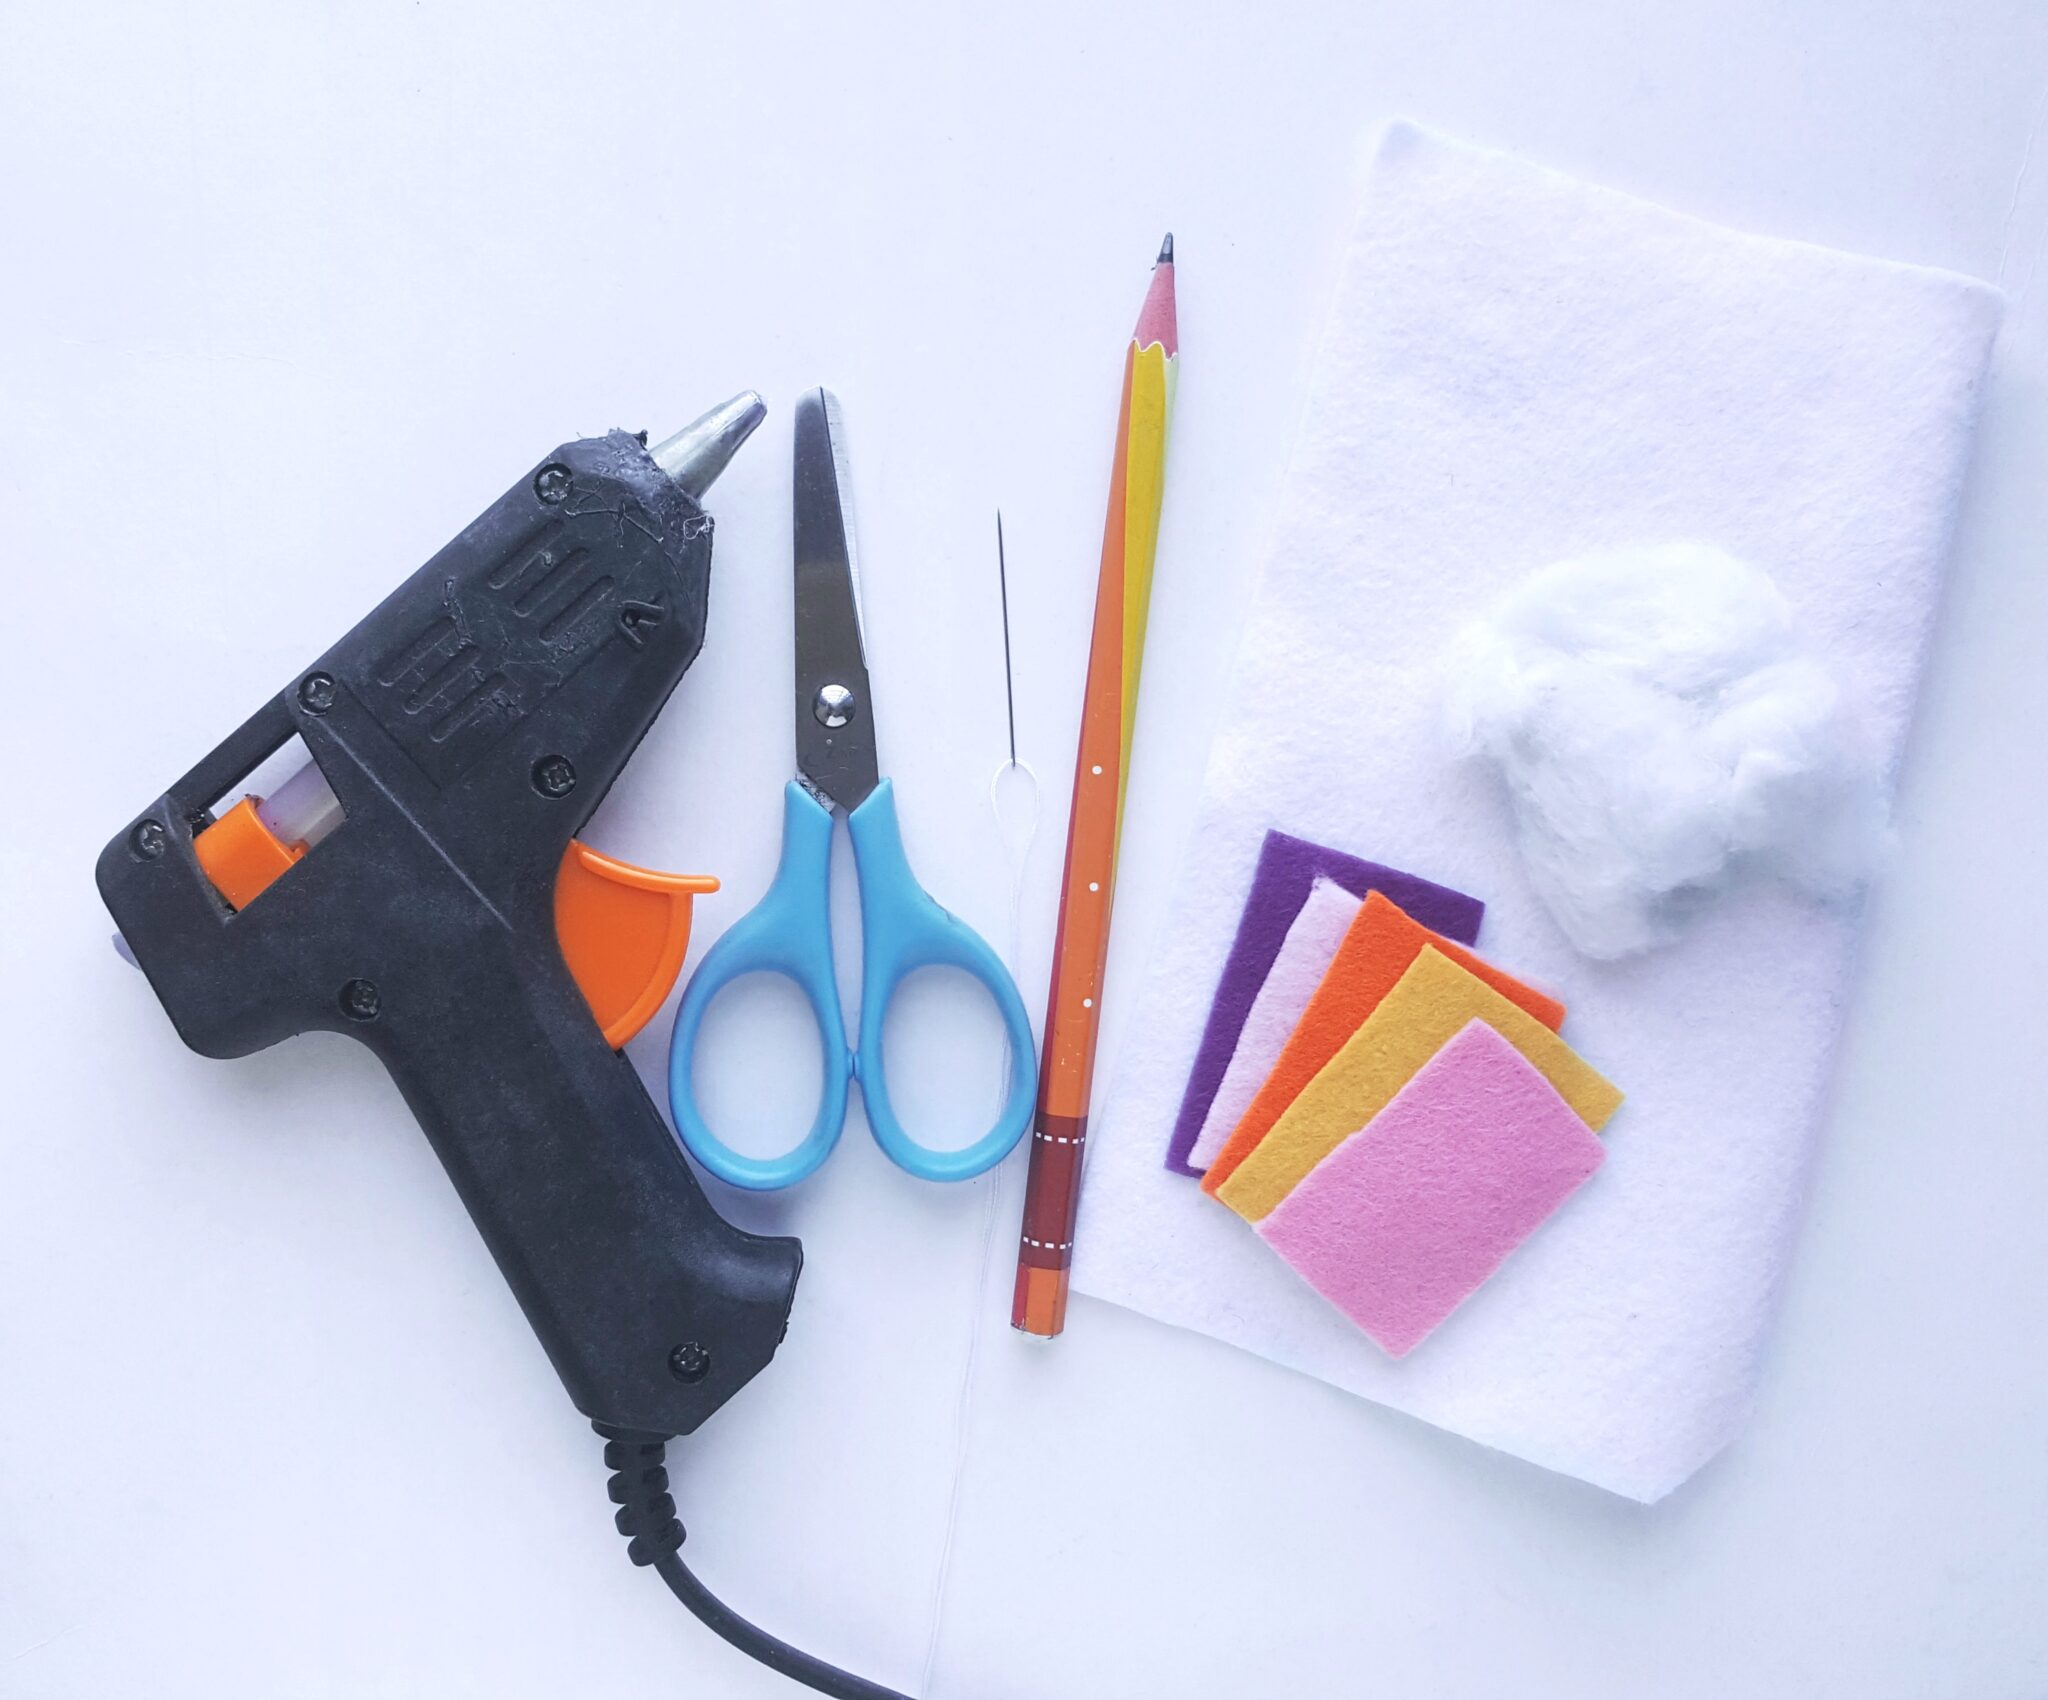
- Felt fabric
- Needle and thread
- Pencil or pen – for tracing the template
- Scissors
- Cotton or fiber filler
- Hot glue gun
- Craft Pearls (optional)
- FREE Template
Step 1:
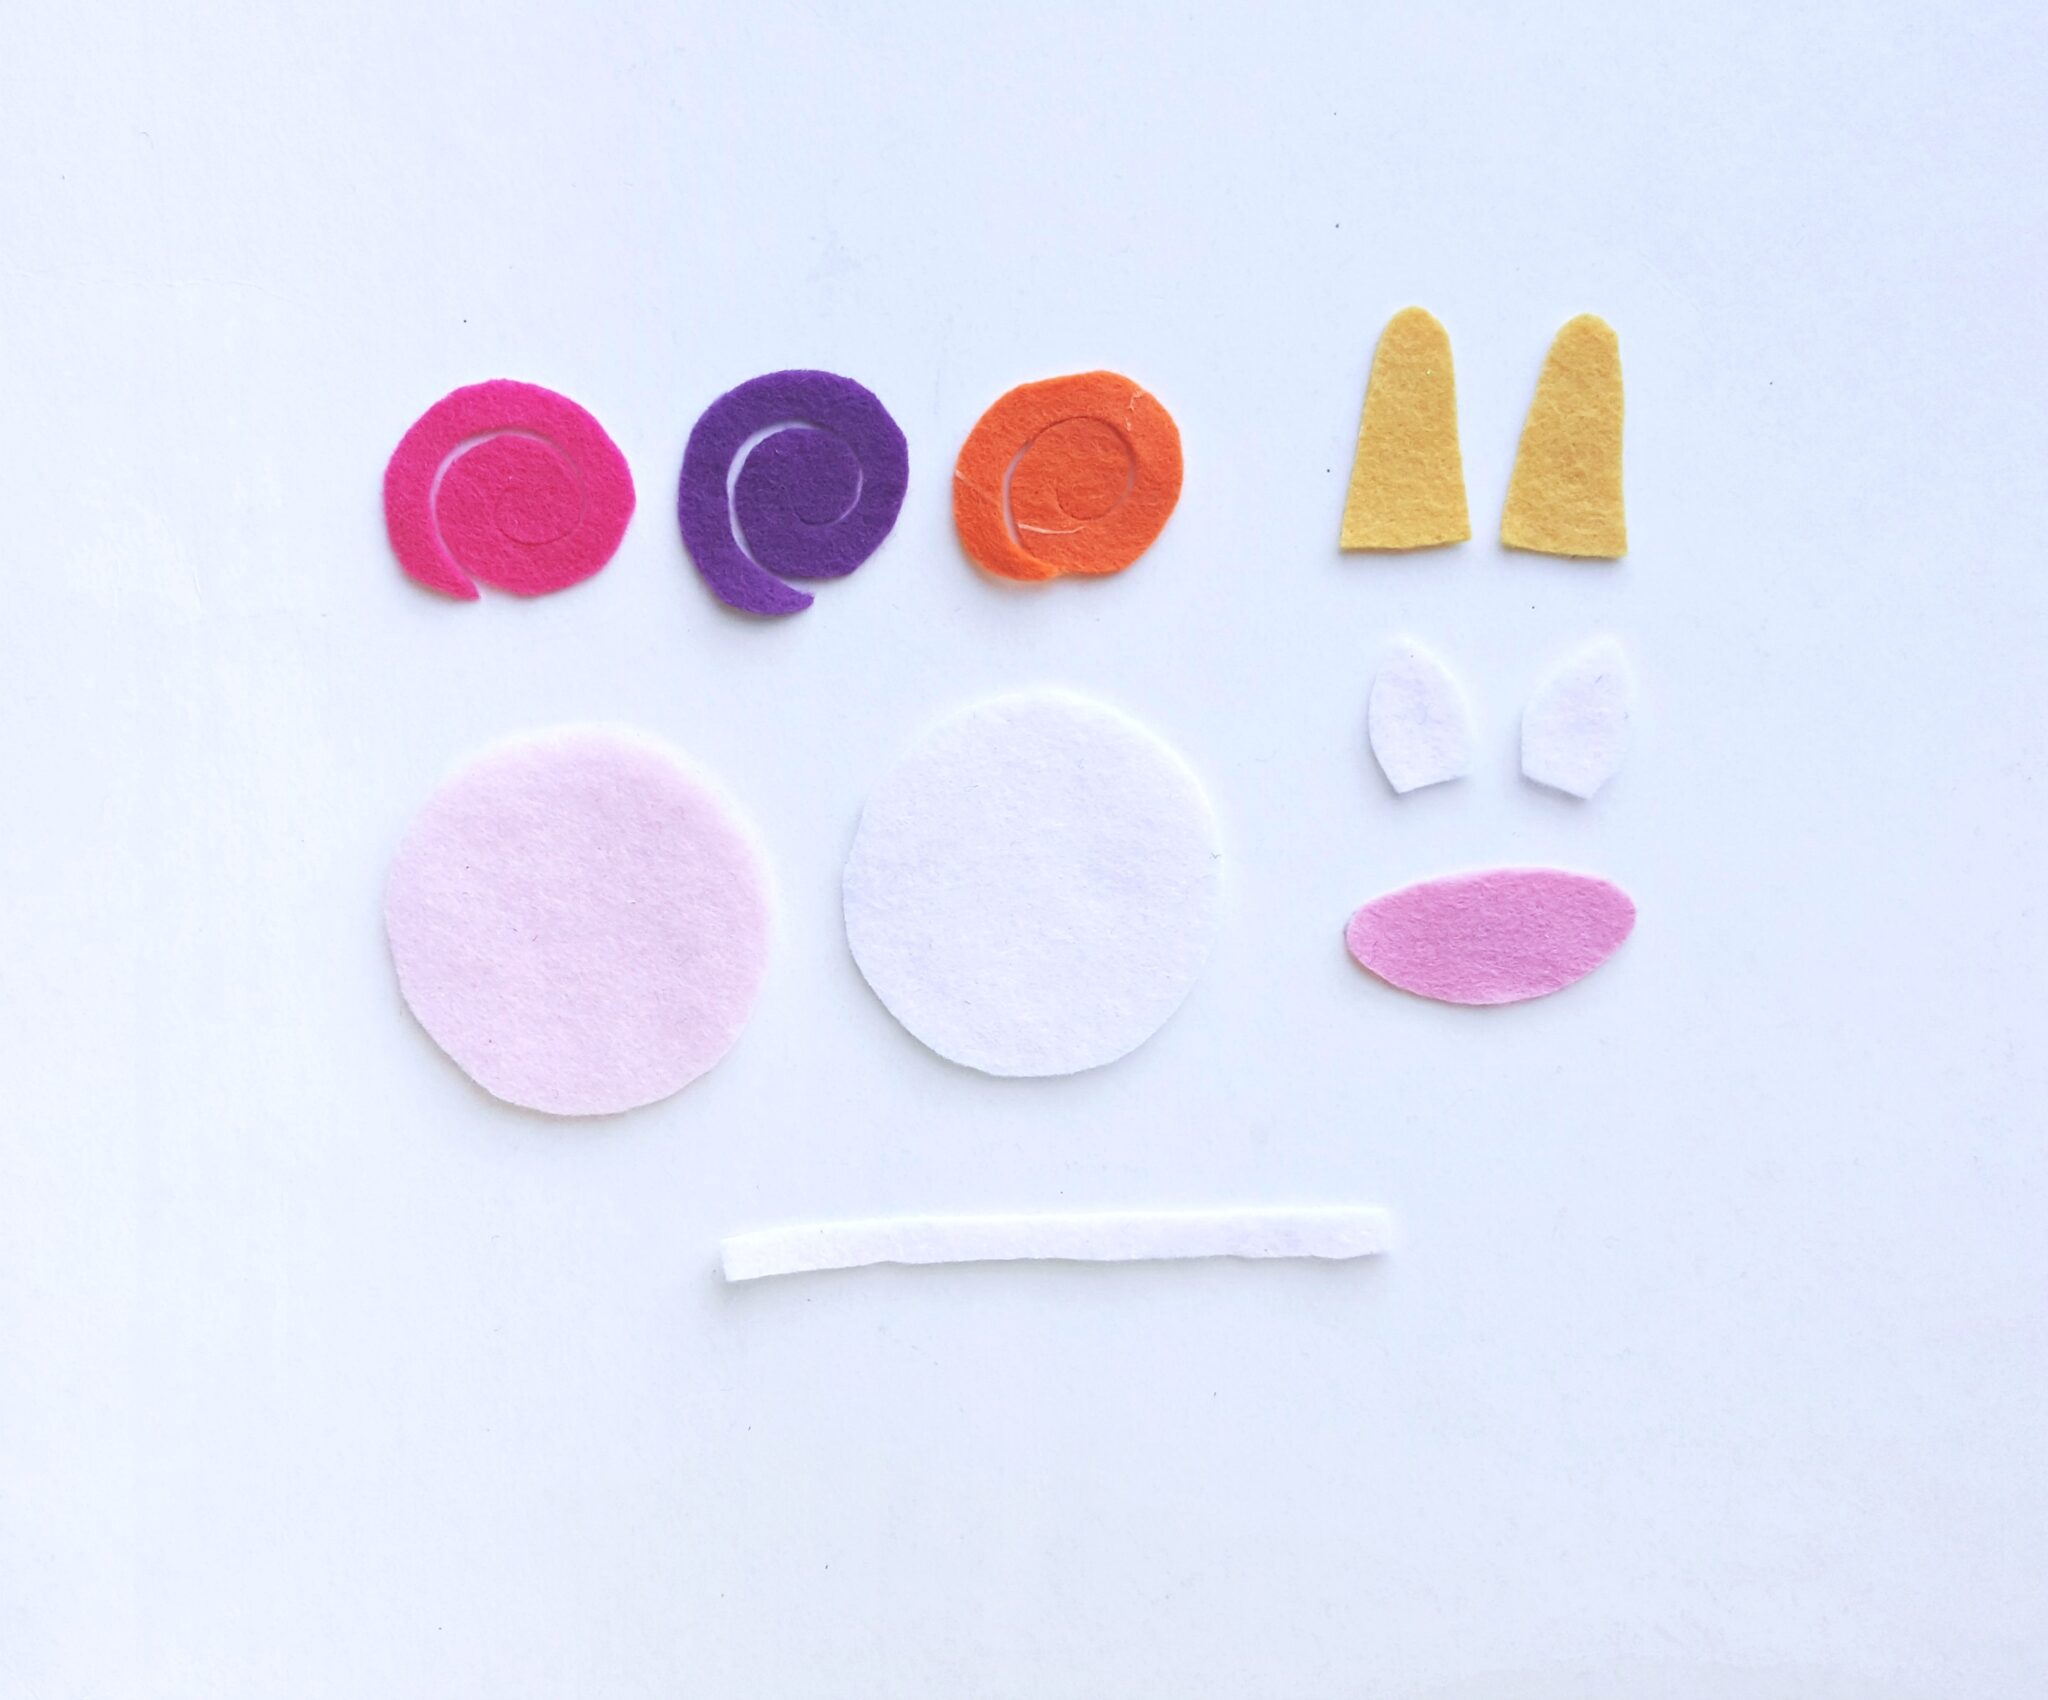
Prepare the patterns from the template by printing and cutting them out. Select the felt fabrics for the unicorn.
Trace the patterns on the selected felt fabrics and cut them out using scissors.
Get the TEMPLATE and print it out.
Step 2:
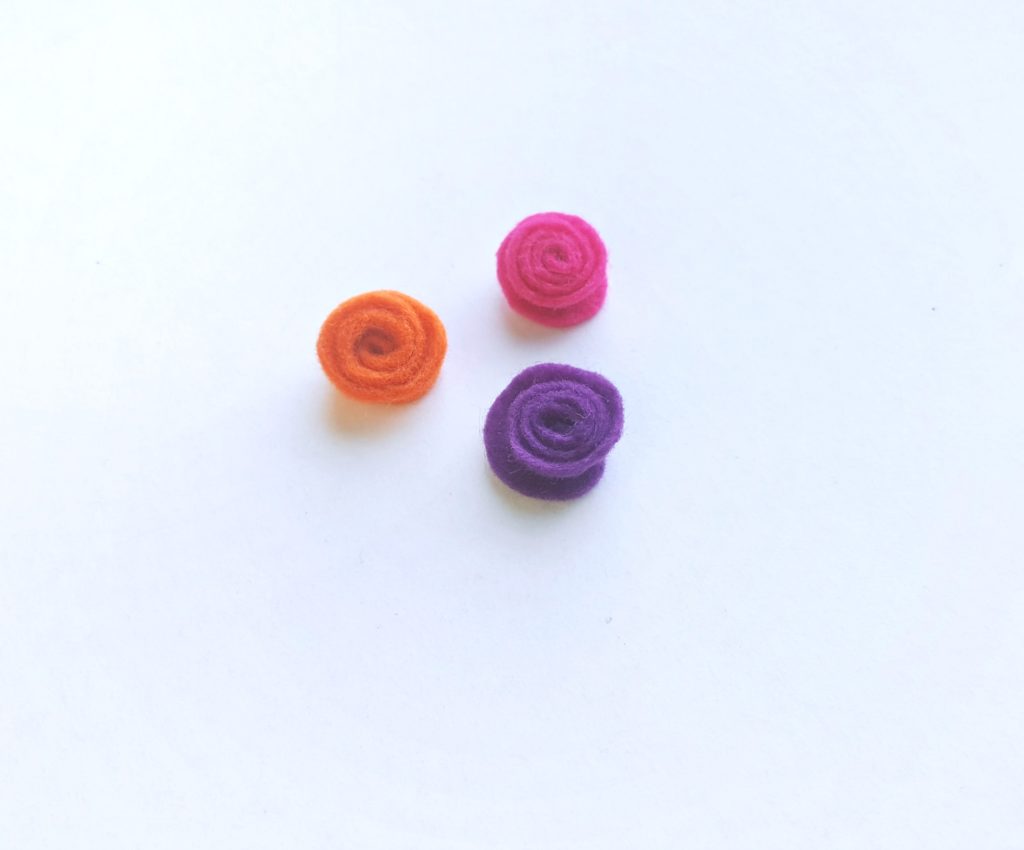
Take a spiral pattern and roll it from its outer end towards the center. Secure the roll by gluing it with the center. Similarly, create rolled spiral flowers with the other spiral patterns. Aren’t they super pretty?
Step 3:
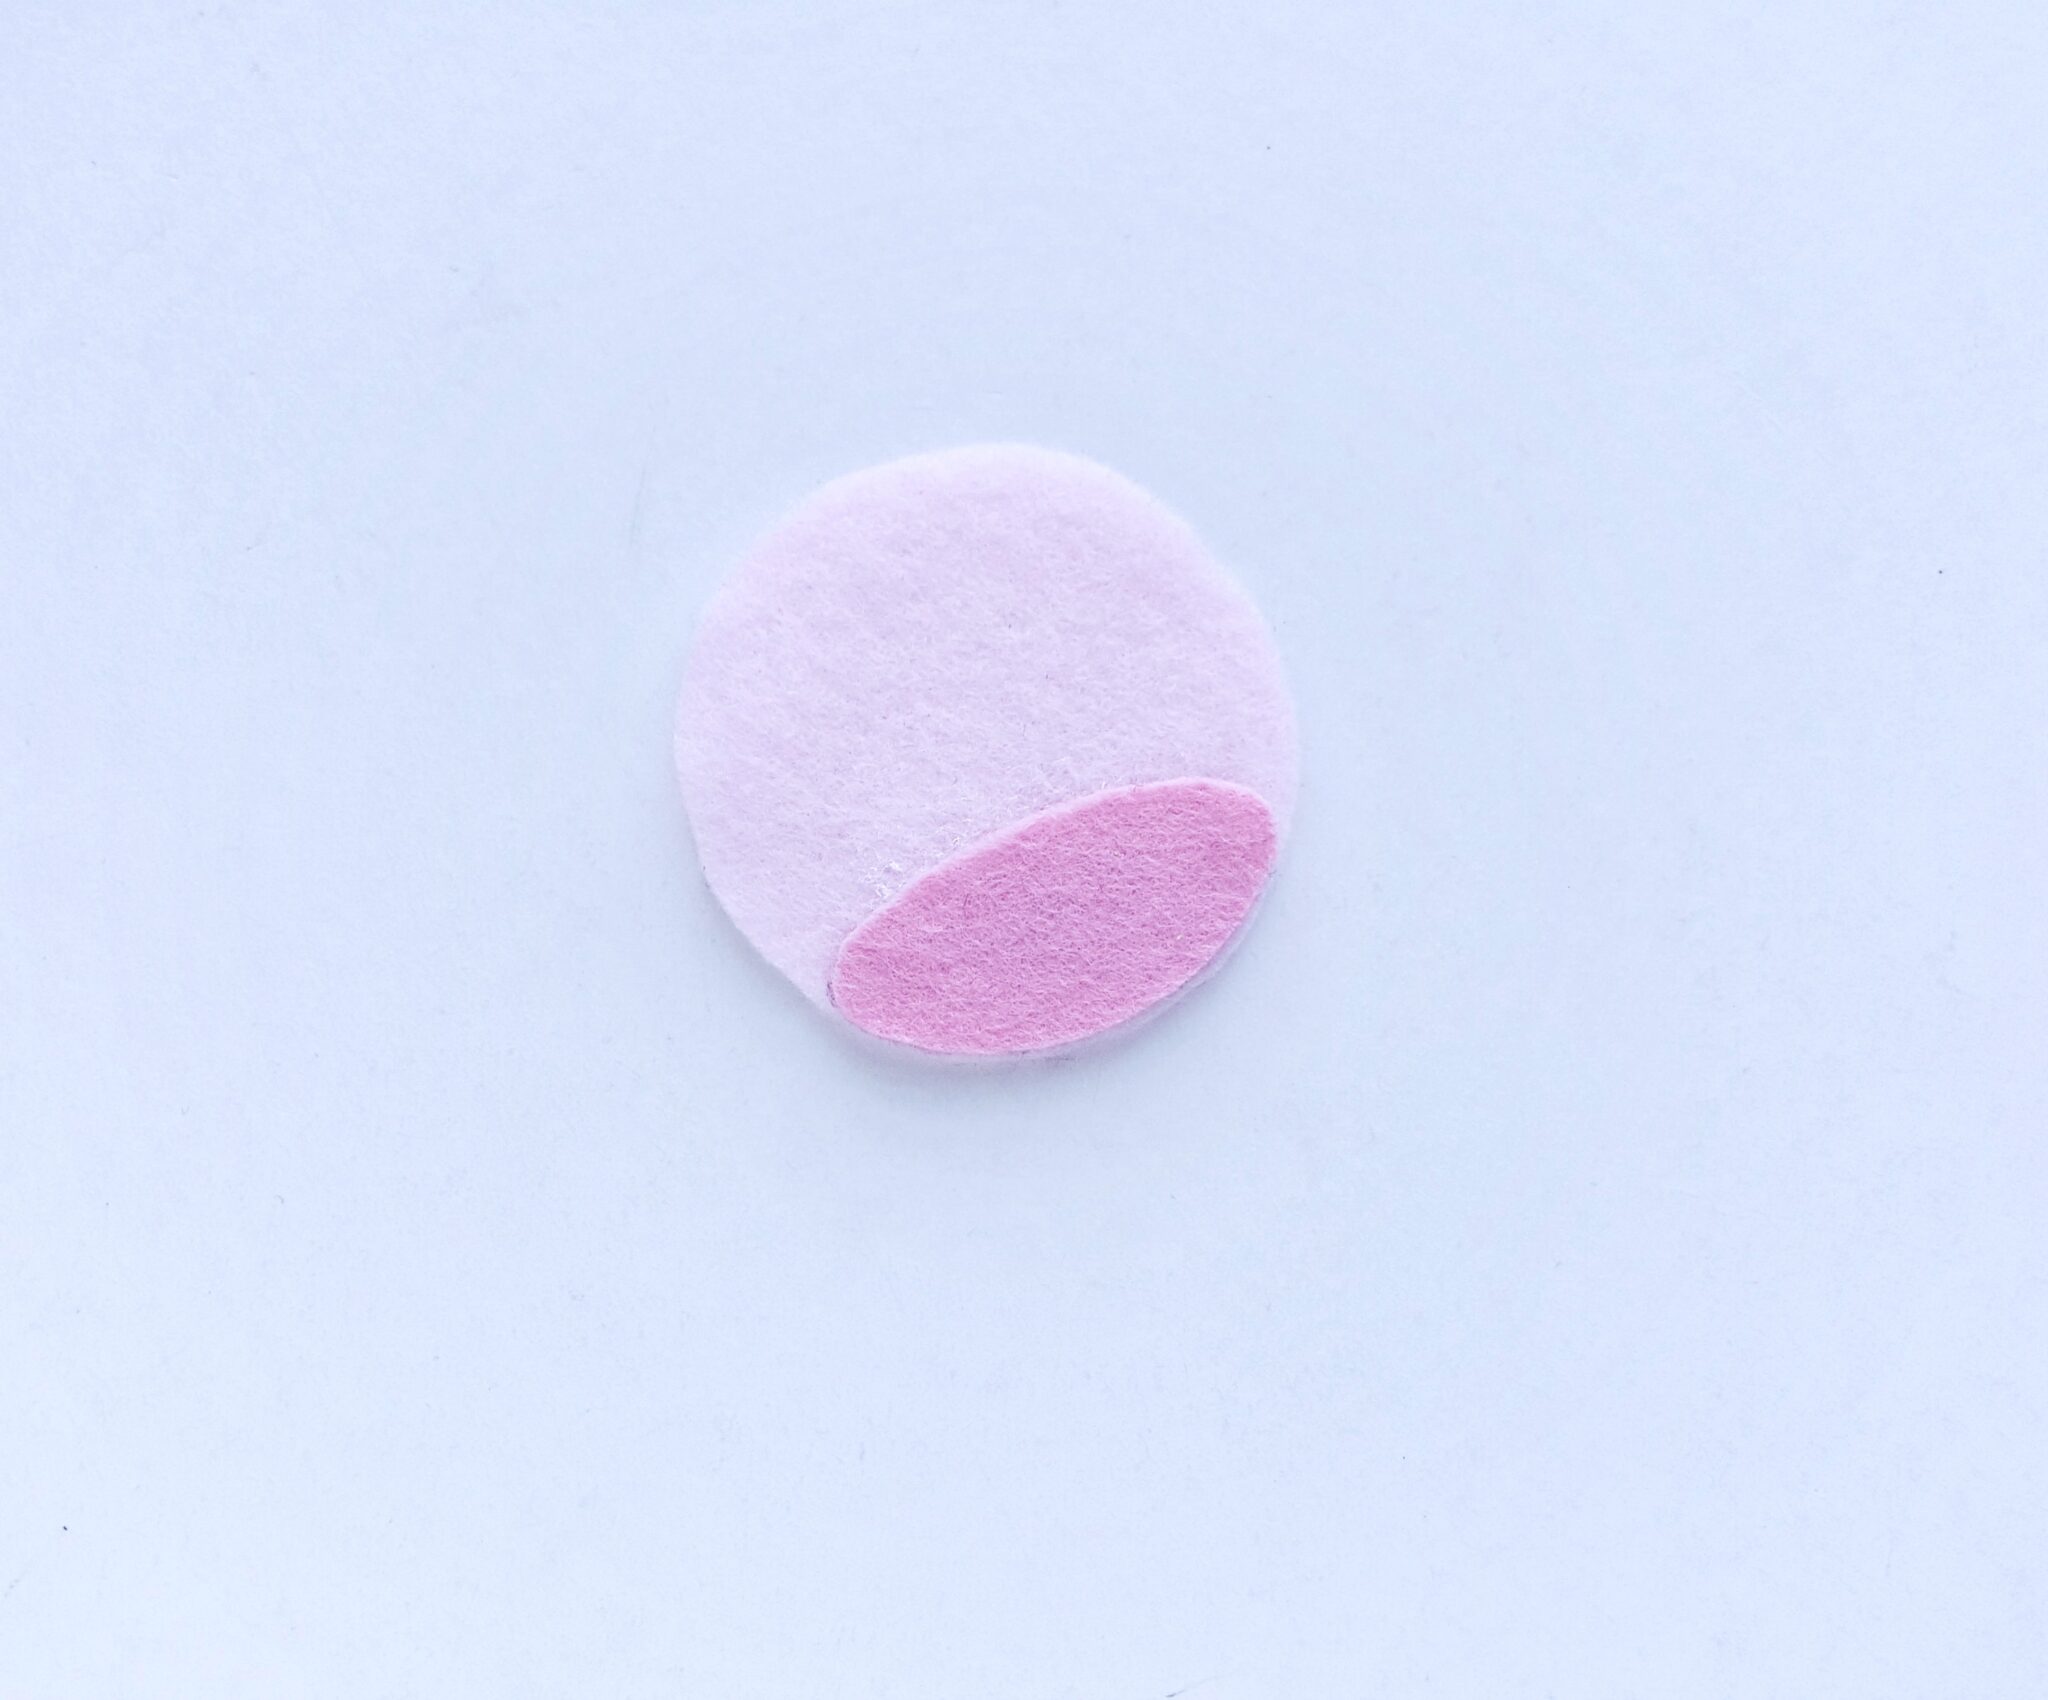
Take any one of the round patterns and the semicircular pattern. Place the semicircular pattern on the round pattern by matching their sides. Use a hot glue gun to attach both pieces together.
Step 4:
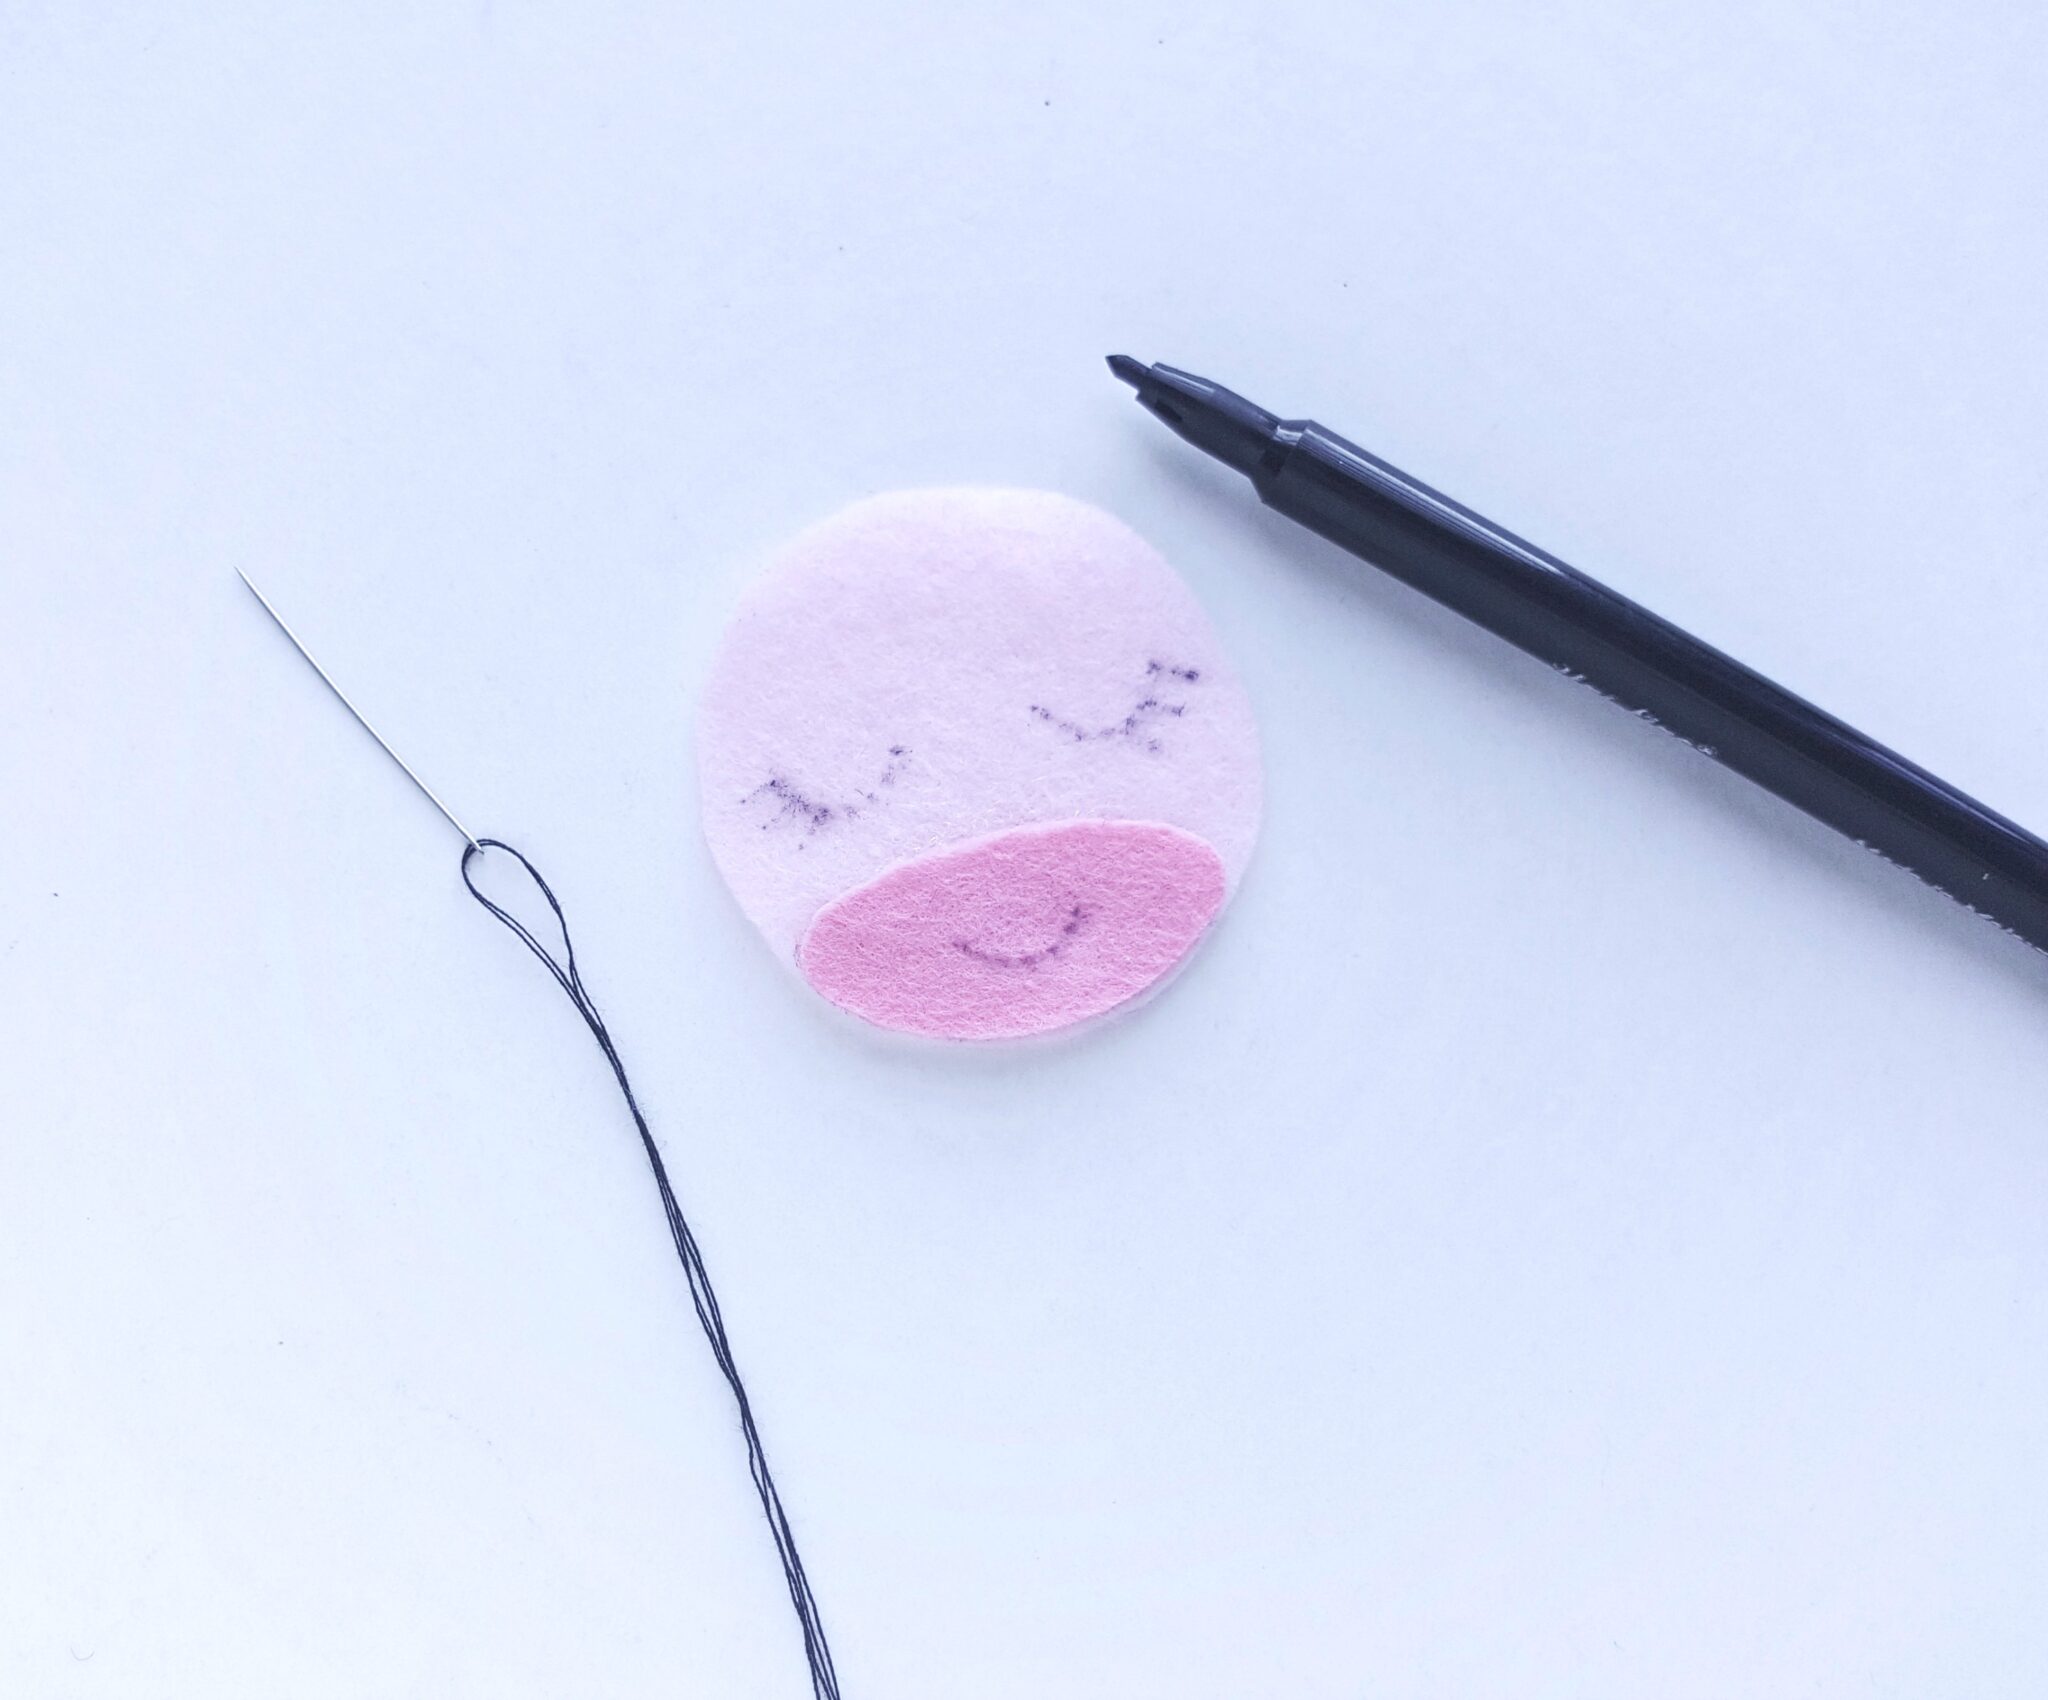
Use a marker to draw the eyes, nose, and lip of the unicorn.
Step 5:
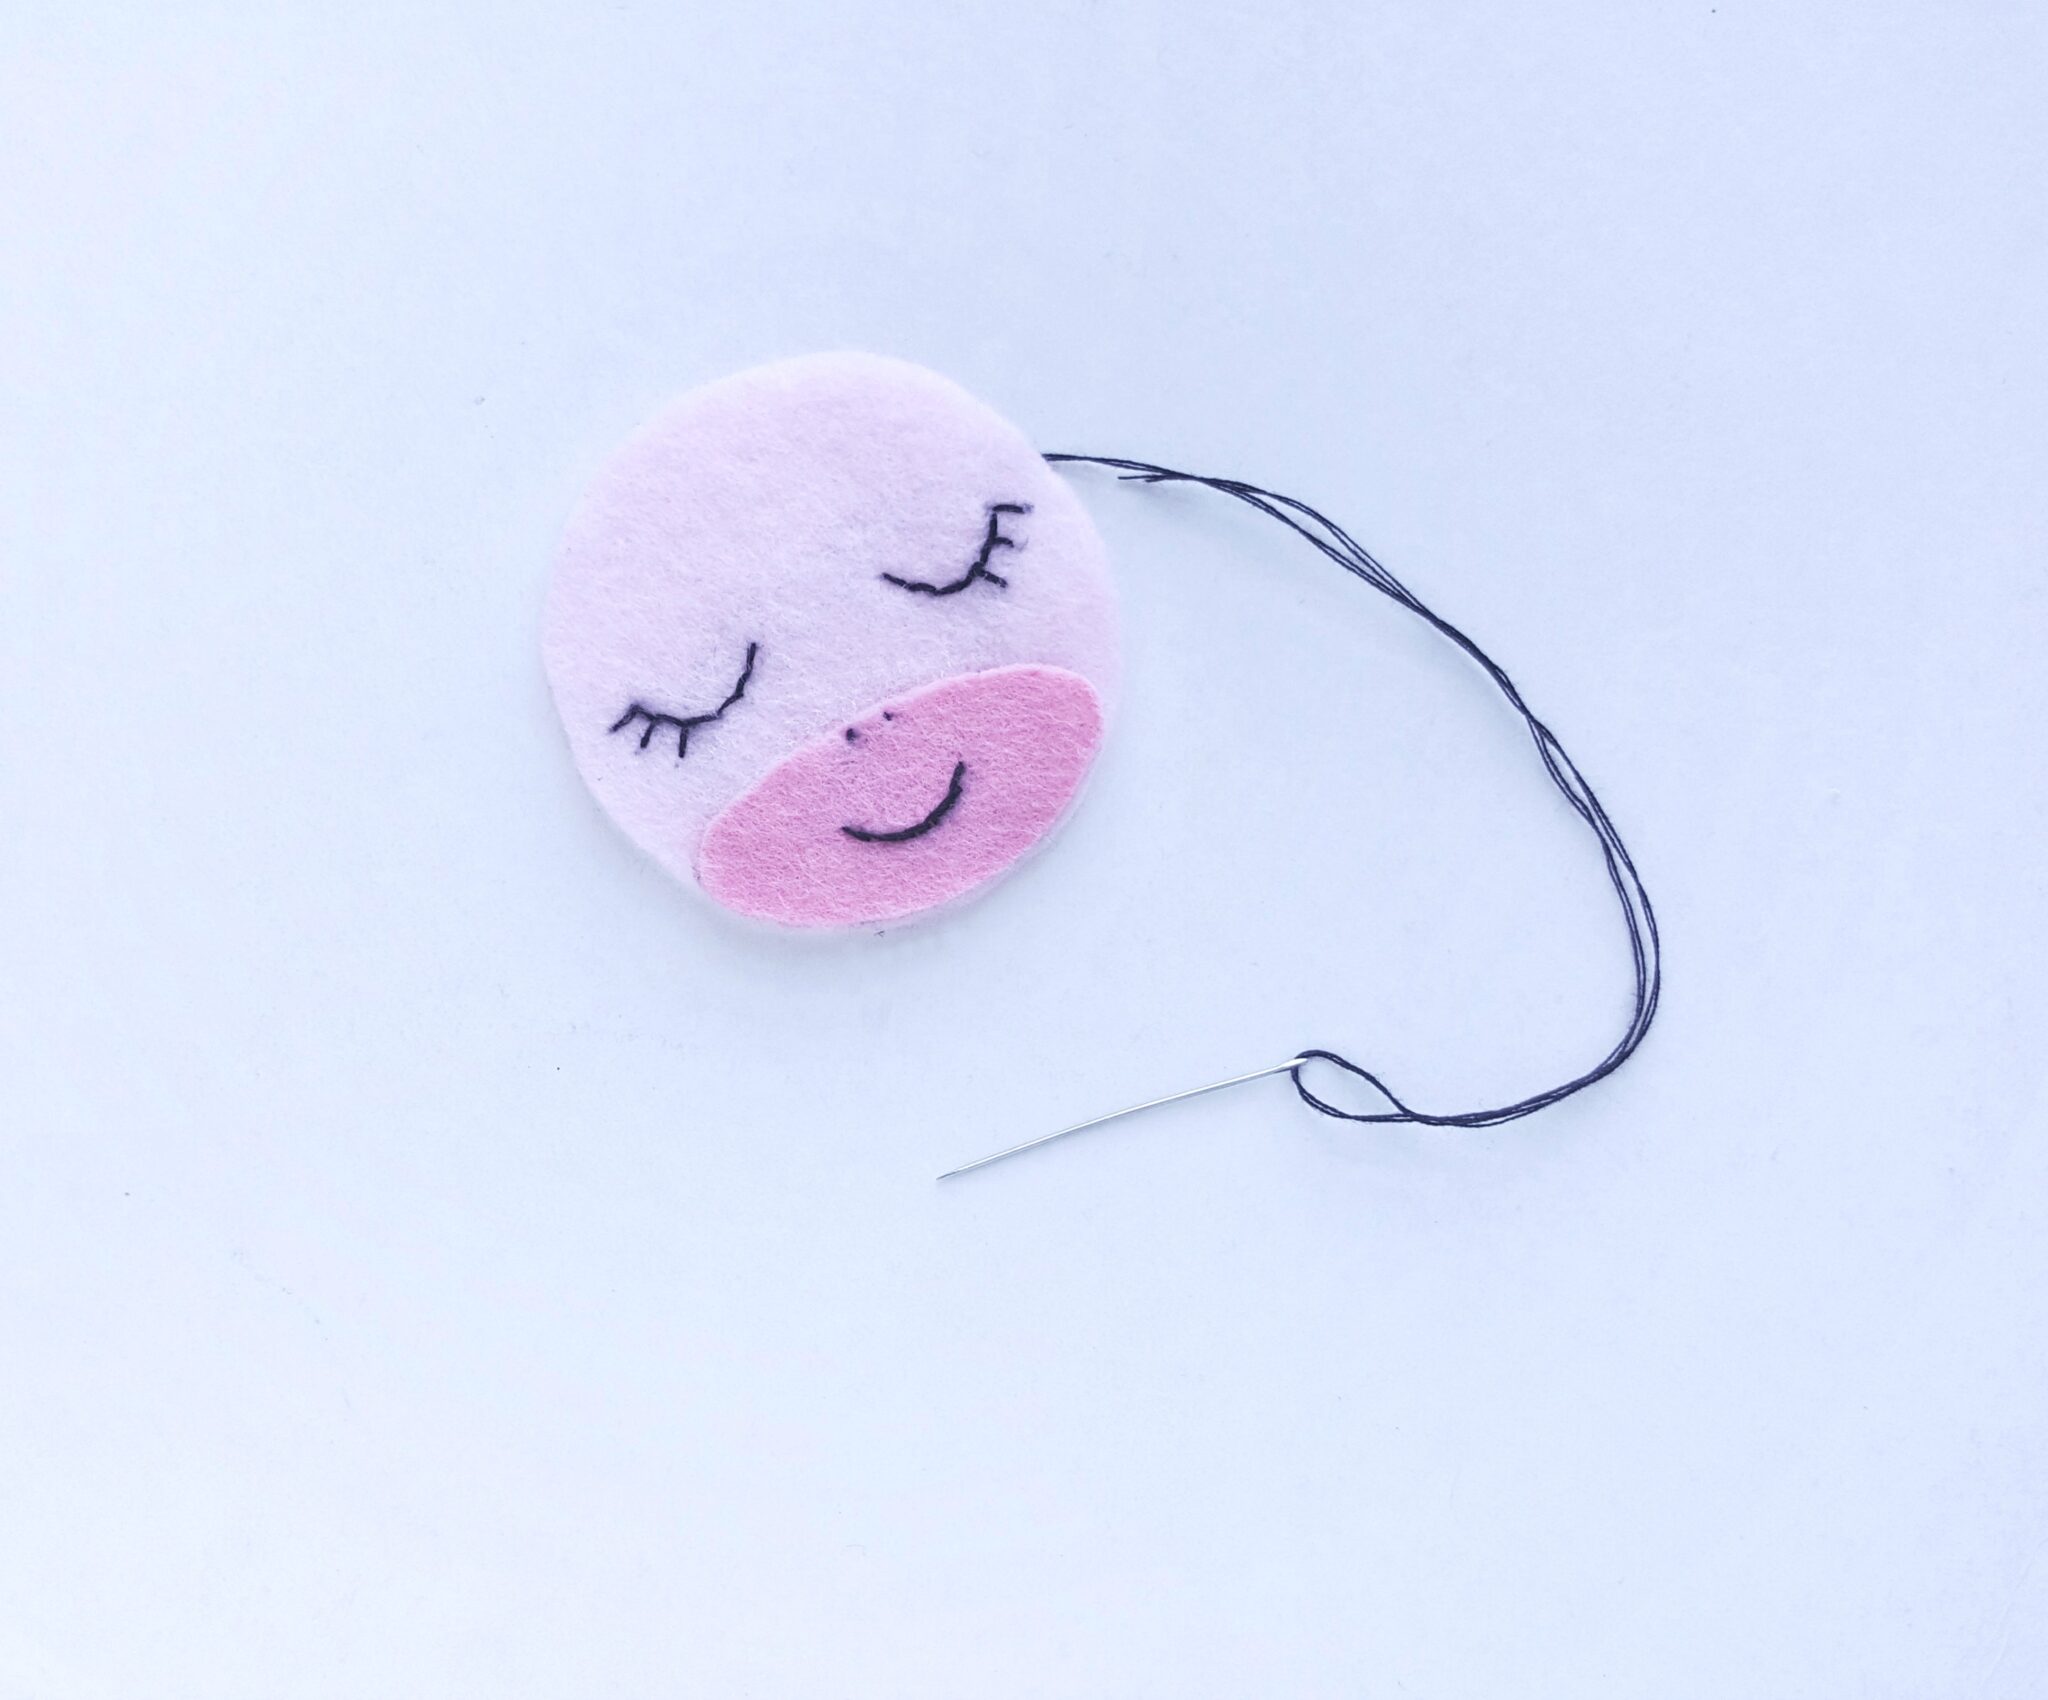
Use black thread and needle to stitch the traced parts from the previous step.
Step 6:
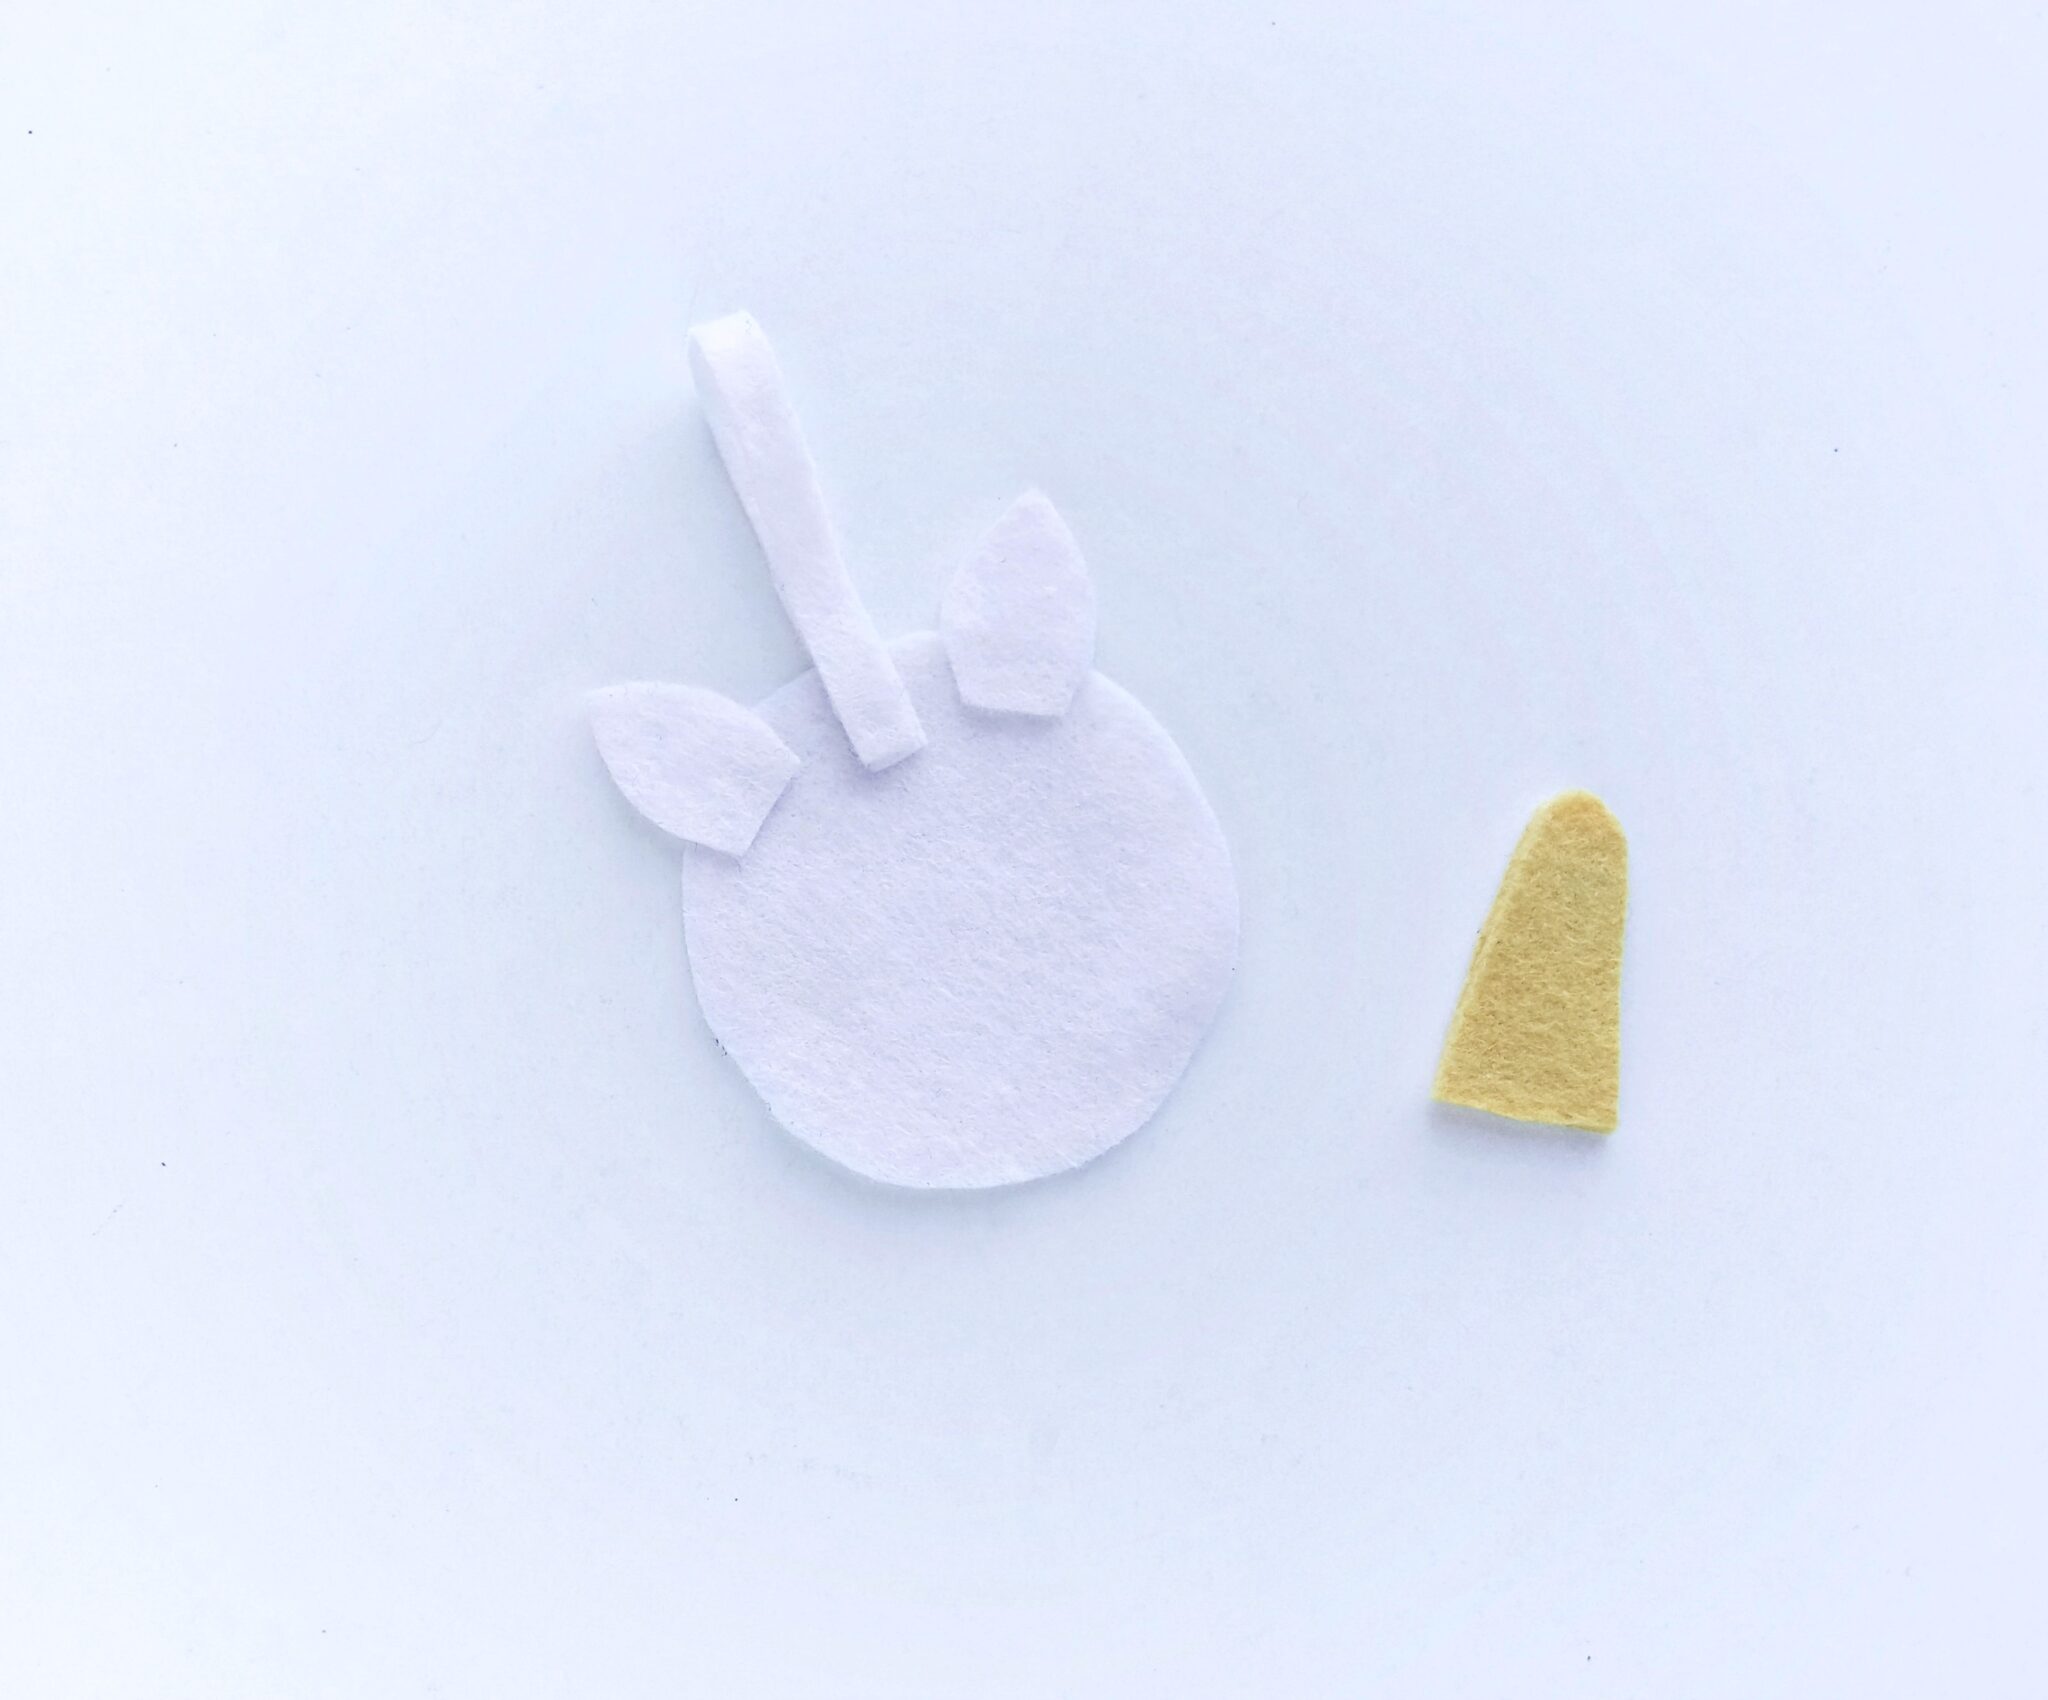
Take the other round cut out and place it on a flat surface. Place the ears on 2 sides of the top end (of the round piece). Take the strip, fold it in half and place it between the ears by overlapping 1 cm of its open end with the round piece. Also, attach the 2 horn cutouts together using hot glue.
Step 7:
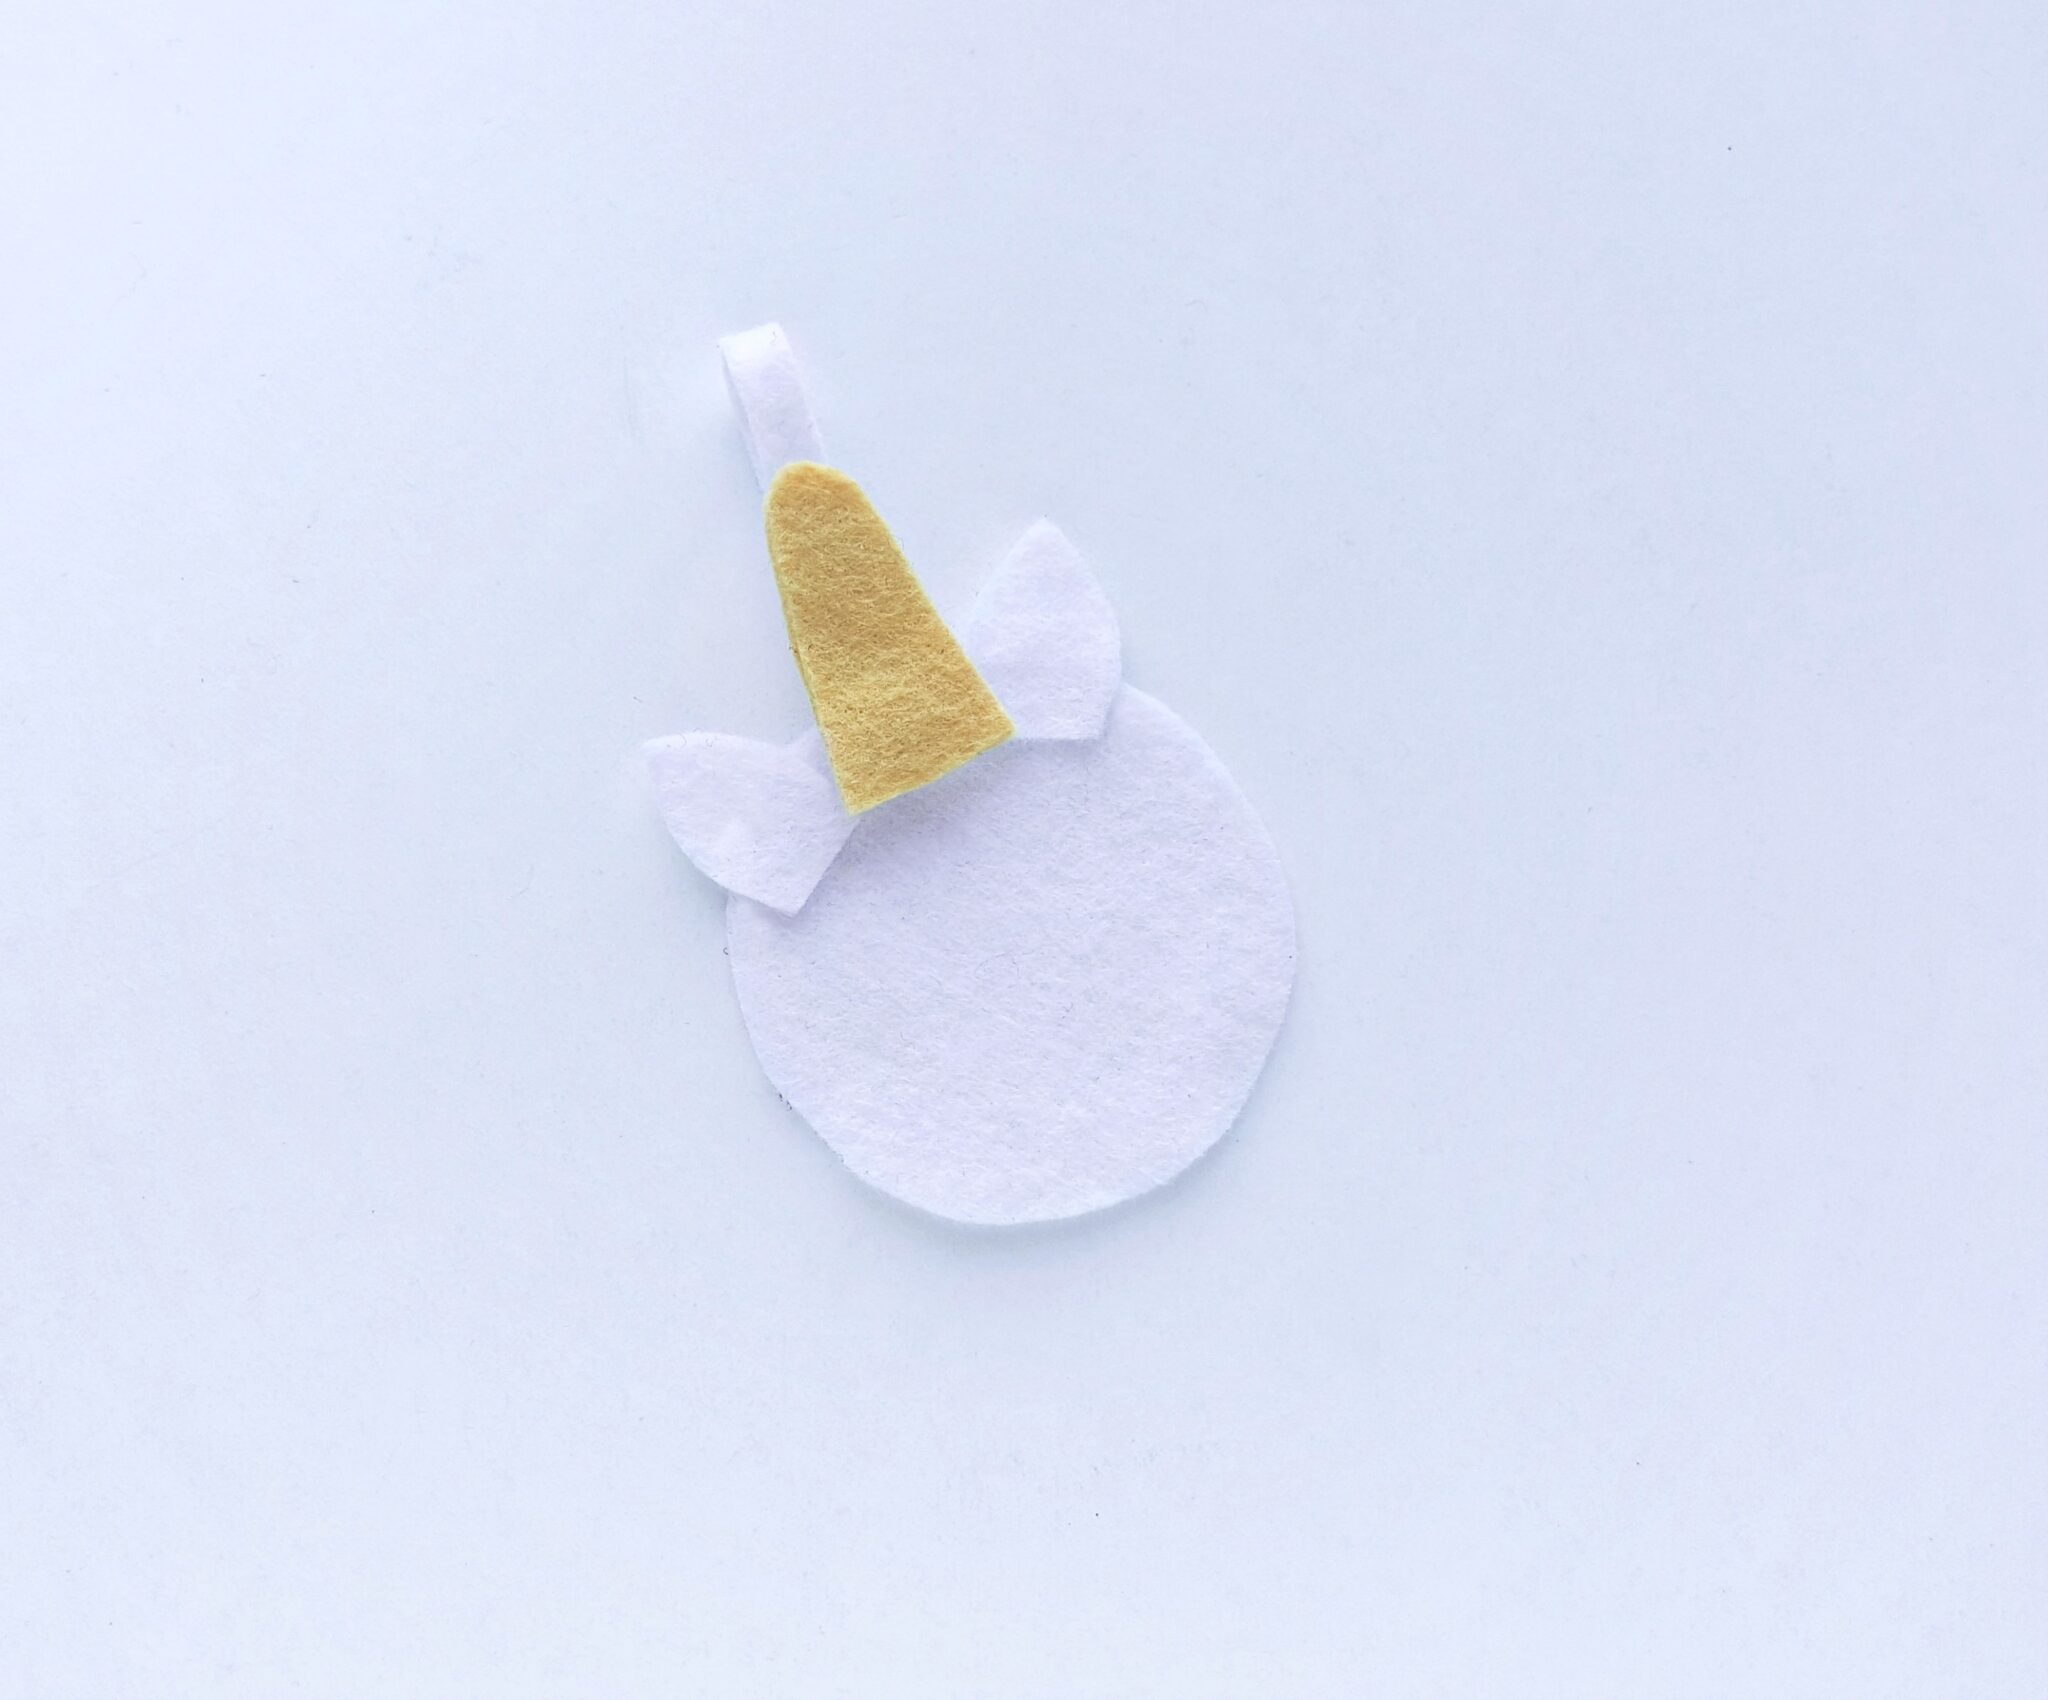
Place the horn on the folded strip, again overlapping 1 cm of the horn’s straight end with the round pattern.
Step 8:
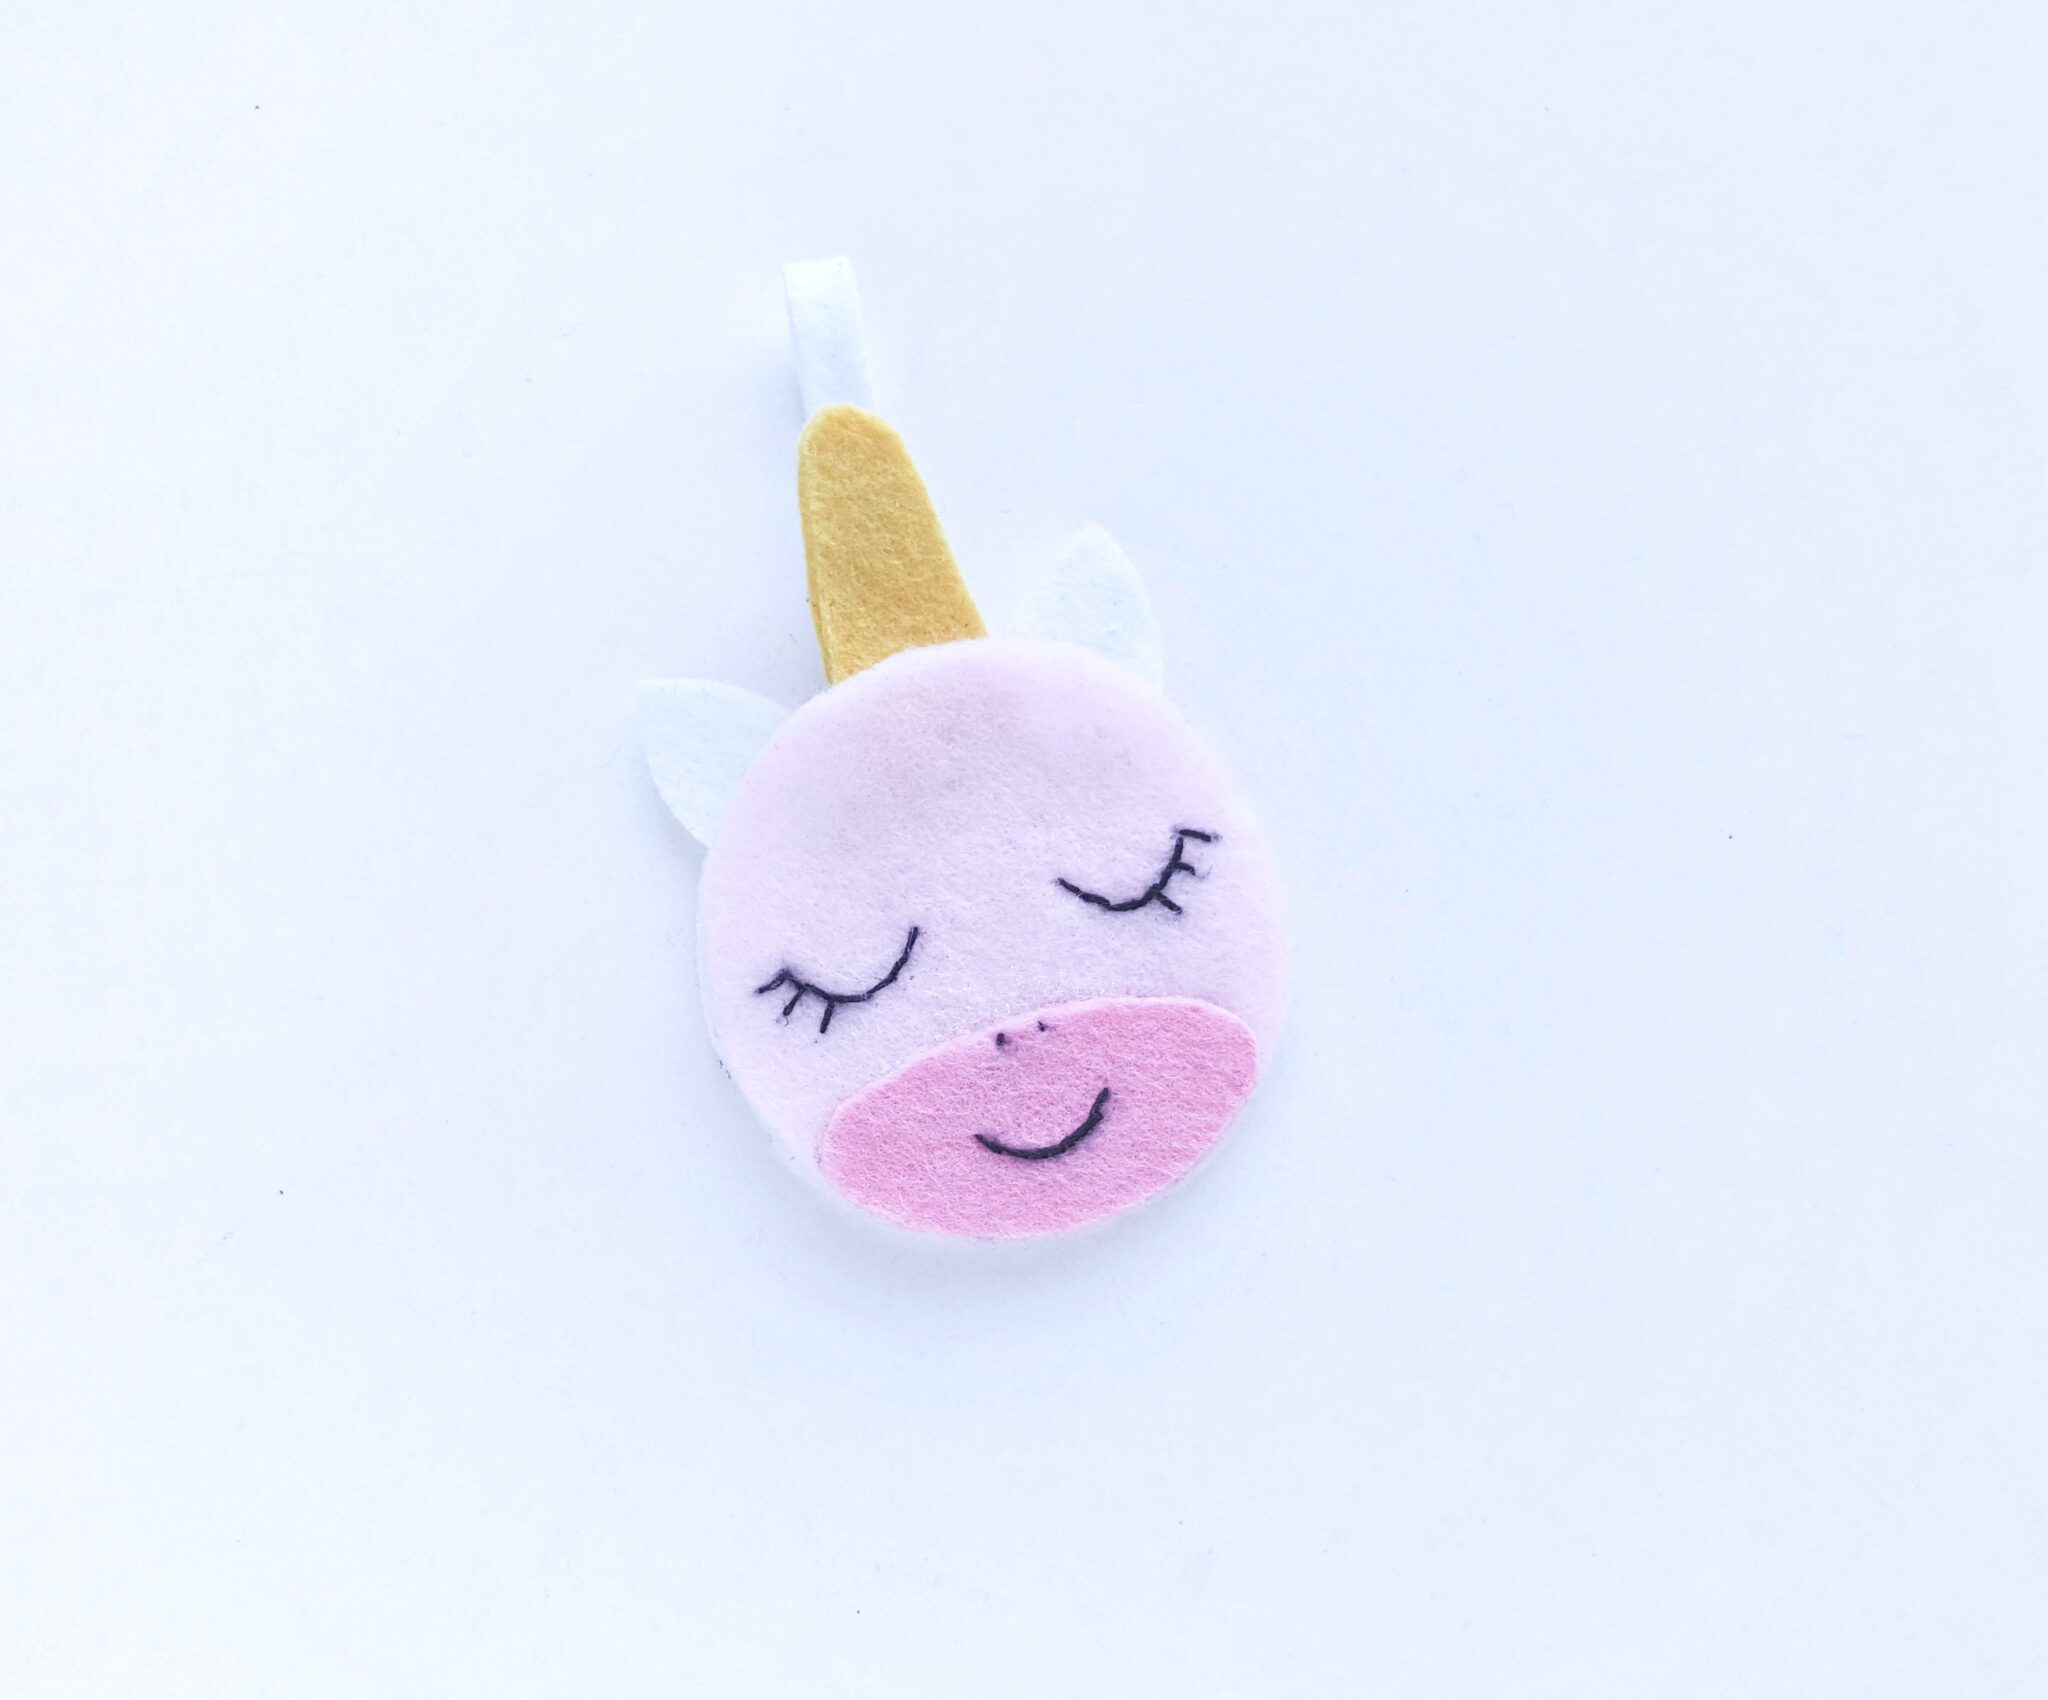
Now place the stitched round piece on the top of the plain one. Make sure that all sides of the 2 round cutouts are matched nicely.
Step 9:
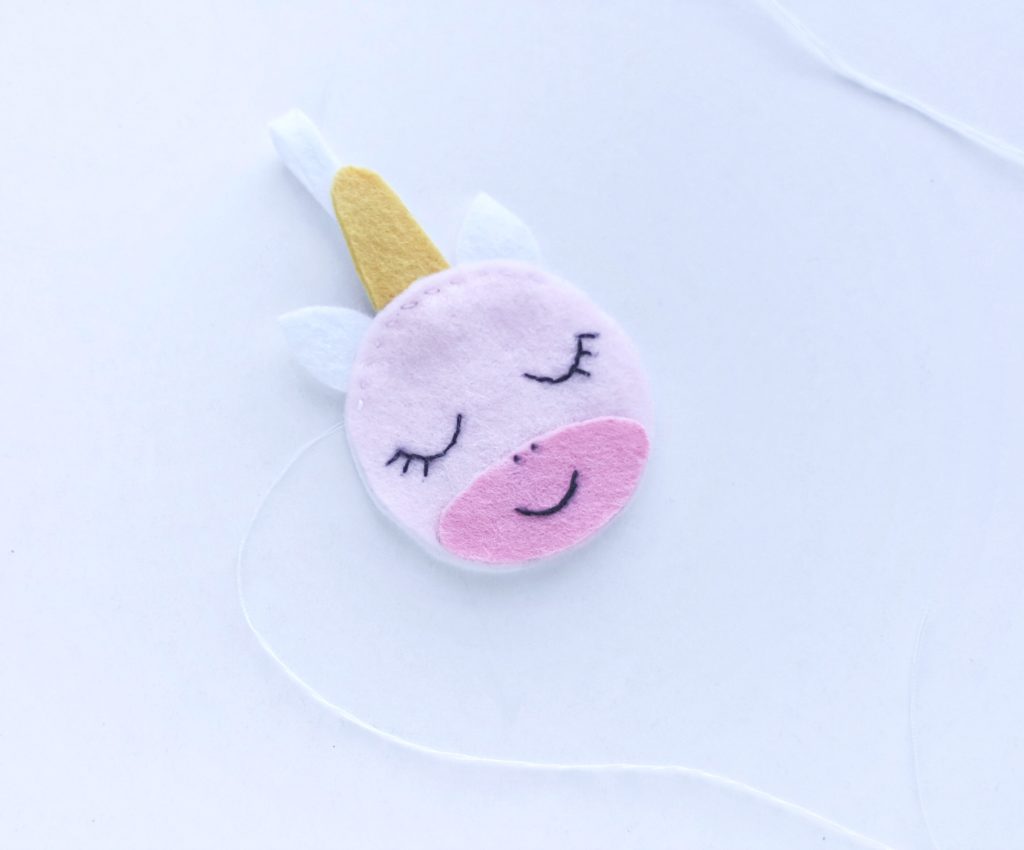
Prepare needle and thread to stitch all items together; start stitching from any one of the ears and stitching along the top side first.
Carefully stitch the top side to make sure that all items are attached together (horn, ears, folded strip, the 2 round cutouts).
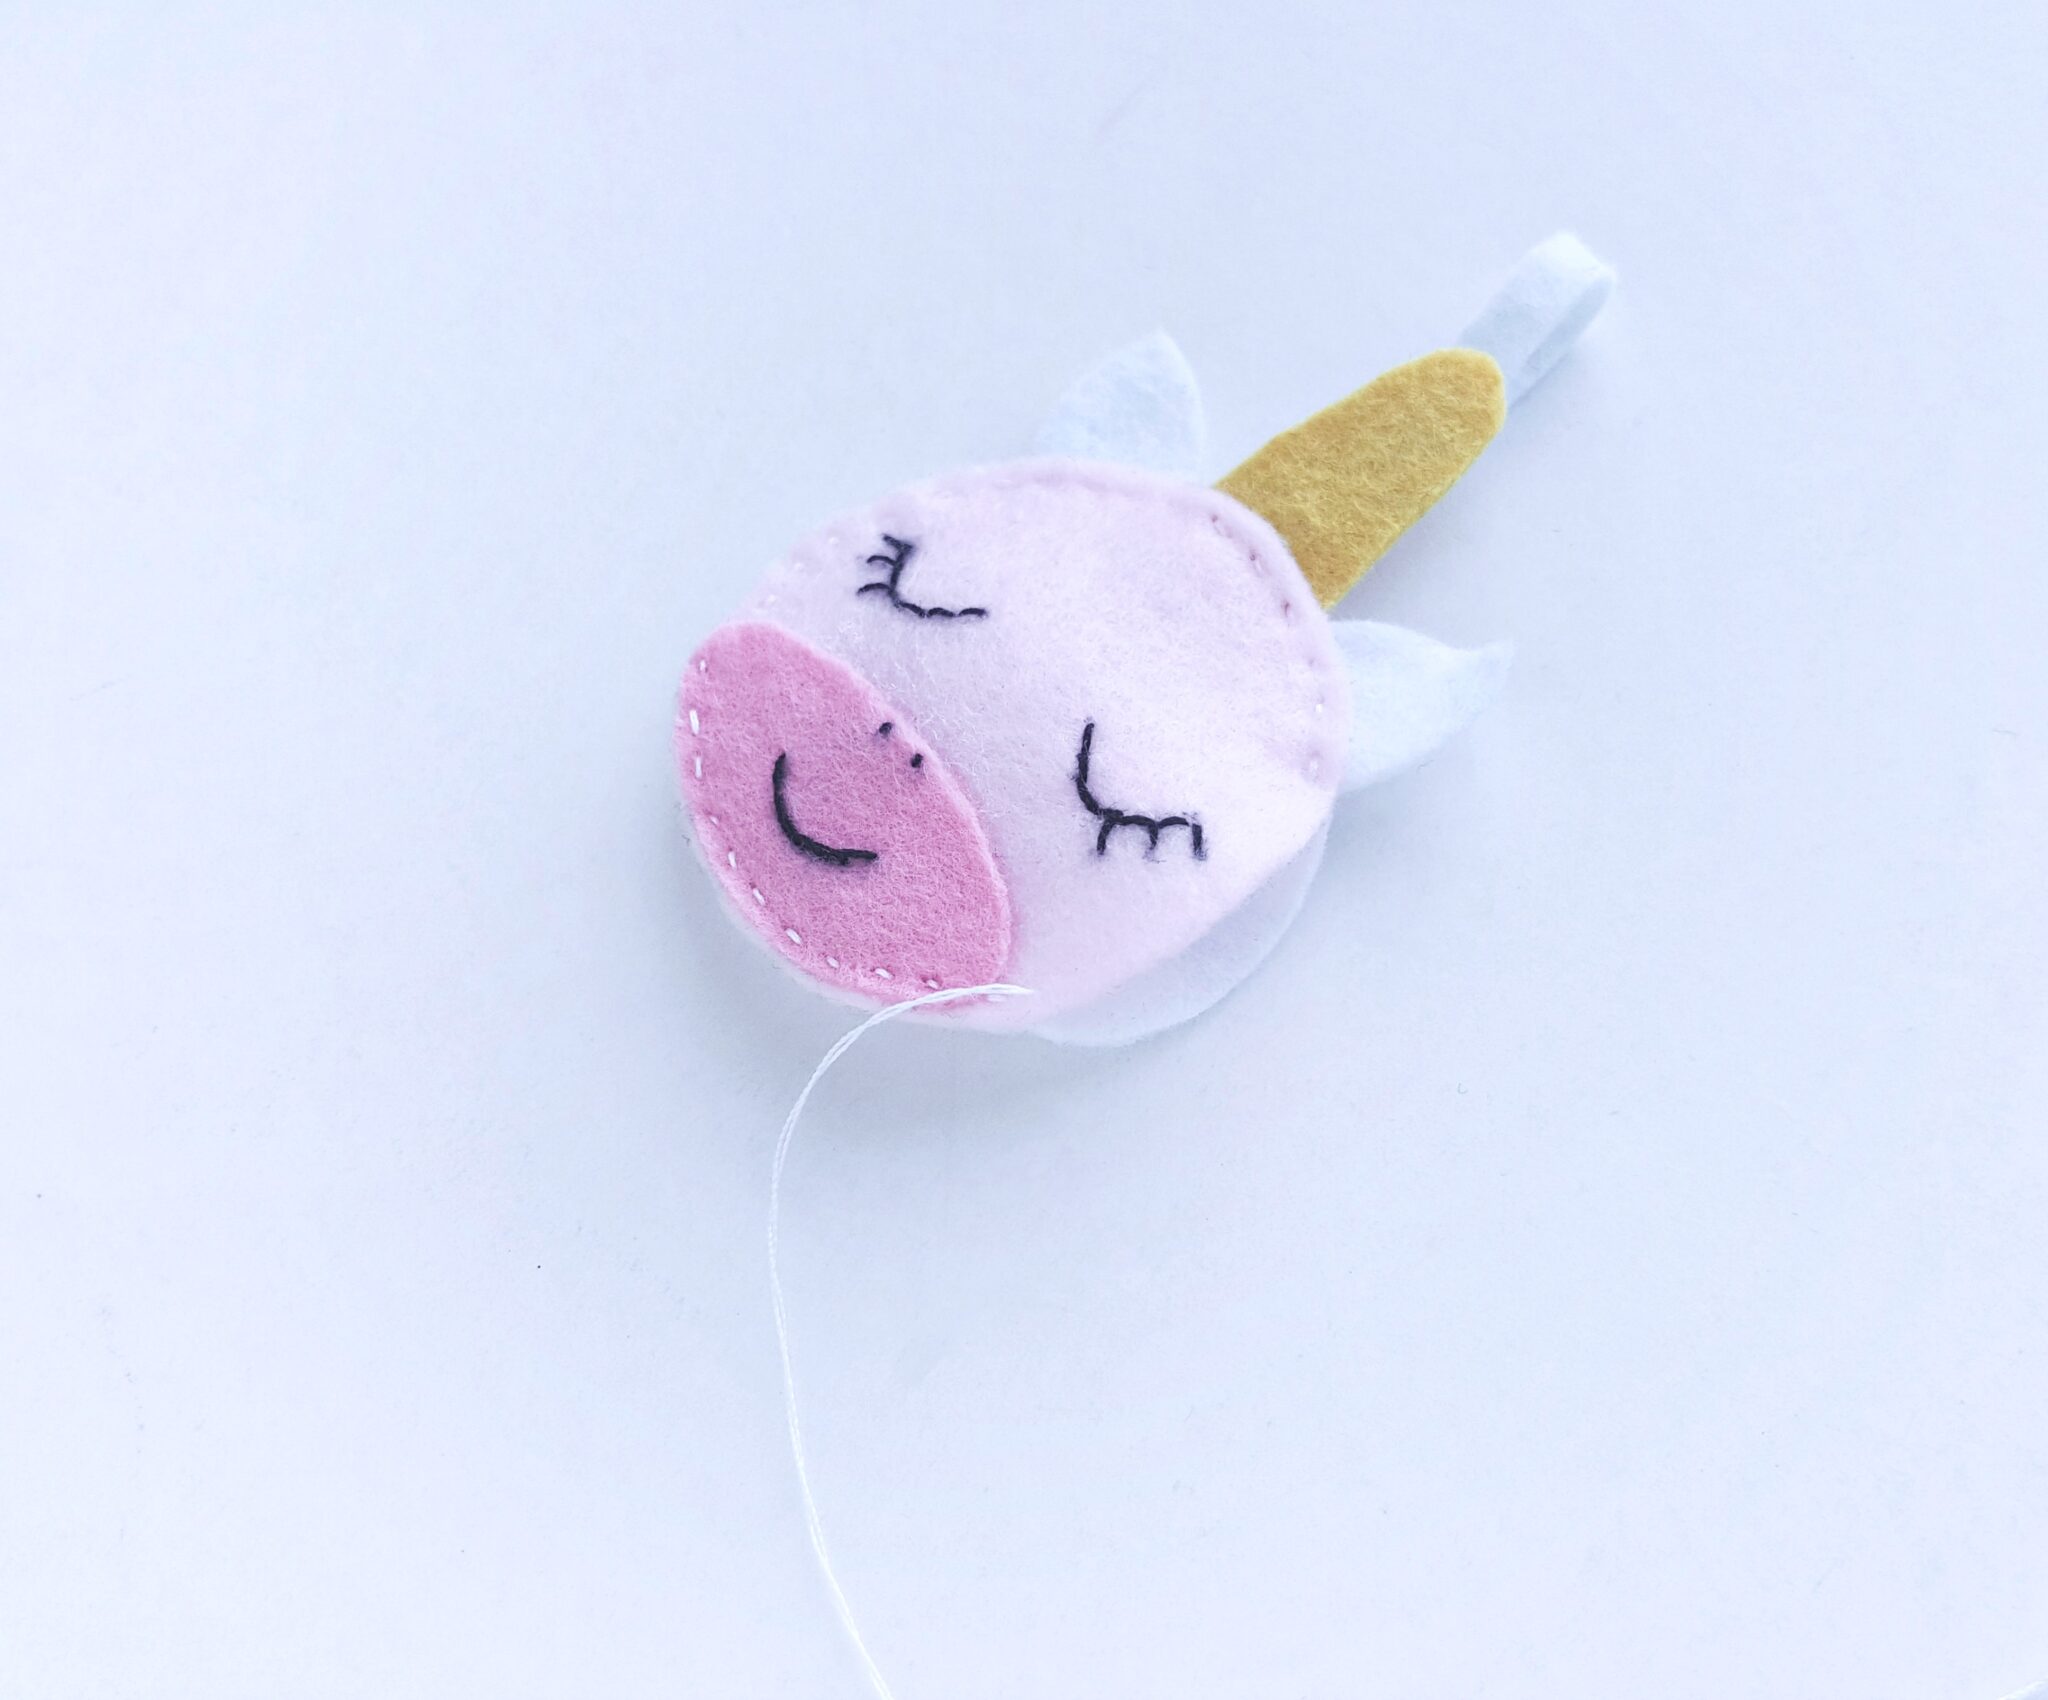
Step 10:
Keep a small opening before closing the stitch.
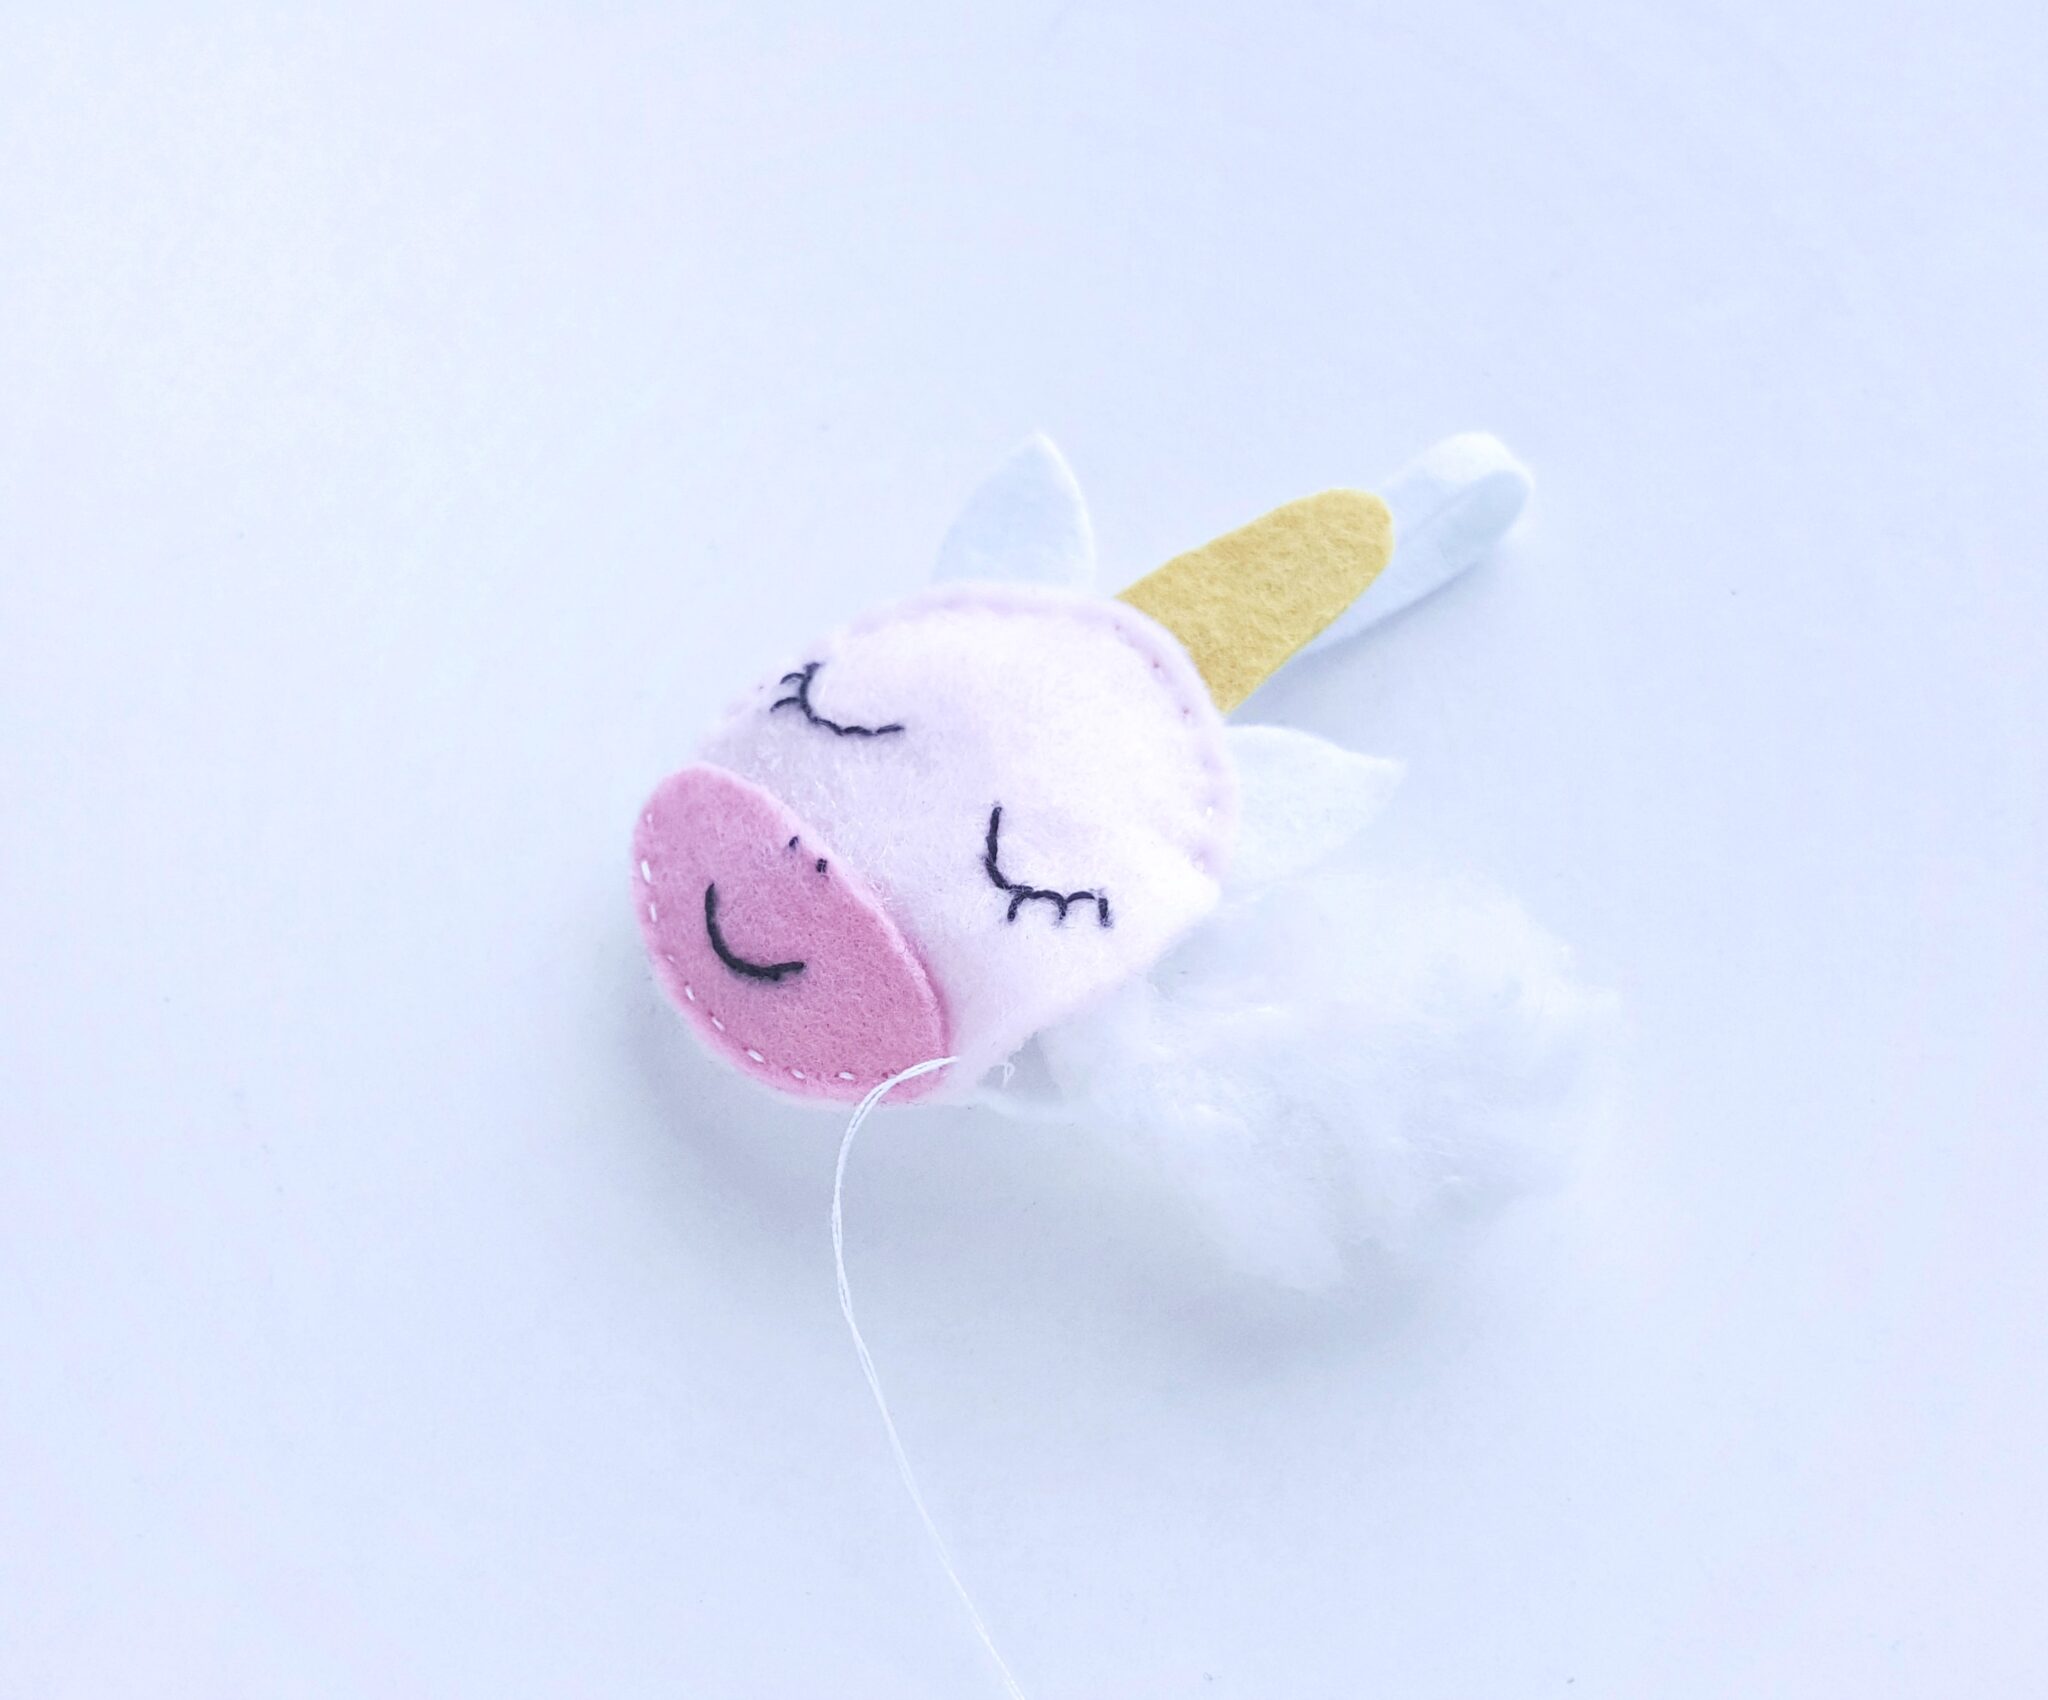
Step 11:
Use cotton to stuff the unicorn through this open end.
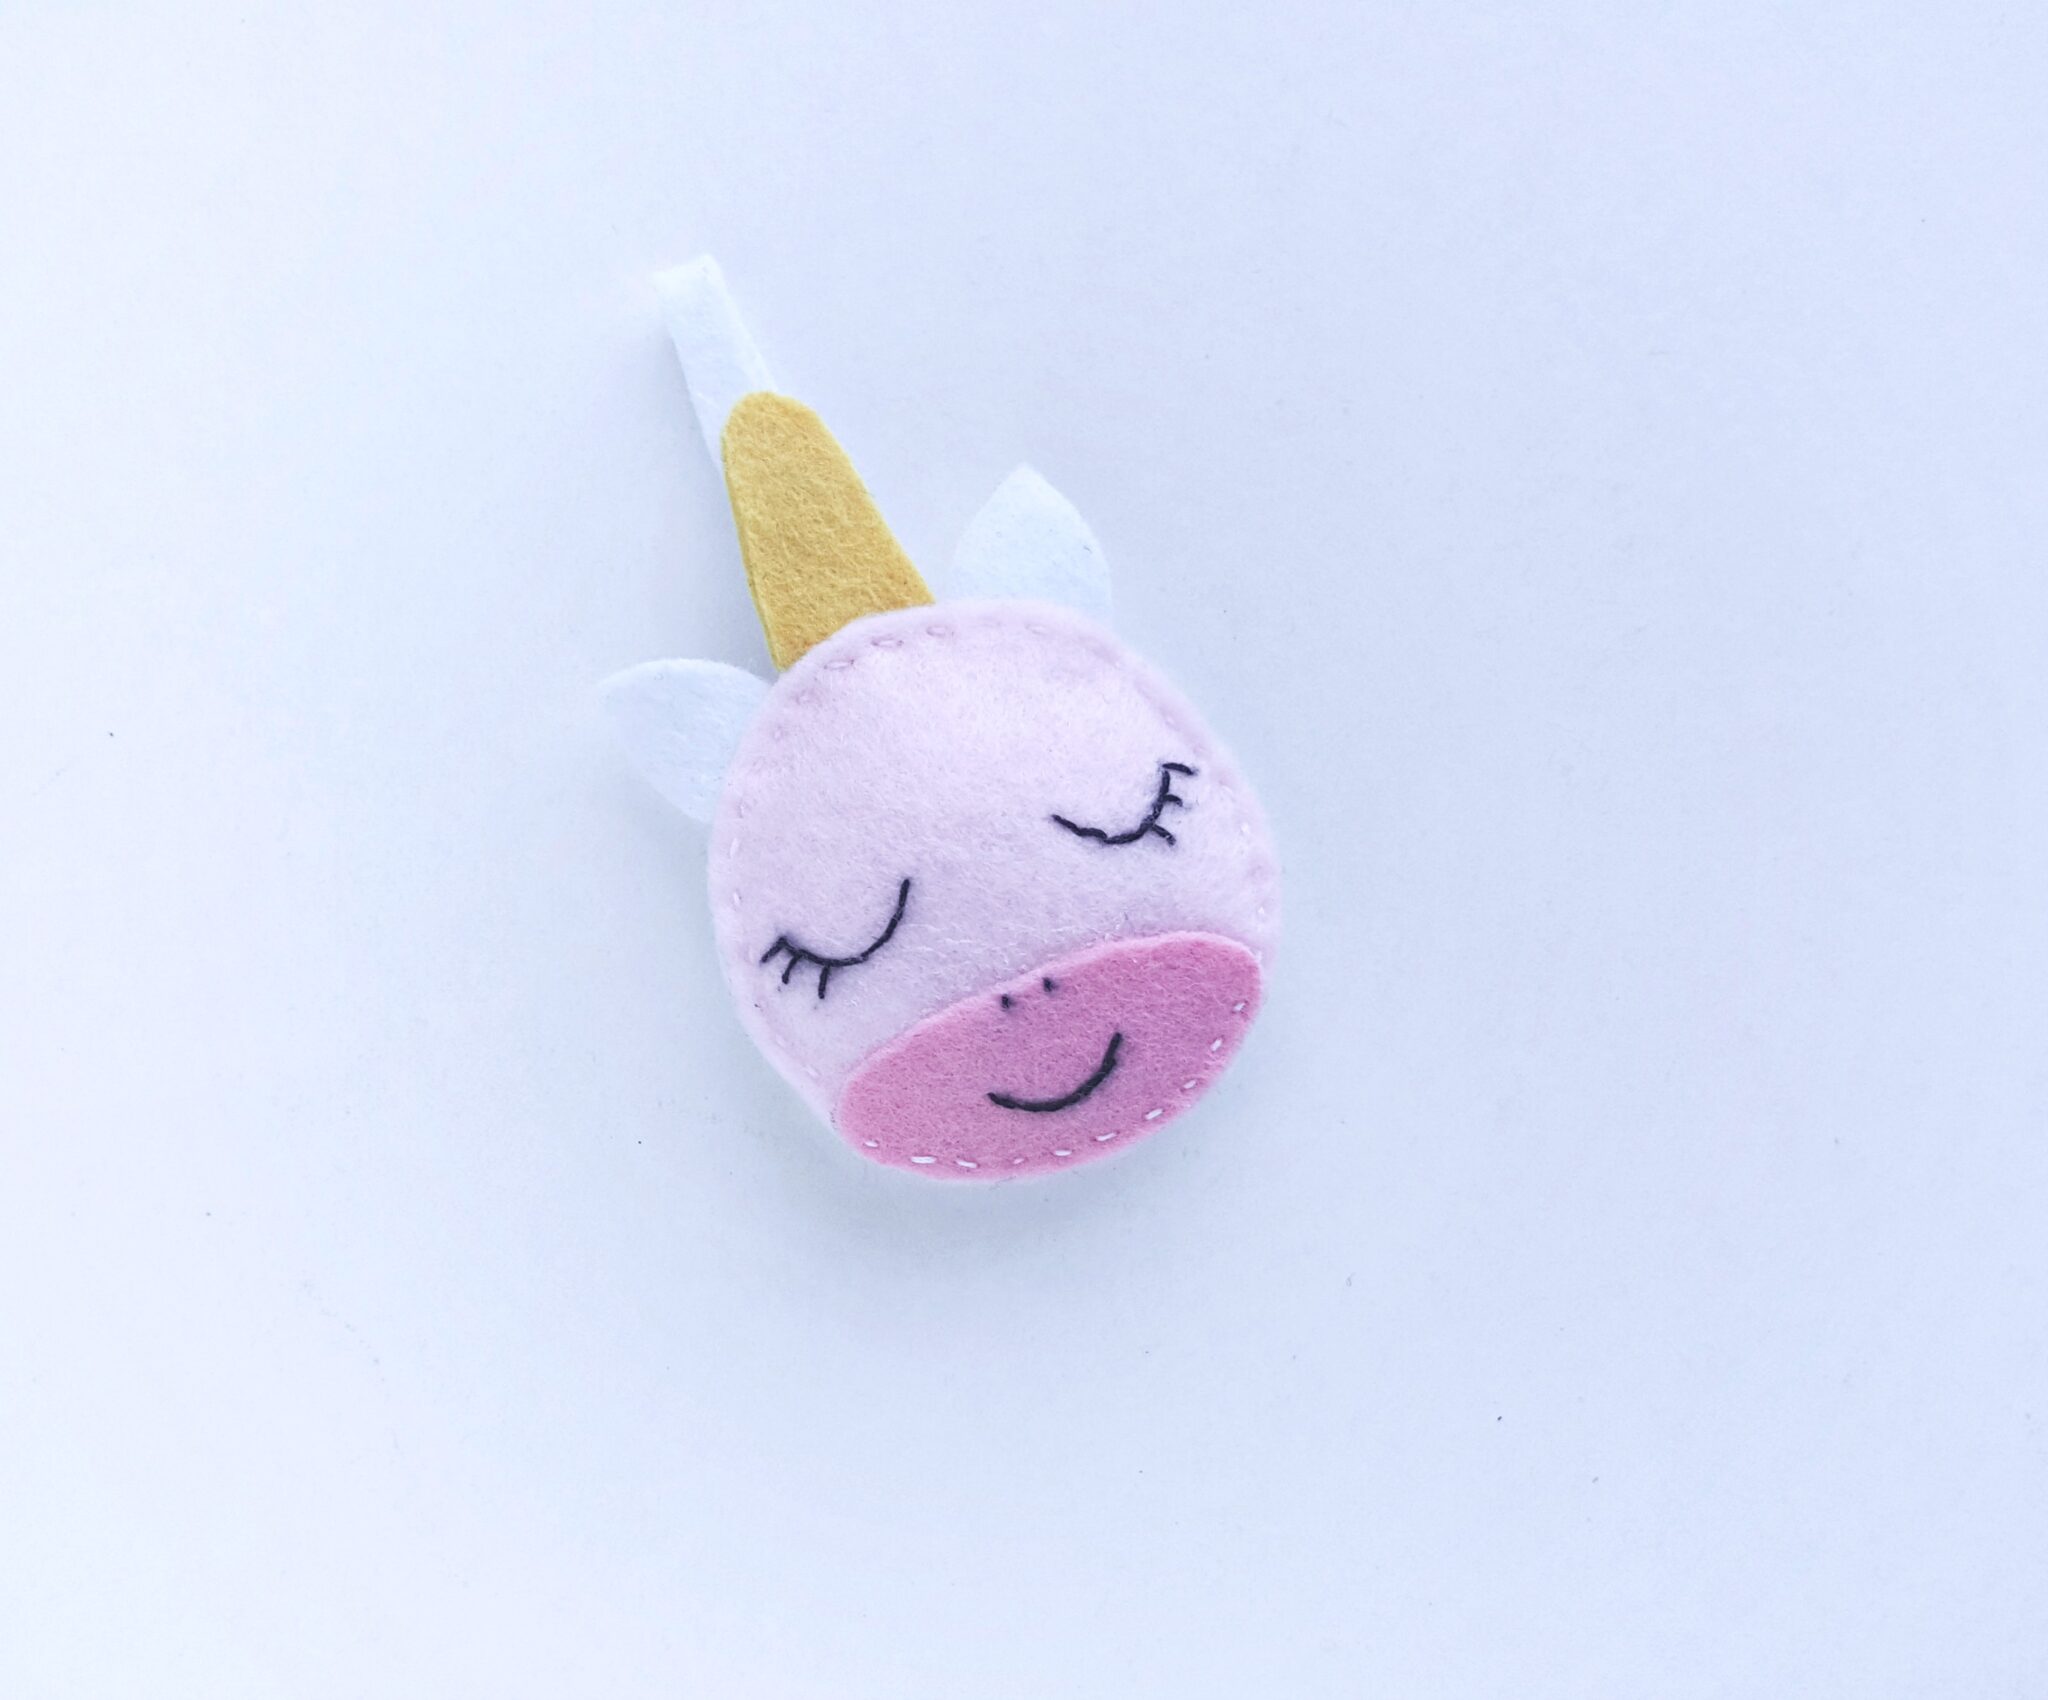
Step 12:
Done stuffing? Now stitch the open end to secure the stuffing. Tie a knot and cut off extra thread.
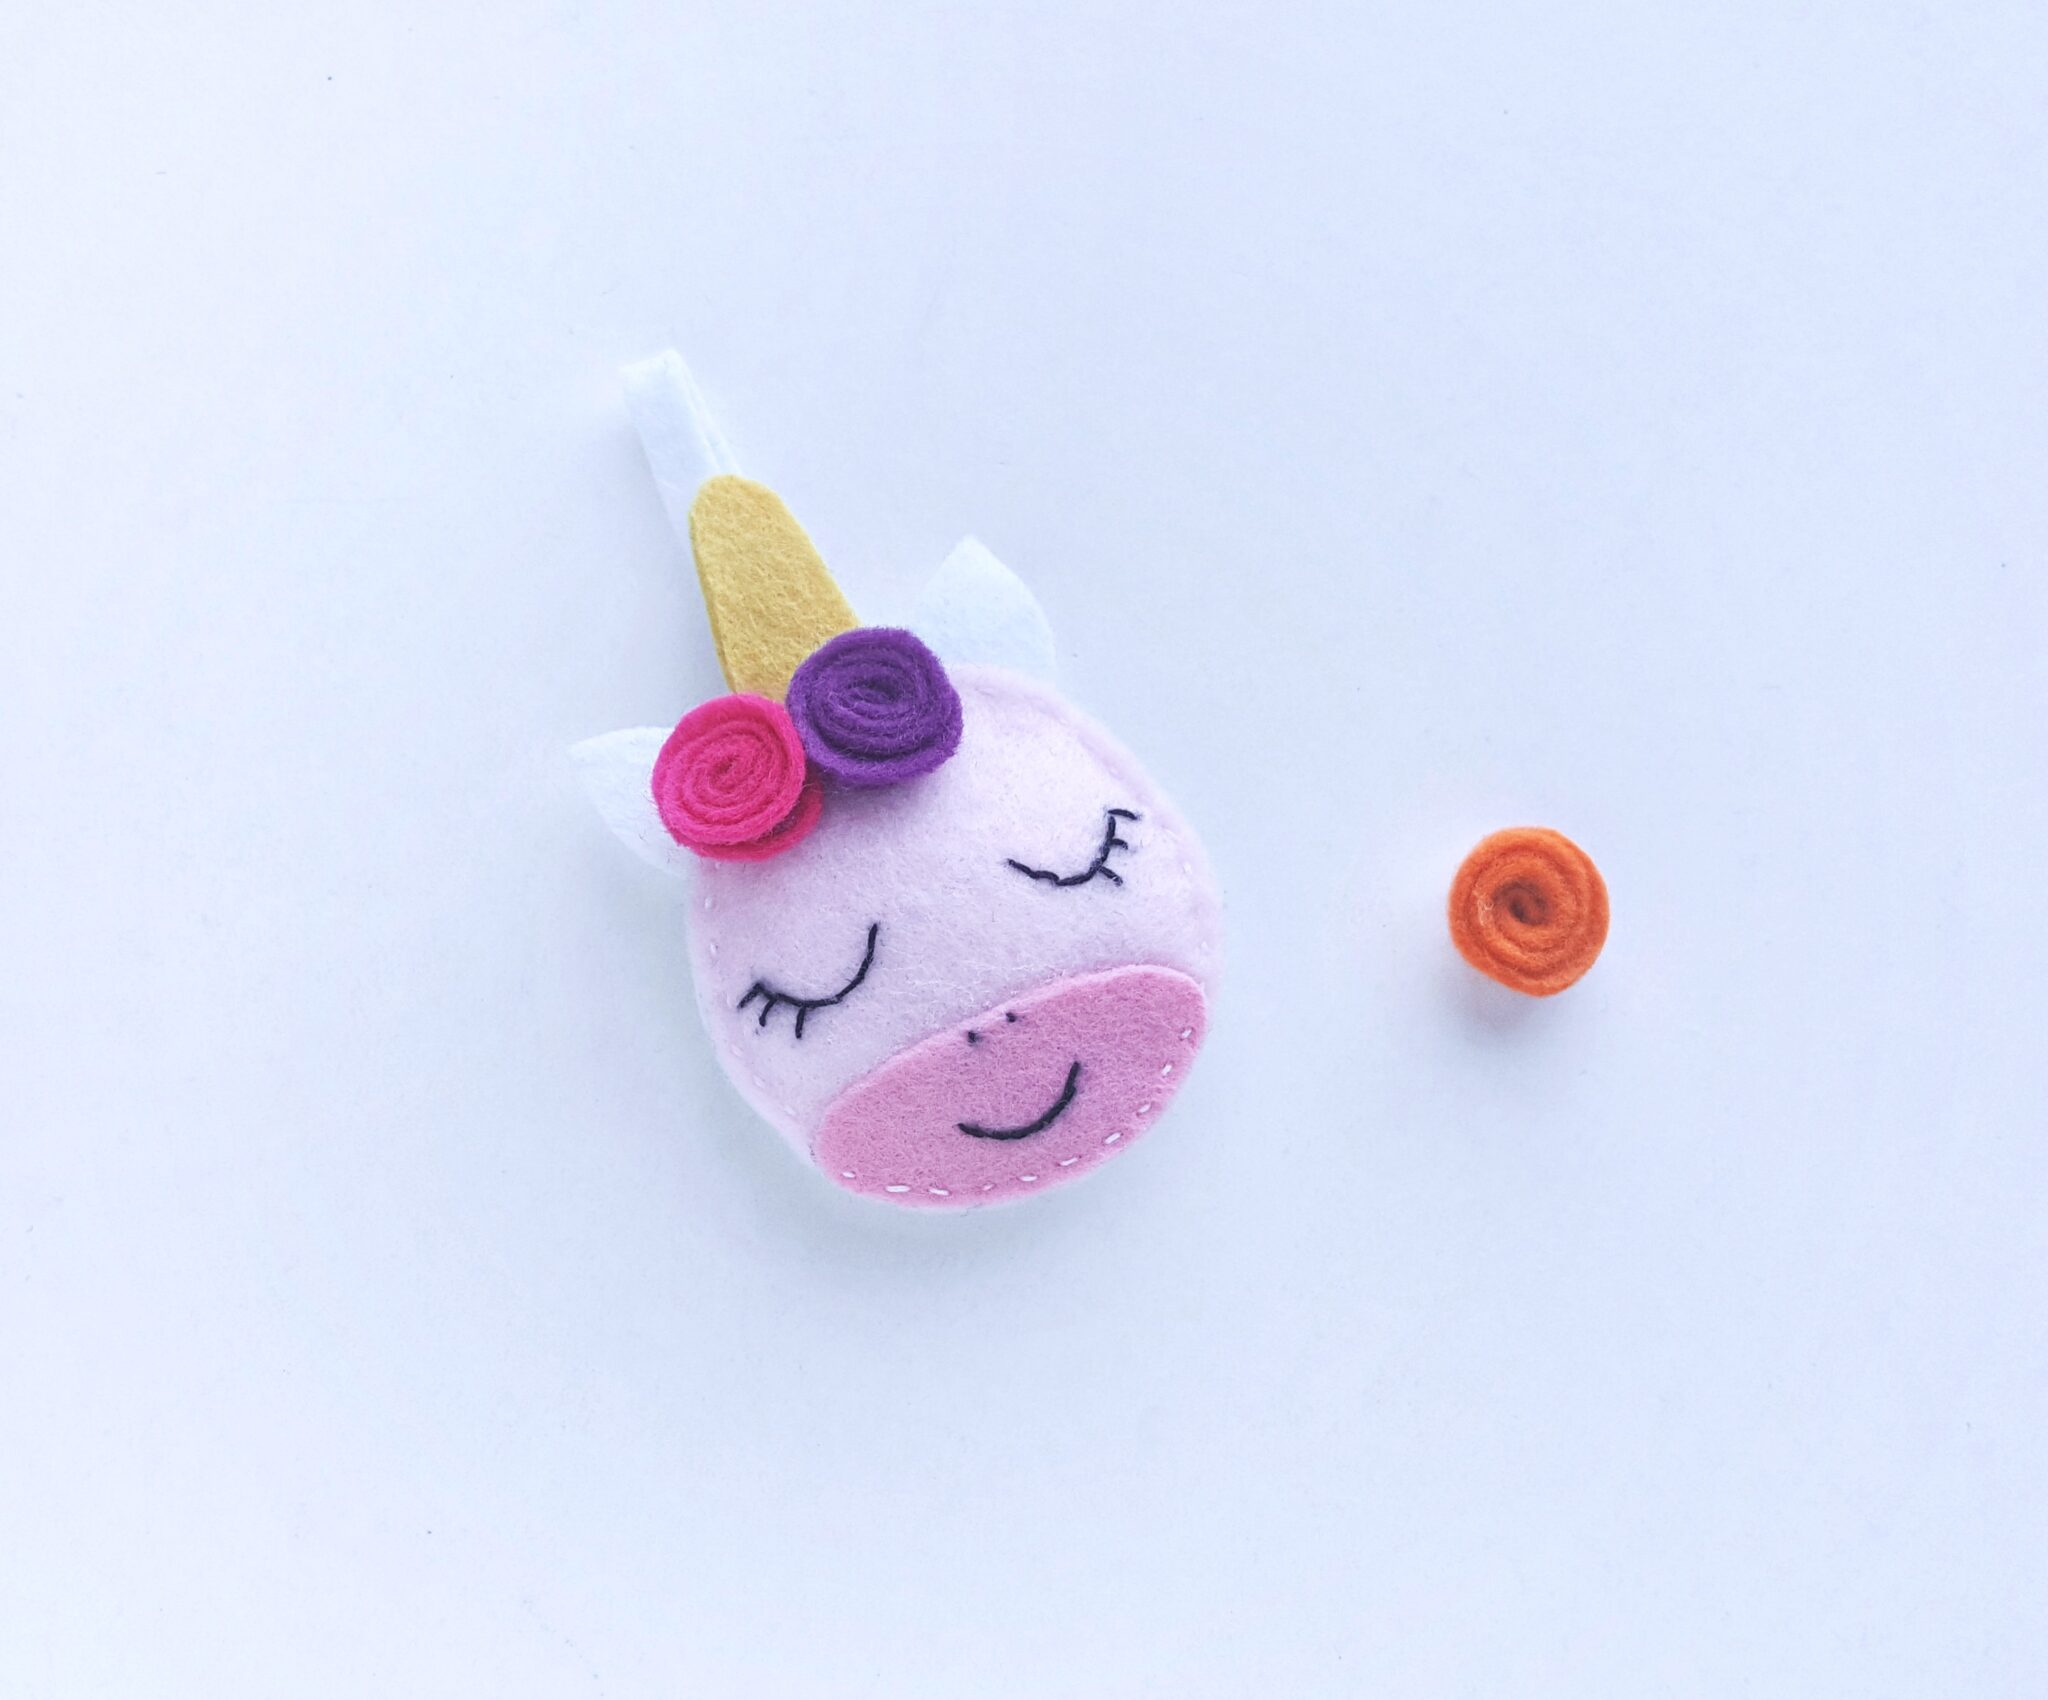
Step 13:
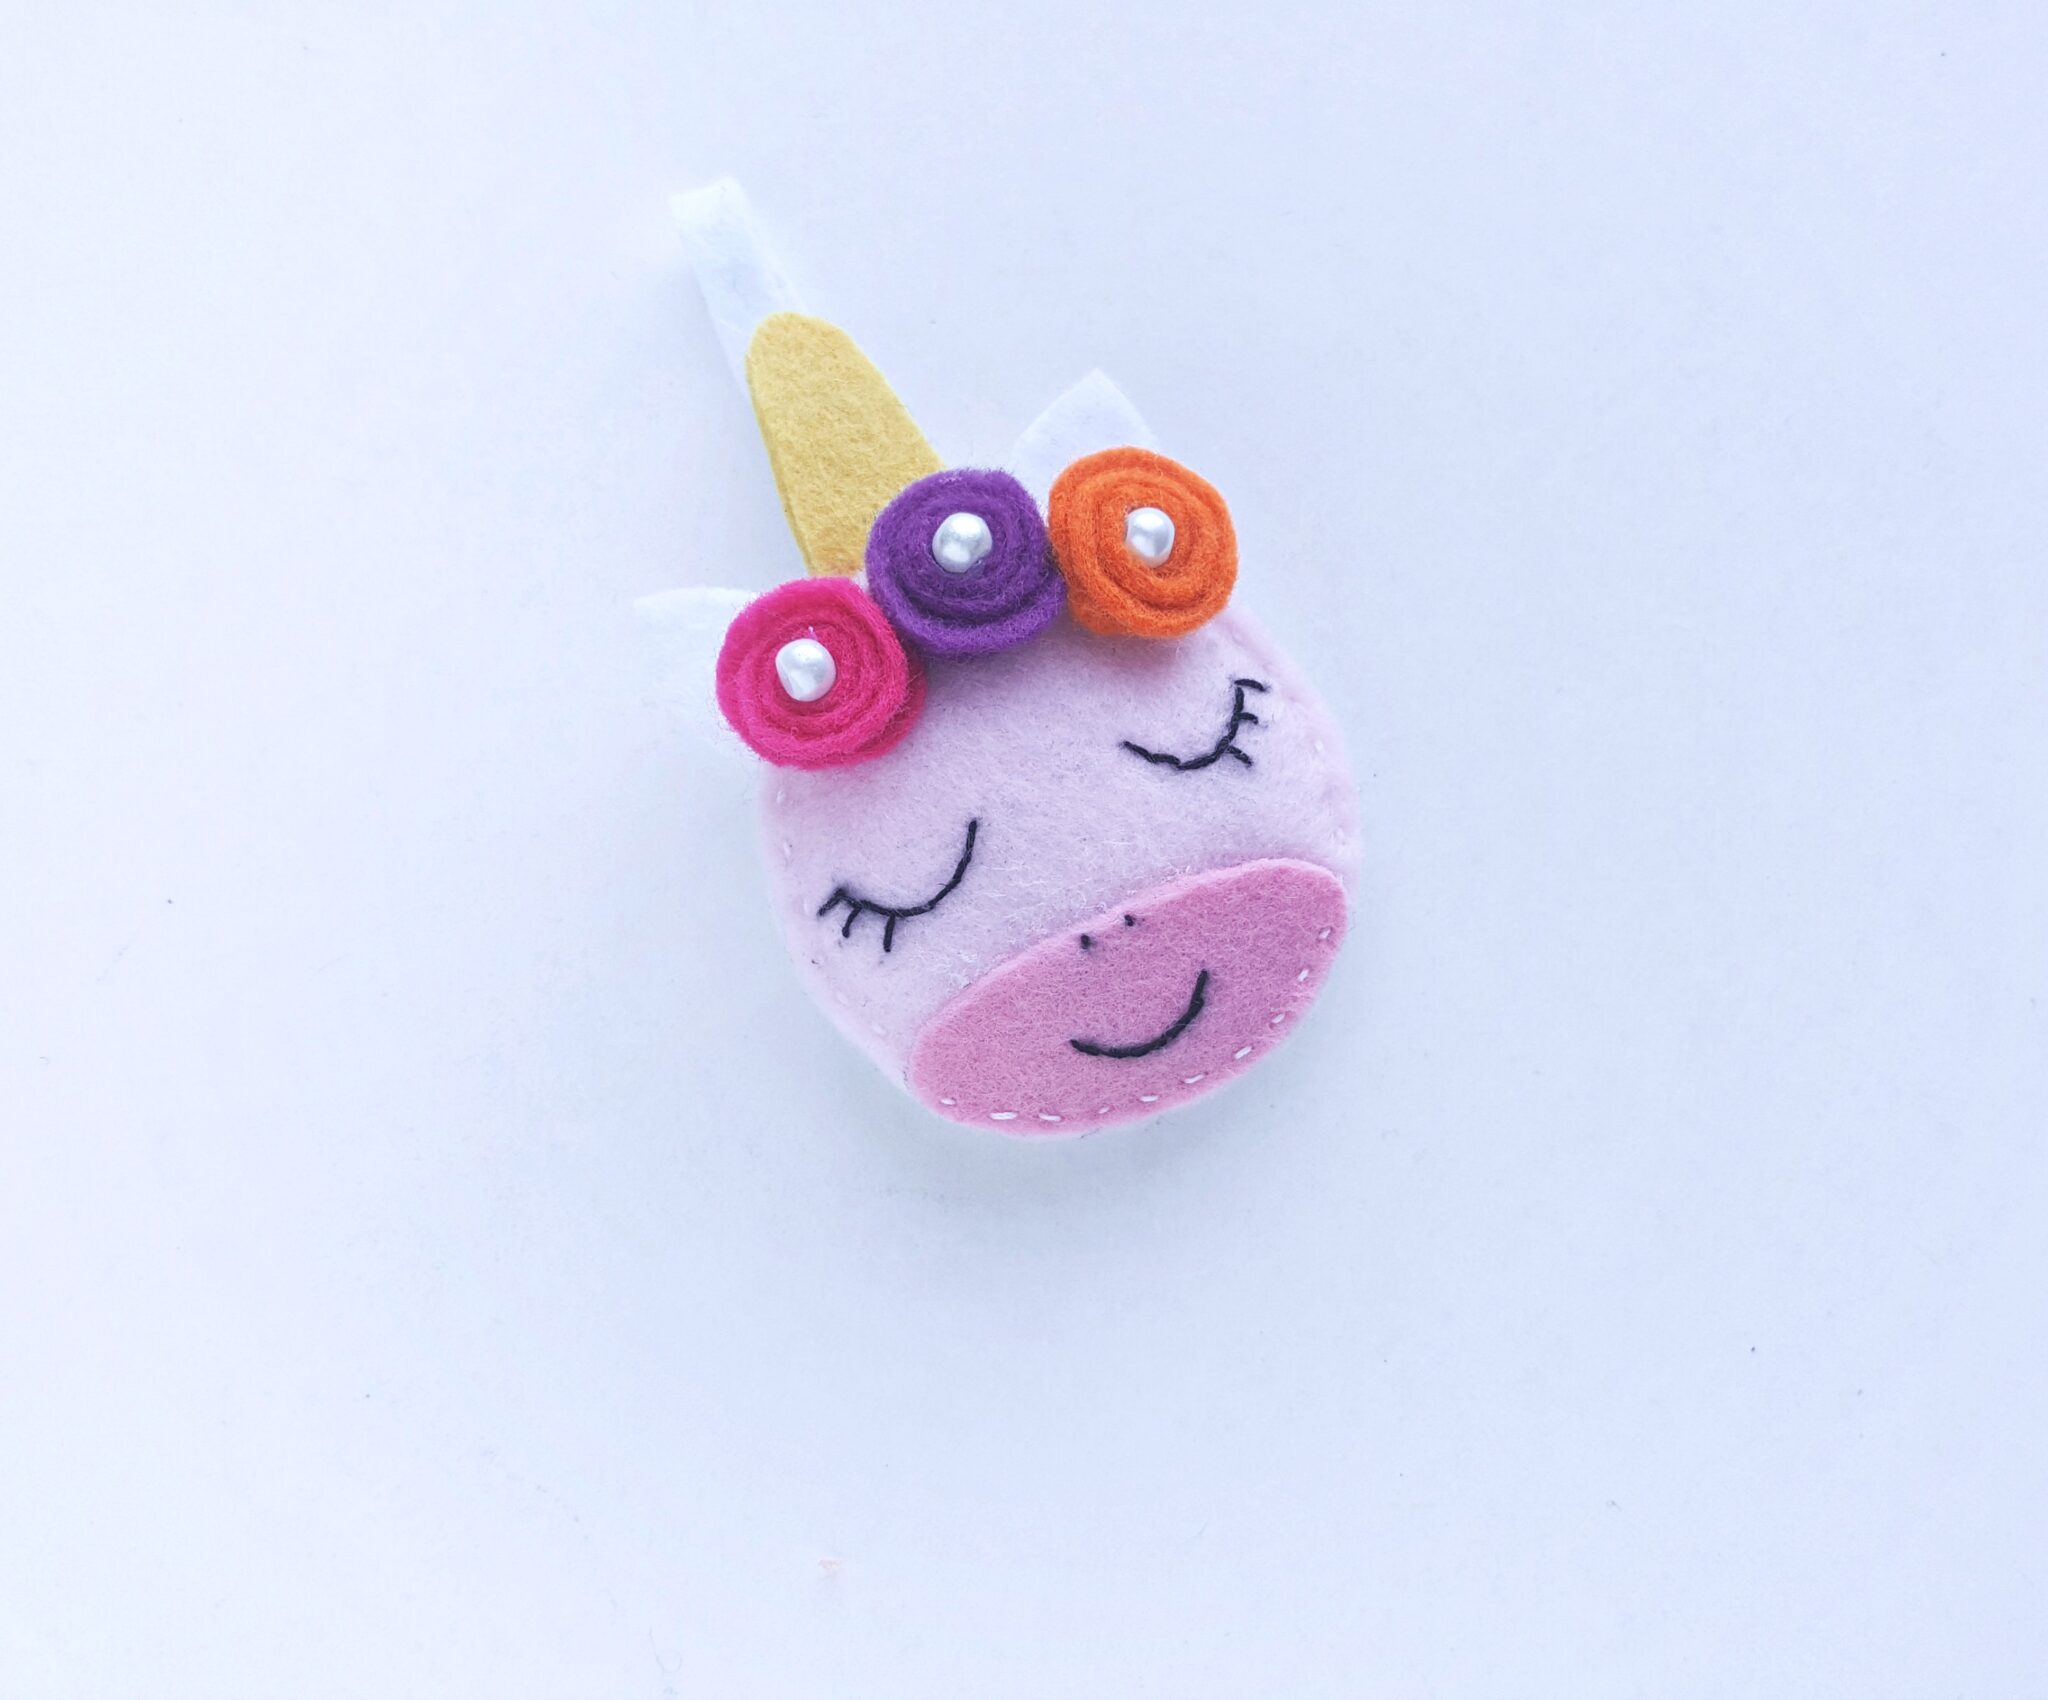
Attach the 3 spiral flowers (from step 2) along the top side of the unicorn. Use hot glue to attach the flowers.
Step 14:
Add small faux pearl based in the center of the flowers (optional).
Bring On the Unicorn Magic
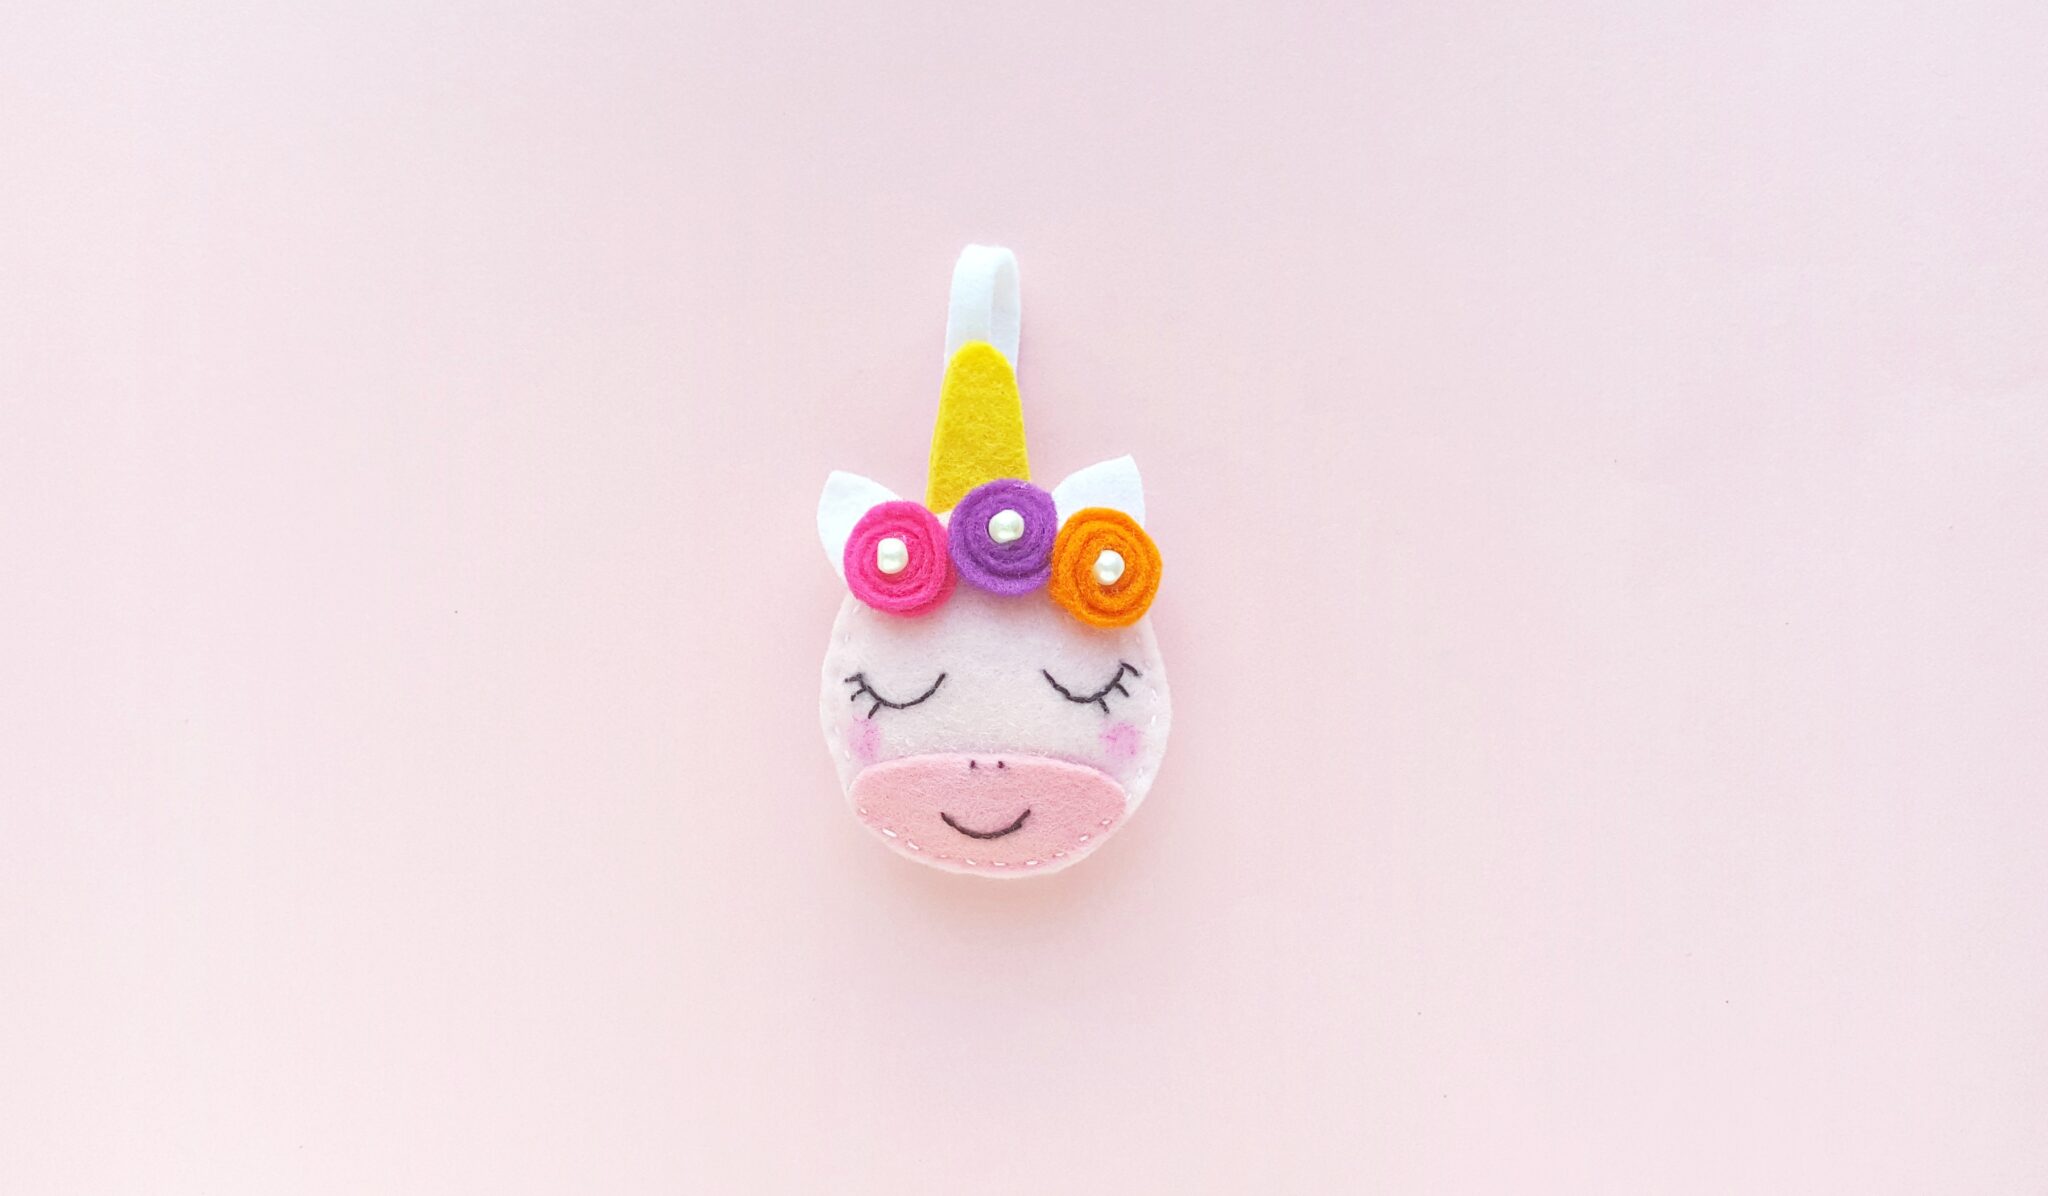
Now you have everything you need to make your very own unicorn ornament! Your tree will have a little extra magic this year.
Mimi has gone gaga over this one and remember, you can make them your own simply by changing the colors!
The sky is the limit.
Try making our Felt Gingerbread Man Christmas Ornament, super adorable Santa S’mores Christmas Ornament, and Angel Christmas Ornament.
You’ll love my Buddy the ELF cupcakes, Santa Belt Chocolate Covered Oreos, and Christmas Blondies.
Will you be making a felt unicorn Christmas ornament?
Let me know, til then–cheers m’deres!
PIN FOR LATER:

Nancy Polanco is a freelance journalist, lifestyle content creator, and editor of Whispered Inspirations. She is a proud Mom to Gabby and Michaela and partner and best friend to Darasak. Having worked as part of a health care team for almost a decade, Nancy is happy to be back to her passion. She is a contributor to the Huffington Post, TODAY’s Parents, and an Oprah Magazine Brand Ambassador.




oh my gosh these are the cutest! my middle daughter loves unicorns. she would love to make a few of these and put them on her back pack
You can definitely do that.
So cute, thank you. I am going to make these with my grandchildren.
Awww, have fun.
How cute! I love that you added photos for each step . . . I’m not very crafty so seeing exactly what to do would really help me with this project!
Hope the step-by-step helps.
This unicorn ornament is so cute! My daughters would love to make this.
Hope they love them.
simple and cute! I think we could make some for our tree!!
You can always make them more Christmas colours.
This is such a cute idea! My girls would love to make one of these.
Aww, I hope they love them.
Oh this is so adorable! My daughter would love to make this, she loves getting crafty and this would look cute on our Christmas tree. Thanks for the idea!
My pleasure! Hope you love your new ornaments.
This is so adorable! It would also make a great little craft to make at a birthday party for girls! I can already picture a tiny Christmas tree covered in unicorns!
Hehe, that would be awesome.
Thanks this would be fun to do with my granddaughter,she is a huge fan of Unicorns.
Awww, that is awesome. Hope you guys can make some unicorns.
How cute this unicorn ornament is! And it’s so easy to make with your step by step photos. The perfect weekend activity with our kids.
Yes! Have fun.
That is so adorable! One of my nieces is so into unicorns. I would love to make one for her. She’ll be delighted!
It is so easy, she will love one.
I need to pick up the items and try this would girls
Awesome.
These are so cute! My daughter’s room is unicorn themed, so I am envisioning using these to create a fun garland!
Awww, that would make a cute garland.
This is such a cute craft project! I think my nieces would love this!
They are adorable, I have to admit.