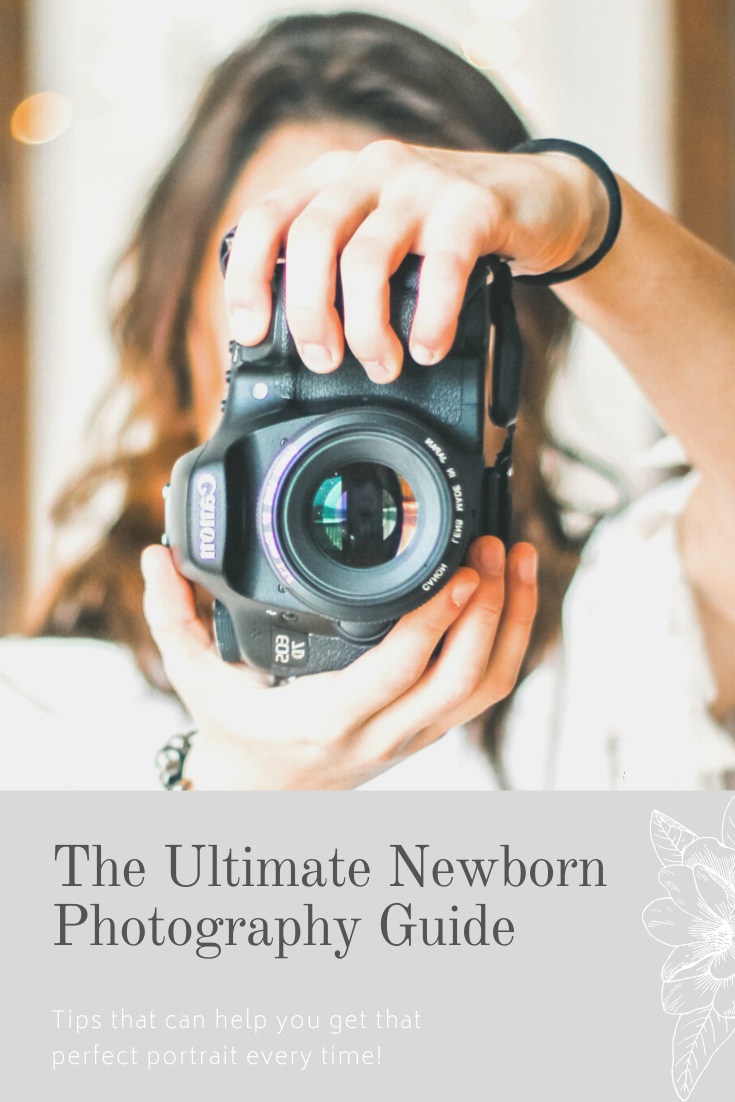
The Ultimate Newborn Photography Lighting Guide
The Ultimate Newborn Photography Lighting Guide
It’s always a grand event whenever a new baby arrives in a family. The little ones are always flawless, especially in the eyes of their parents.
Considering how fast they grow, moms and dads are constantly looking for ways to somehow stop the time and preserve their adorable tiny size for longer.
What better way than a professional photoshoot?
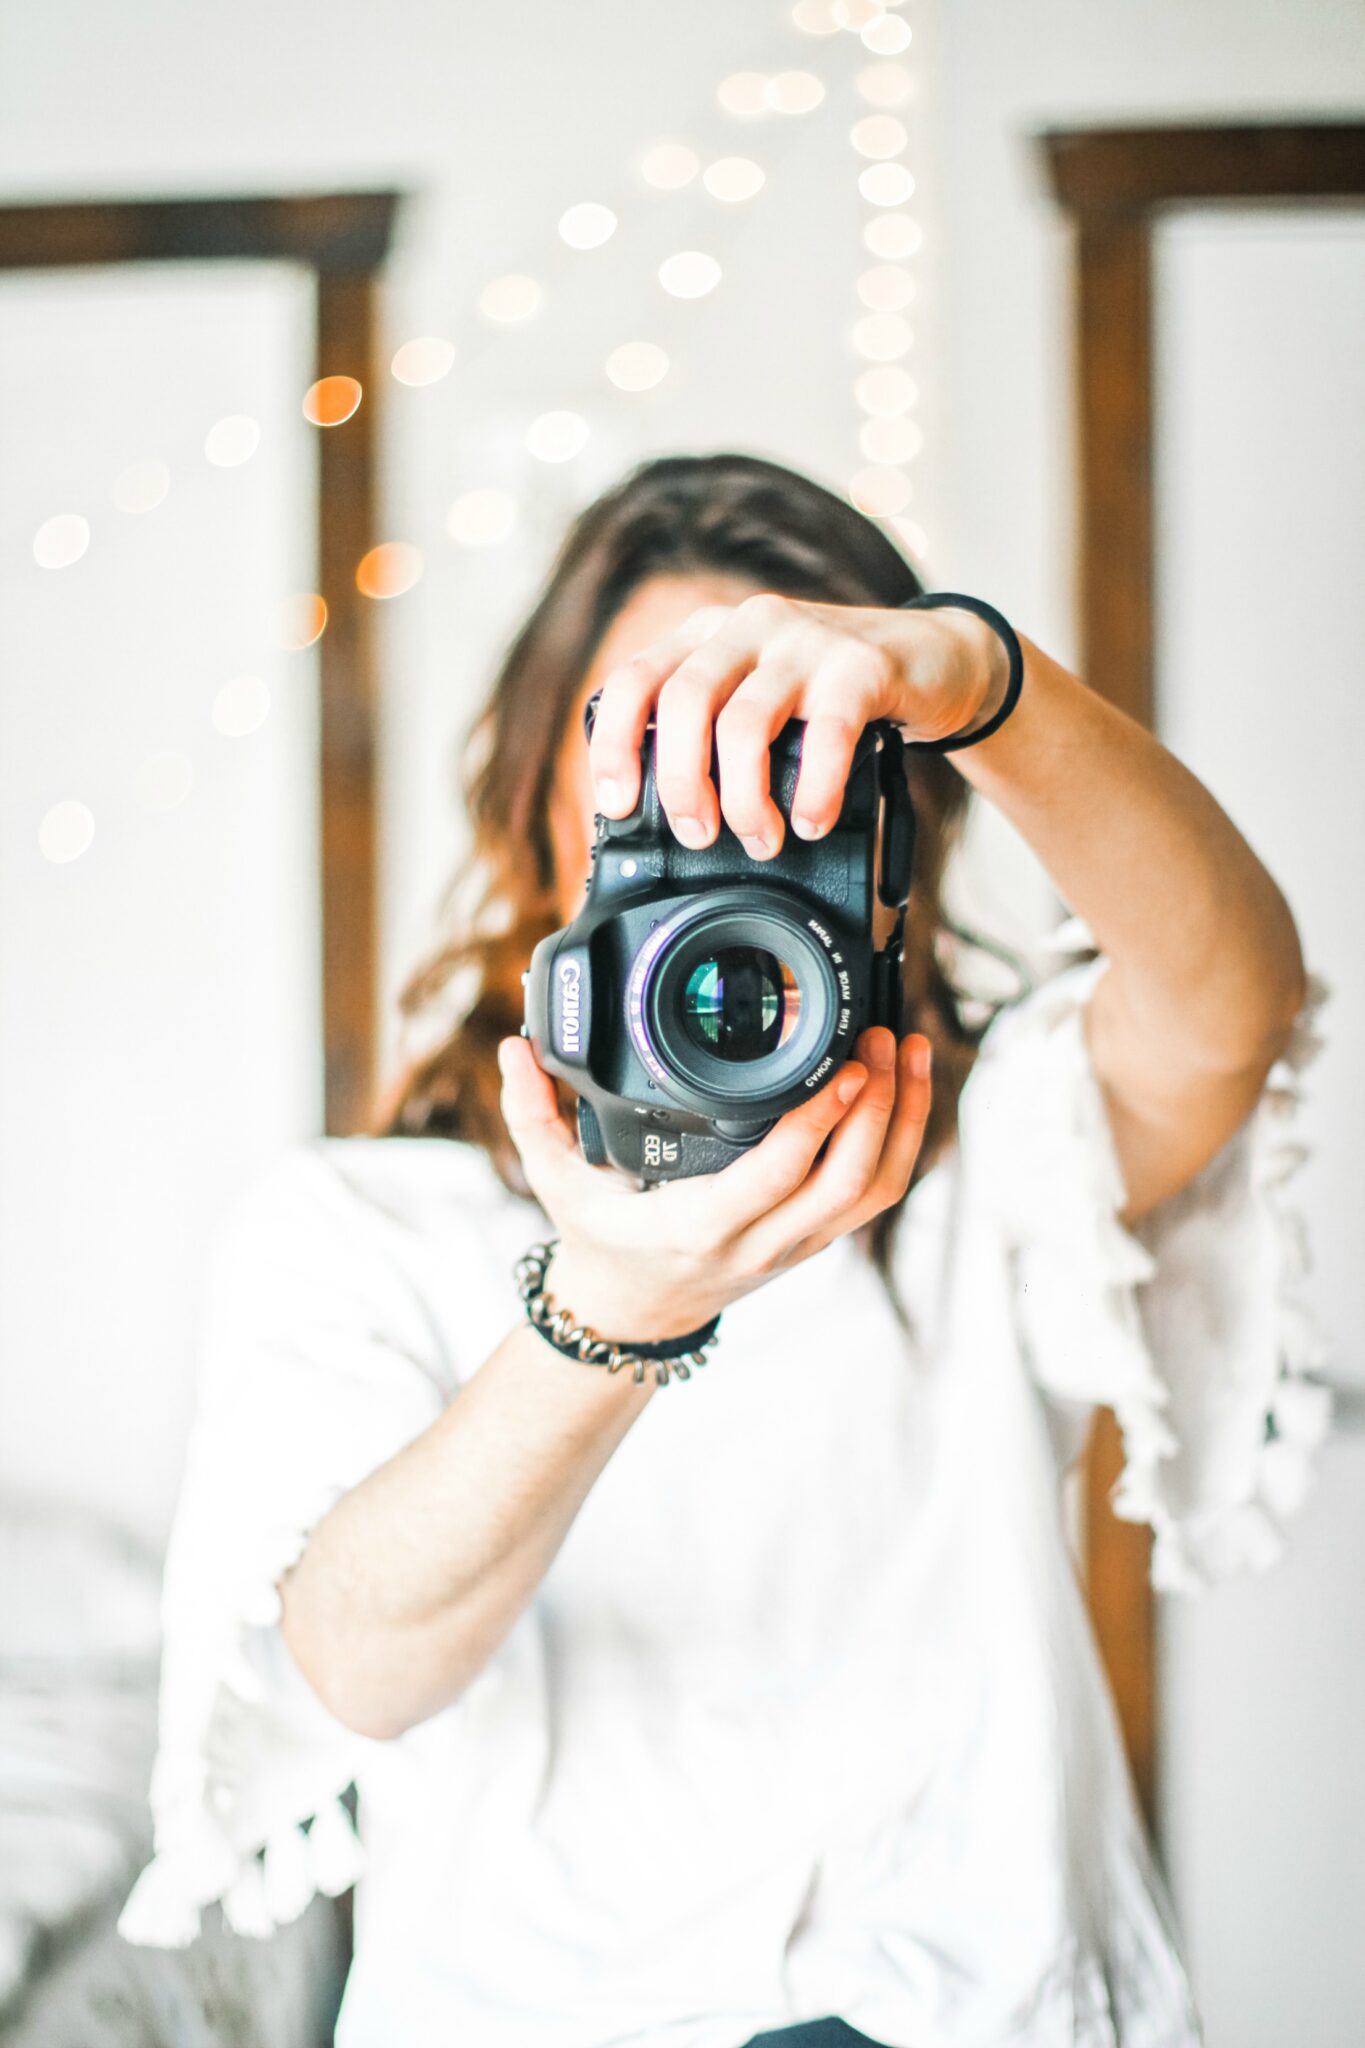
If you’re a photographer, it really is a great (and profitable) idea to specialize in newborn photography. Every photographer, as you surely know, needs to control the light; it has to be completely safe for the babies and highlight their adorableness properly.
Knowing how to edit and how to properly resize your project is important as well, especially for different formats and uploading to different platforms. You can try making your own, to see how it works!
You can find newborn Lightroom presets that will make everything much easier, but read on for tips that can help in our newborn photography lighting guide.
Studio Lighting vs. Natural Light
Natural light is always the best. In fact, the primary goal of studio lighting is to look as natural as possible.
When it comes to photos taken with studio lighting, absolute perfection and the desired effect is when you’re not able to tell if it’s natural light or studio.
So why should you bother with lamps if you have the sun shining through your windows?
The main disadvantage of natural light is that it’s rarely the same. How your room or garden looks will depend on the weather, the season, or even the time of the day. You may start your photoshoot with the perfect light, but lose it after half an hour.
Especially if you create something for other people, not for yourself, you want your work to be consistent and to deliver exactly what you have promised.
Studio lighting, when set up properly, can be the perfect substitute. It may provide you with the same effect as natural light, and the photos are much easier to edit later.
Choosing the Right Equipment
It may sound unbelievable, especially when you think about multiple lights, canvas, and umbrellas we see in big, professional photography studios.
In all honesty, all you need to have proper studio lighting for a newborn photoshoot is only a single-light setup.
Lights
When it comes to lights, you have to find something that will brighten your subject properly, but not too aggressive.
A light that normally is fine for adults, may turn out to be too strong for a newborn baby.
You have two options to choose from:
- Strobe lights – they are connected to your camera, and they produce a flash when you press the button. Their big advantage is that they are able to freeze objects in motion, so it won’t be a problem if a baby turns out to be extraordinarily active. It also means that you don’t really know what your picture will look like until it’s already taken.
- Continuous lights – they stay on all the time, so you can move it around and adjust it. You will know exactly how the photo will look like, and there’s no shutter.
The choice is for you to make as it all depends on your (or your clients’) preferences. If you only want to take photos of babies, continuous lights may be better.
They are less stronger than strobe lights and may work better with little ones who aren’t moving around a lot.
But it’s better to try everything before you decide.
Modifiers
If you have already been taking pictures professionally or semi-professionally, you probably know that it’s not enough to point the light to your subject.
In order to achieve the most natural effect, you will need to use some modifiers, e.g. parabolic umbrellas.
They diffuse the harsh light that’s coming directly from the lamp and spread it out to make it look softer.
You can shoot through it or use it to bounce the light off. Instead of a parabolic umbrella, you can also use a soft box.
There are some differences as to how the light will soften and in which directions, so it’s best to do some test shots so that you know what you’re working with.
Practice Makes Perfect
You may know all the rules, but you will be truly ready and prepared if you know your equipment.
Make friends with all the manuals – you have all the necessary information there.
Make sure you know your gear inside and out. Don’t be afraid to experiment with your camera, lights, angles, modifiers, different setups, and more.
You May Also Like:
- Choosing The Best Overall Smartphone for Photography
- Tips for Picking the Right Production House
- Our Life, Beautifully Squared with the Instax Square SQ6
If you’re a beginning professional, you may ask your family to pose for you. Offer some free photoshoots for potential clients, or even use a doll to move it around without worrying about baby’s comfort and moods.
Try different things and figure out what works best for you and your little subjects. Babies are already perfect; all you need to do is be able to capture it.
Do you have anything to add to this newborn photography lighting guide?

PIN FOR LATER:
Nancy Polanco is a freelance journalist, lifestyle content creator, and editor of Whispered Inspirations. She is a proud Mom to Gabby and Michaela and partner and best friend to Darasak. Having worked as part of a health care team for almost a decade, Nancy is happy to be back to her passion. She is a contributor to the Huffington Post, TODAY’s Parents, and an Oprah Magazine Brand Ambassador.