Dr. Seuss – Truffula Tree Paper Craft
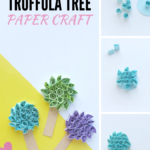
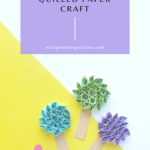
Truffula Tree Paper Craft
What I love about truffula trees is that they remind me of the Lorax. It is also a reminder to treat Mother Earth with love and respect.
It is the reason the Lorax is one of my favorite stories of all time. To celebrate Dr. Seuss’ Birthday and the official Dr. Seuss Day, this is a nod to the truffula tree. The very ones you see throughout his tale of the Lorax!
This makes for a great craft for teachers to do with their class or a fun after school craft for the kids. We’re big Seuss fans, so make sure you try our other crafts and goodies.
Look for Thing 1 and Thing 2 sugar cookies recipe, Thing 1 and Thing 2 paper craft, Cat in the Hat craft, One Fish, Two Fish, Red Fish, Blue Fish craft, and Horton Hears a Who craft as well!
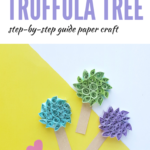
For now, read on for the step-by-step guide to making your very own truffula trees! Just make sure that your truffula trees are admired, not for making Thneeds!

Things You Will Need:
*This post contains affiliate links.

Step 1:
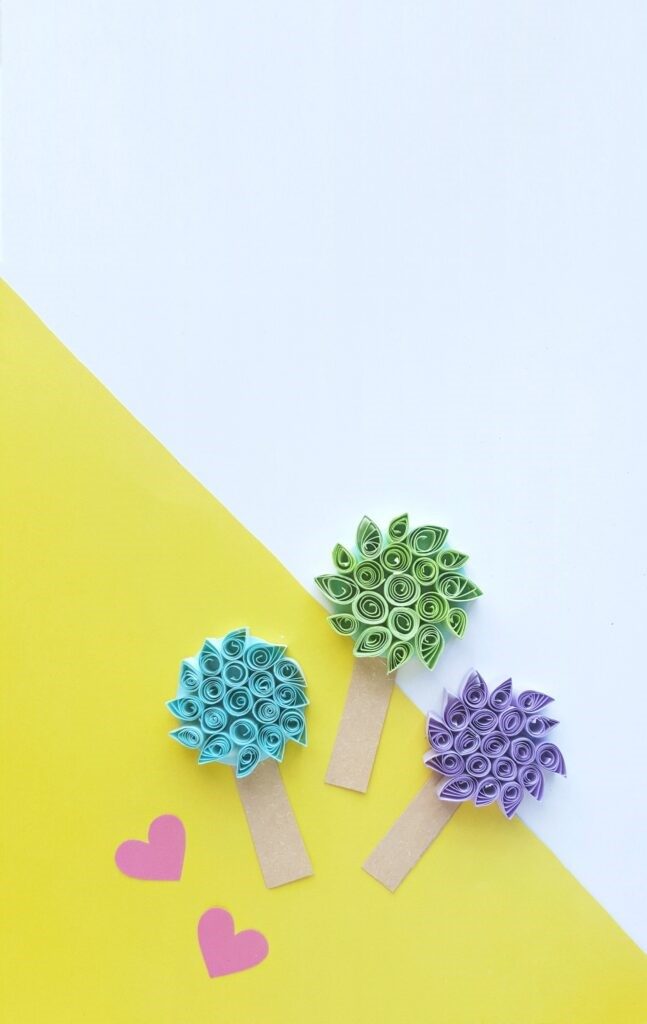
Cut out a strip and a round shape from thick craft papers. The round paper will be the base for the truffula tree and the strip will be the trunk of the tree.

Step 2:
Prepare 6 inches long quilling strips for quilling the shapes for the truffula tree.

Step 3:
Use the slotted quilling tool to coil the strips. Prepare 7 loose coils and 12 teardrop shapes.

Step 4:
Take the round cut out and glue one of the loose coils on the center of the round cut out.

Step 5:
Glue the rest of the loose coils around the center loose coil, on the round cut out.

Step 6:
Grab the teardrop shapes and glue them around the loose coils; glue each teardrop between 2 loose coils from the previous layer. You can glue 6 teardrop shapes in this step.

Step 7:
Now glue the rest of the teardrop shapes between the previously glued teardrop shapes.

Step 8:
Now simply glue the strip at the back side of the quilled round pattern. Allow the glue to dry.

I Speak for the Trees
“Unless someone like you cares a whole awful lot, nothing is going to get better. It’s not.” Isn’t that the truth? This is the message that I love about the Lorax.
The truffula represents all of that! Just remember, to recycle the paper you use, reuse it or keep it forever!
Looking for more inspo? Try these!
- Thing 1 and Thing 2 Sugar Cookies Recipe
- Thing 1 and Thing 2 Craft
- Cat in the Hat Craft
- One Fish, Two Fish, Red Fish, Blue Fish Craft
- Horton Hears a Who Craft
Do you like the Lorax?
Let me know, til then–cheers m’deres!

PIN FOR LATER:


Nancy Polanco is a freelance journalist, lifestyle content creator, and editor of Whispered Inspirations. She is a proud Mom to Gabby and Michaela and partner and best friend to Darasak. Having worked as part of a health care team for almost a decade, Nancy is happy to be back to her passion. She is a contributor to the Huffington Post, TODAY’s Parents, and an Oprah Magazine Brand Ambassador.


that’s really amazing paper crafting ….
Thanks!
I want to take a stab at making these with recycled paper, in lieu of quilling strips. Might turn out neat (or may look nowhere near as nice as the ones you’ve created here! LOL).
I hope it turns out.